Question
How do I test if the In-Sight camera is sending messages using TCP/IP Communication in Easy Builder?
Answer
Material required:
- In-Sight Vision Suite installed
- In-Sight camera that could be programmed by In-Sight Vision Suite software
- Hercules software installed
In-Sight Camera programming
- Connect the camera and access it using In-Sight Vision Suite.
With a new Easy Builder Job, go into Communication settings.
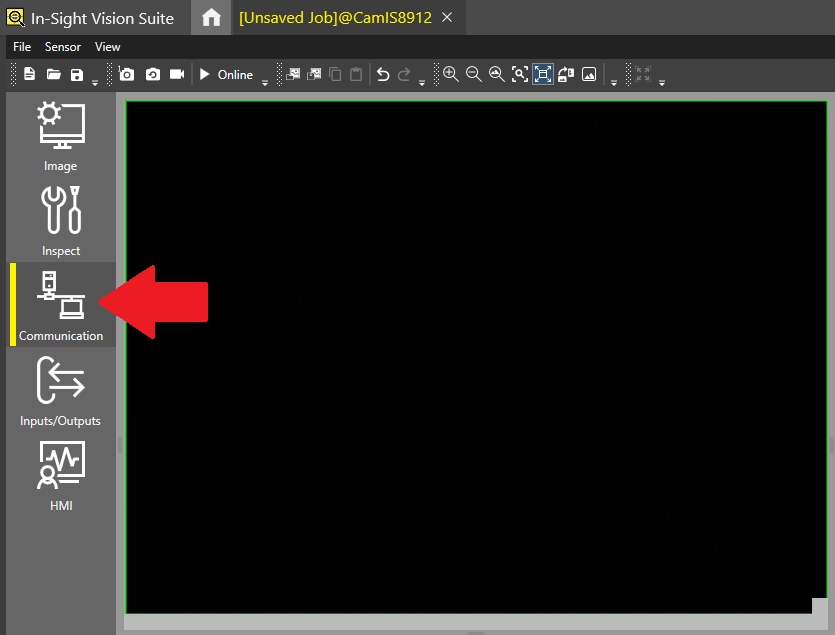
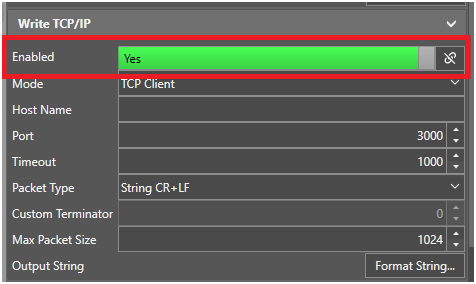
In the communication settings, find the Write TCP/IP section and select Yes on the Enabled option.
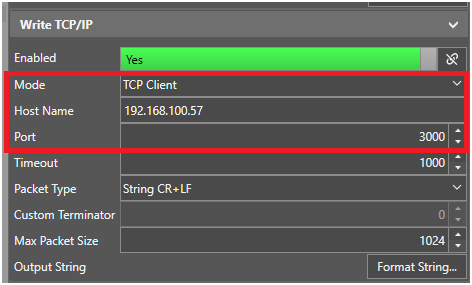
- Define if camera will work as Client or Server:
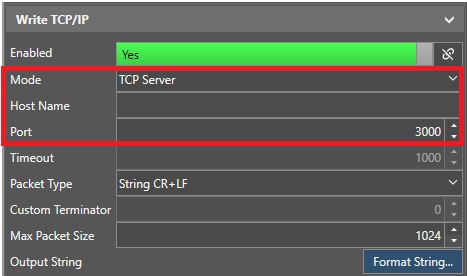
Work as client: Select the option TCP Client on Mode, then on Host name submit the IP address of the server and Port number where information needs to be sent.
Work as server: Select the option TCP Server on Mode, working on this mode Host name will be unbaled, define the Port number where information needs to be sent.
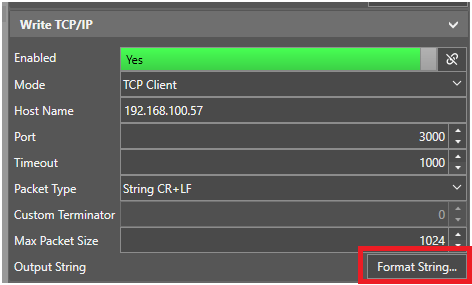
Once you define to work as Server or Client, click Format String.
In the new window, you can define the Leading Text, Trailing Text, Terminators and Delimeters.
This is not a required information, but you need to double check if these are expected on the external device.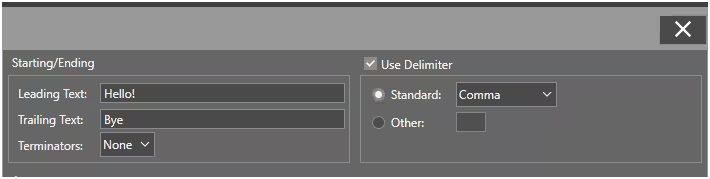
With Add, define all the Arguments that need to be sent. Easy Builder will help to show all the possible arguments that could be included.
You can also define the Data Type for each element.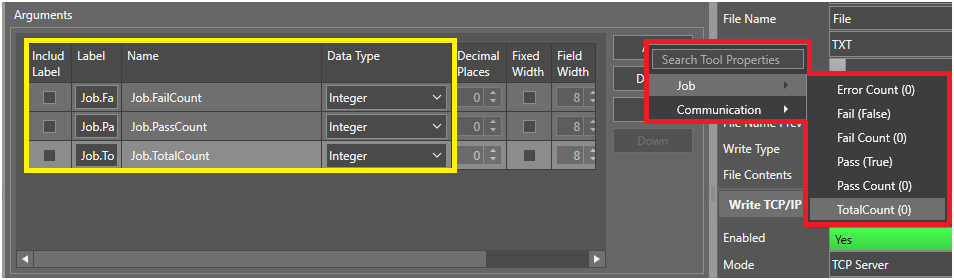
Place the camera in Online mode
We have completed the steps for the camera programming.
Verify Communication
Test camera as server
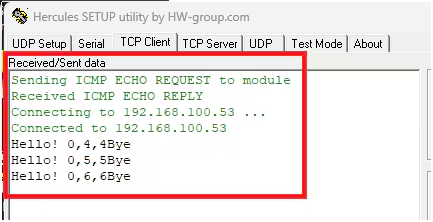
Select TCP Client tab and fill the information for Module IP and Port.
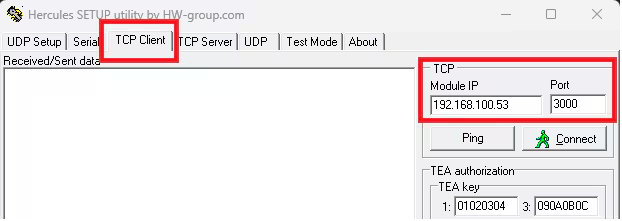
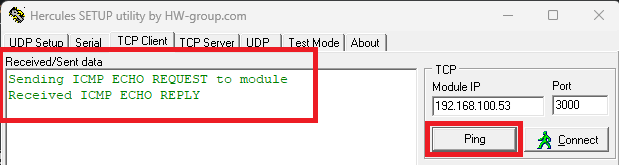
Click Ping to check if camera IP is OK.
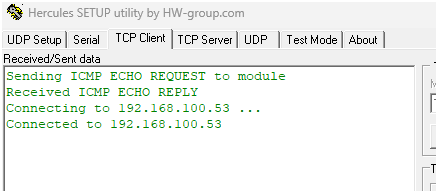
Click Connect. The software will display that it is connected to the camera.
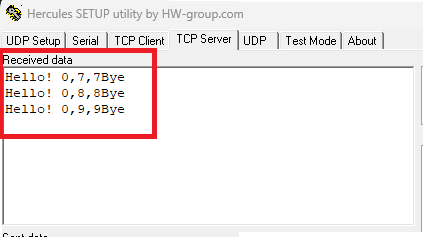
Send a trigger to the camera. For each trigger that camera receives, new information will be displayed on the Received/Sed Data window.
Test camera as Client
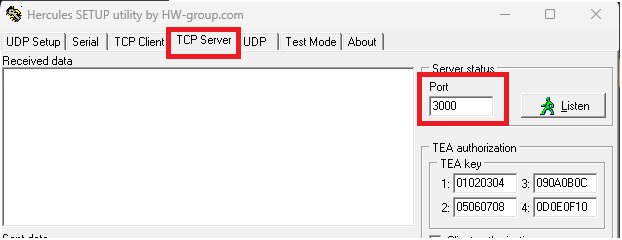
Select TCP Server tab and indicate the Port number. This number must be the same as the port declared on In-Sight Vision Suite software.
Click Listen.
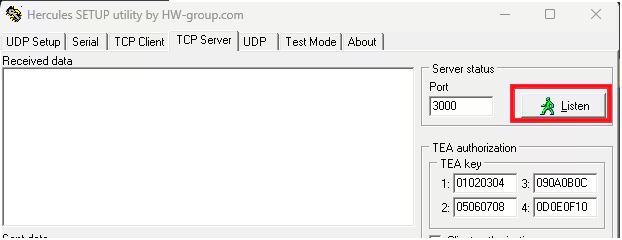
The software is ready to receive all the information from the camera.

Send a trigger to the camera. For each trigger that camera gets, new information will be displayed on the Received Data window.