Green Classify Tool – Classification Tags
The Green Classify tool performs classifications of views by assigning a classification tag to the views. The tag name can be up to 140 Unicode characters.
With the Green Classify tool, you will generally be using a large Training Set. Prior to using the tool, it is recommended to annotate your image files with descriptive names or numbering schemes to help when labeling the views.
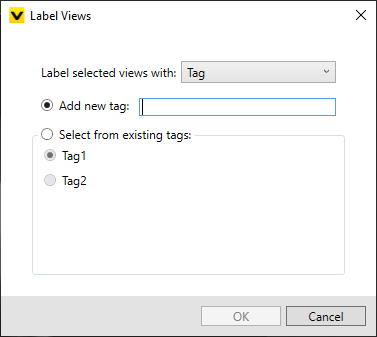
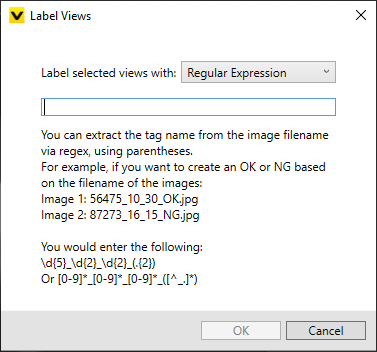
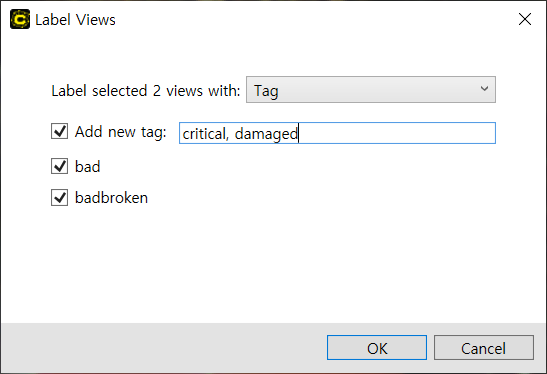
There are two methods in assigning a tag in ‘Label Views’ dialog. 1) You can label the views by specifying a tag 2) You can use a Regular Expression to programmatically assign tags based on the file names of the images.
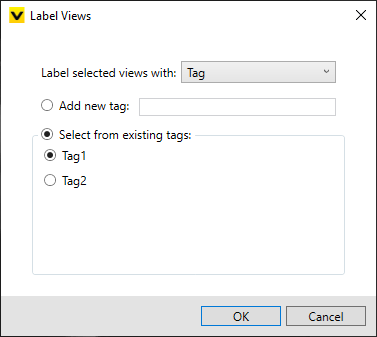
When you want to specifying view with a new tag name, you can do it by selecting ‘Add new tag’ item and entering the tag name in input field. Also, you can assign the existing tags by selecting tags from existing tag lists.
|
|
|
When you use regular expression for labeling, it is recommended to change the filename of images to include the texts or numbers which you want to use for tag name.
After the classification tags have been applied, and the tool has been trained, you can review the results to ensure that the tool correctly marked the images.
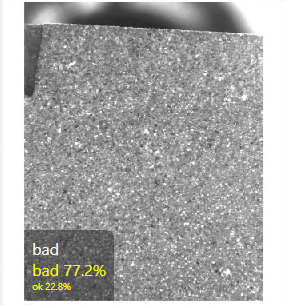
The label (aka tag), in white text, represents the "actual" class, and the marking, in yellow, represents the "predicted" class returned by the tool.
| Labeled | Mismatch | Trained | Not labeled |
|
|
|
|
|
|
This indicates that the image was labeled as bad (the white text), and the tool marked it as bad with a 77.2% certainty that the correct tag is "bad", while it has a 22.8% certainty that the correct tag is "ok." |
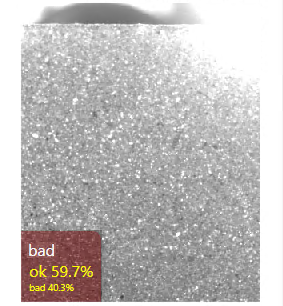
The red indicates a mismatch, where the label (the white text) and the marking (in yellow) are in disagreement. The tool is reporting with 59.7% certainty that the correct tag is "ok" while the label is "bad." |
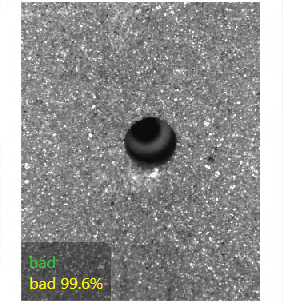
The green text indicates that the image was used as a training image. |
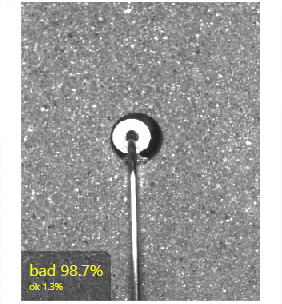
This indicates where an image was not labeled, and the tool marked the image. |
Non-Exclusive Mode for Multiple Tags
Green Classify Tool supports multiple tags by disabling Exclusive checkbox. In non-exclusive mode, a view can belong to multiple classes (tags) and the classification results for each tag are produced accordingly. Note that if you want to engage non-exclusive classification with a Green Classify Focused tool, you have to reset this tool (remove all markings and labels) and remove the trained model of the tool.
Adding Multiple Tags
Activated non-exclusive mode by disabling Exclusive, you can put multiple tags for each view. Note that you can mix up new tags and tags that already existed. If your view was an already labeled one, all the previous tags will be removed and replaced by the new tags.
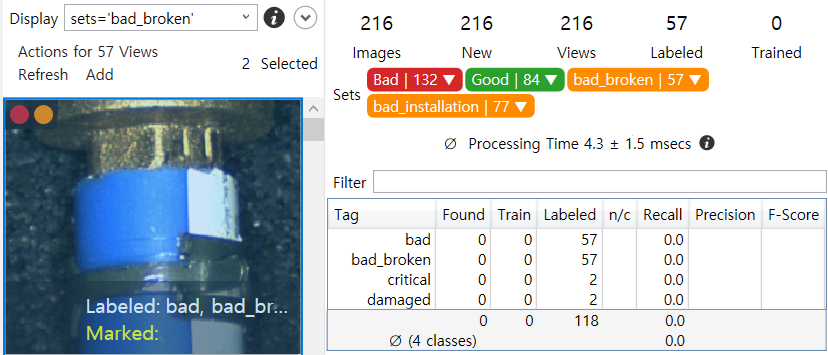
Interpreting Results
Once it was trained and process, the results of non-exclusive Green Classify Focused tool are calculated by each class. This means that the recall, precision, and the f-score is calculated per class. Like Green Classify Focused in exclusive mode, the recall, precision, and the f-score are calculated in the sense that TP, TN, FP, FN are calculated based upon "best_tag," which is the class that has the highest probability among all classes.
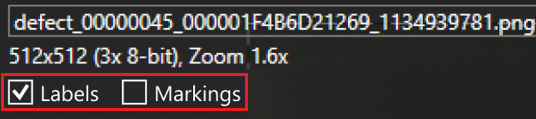
Overlay Checkbox
The overlay graphics of labels and markings are shown back and forth or side by side whenever you press Alt + Left/Right or enable each checkbox (Labels and Markings) on Image File Information.