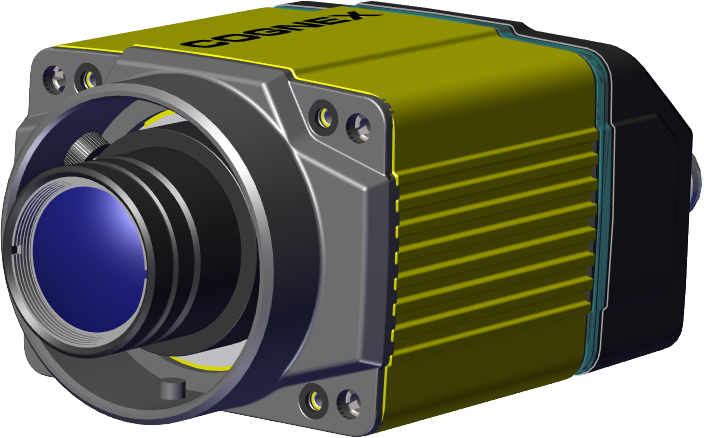
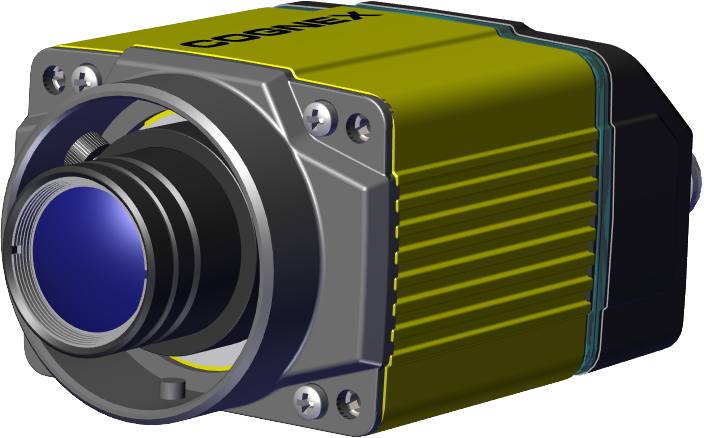
Installing a C-Mount Lens
Possible hardware configurations using a C-Mount lens with a DataMan 370 or 470 series reader:
| System | Lens | Lens Part Number |
C-Mount Cover (DM300-CMCOV) |
Short C-Mount Cover (DM300-CMCOV-SH) |
|---|---|---|---|---|
|
DM370 DM470 |
12 mm F8 | LEC-CFF12-F8 |
|

|
| 16 mm F8 | LEC-CFF16-F8 |
|
||
| 25 mm F8 | LEC-CFF25-F8 |
|
|
|
| 35 mm F8 | LEC-CFF35-F8 |
|
||
| 40 mm F8 | LEC-CFF40-F8 |
|
||
| 50 mm F8 | LEC-CFF50-F8 |
|
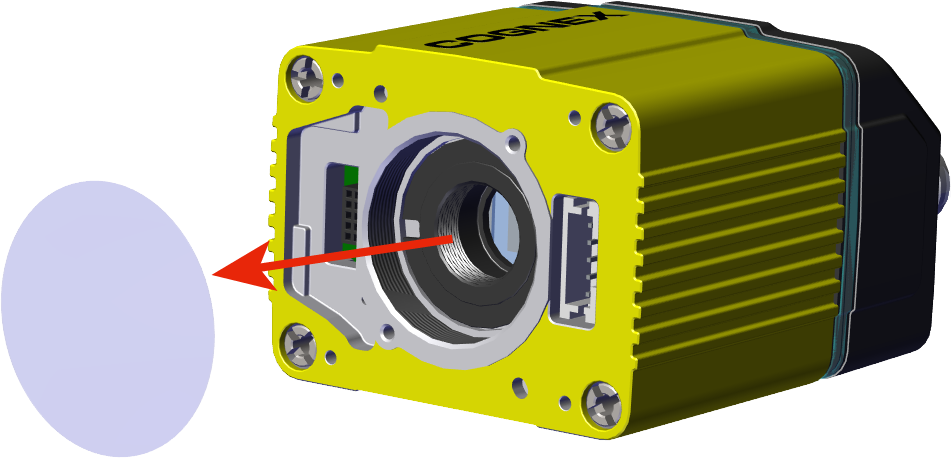
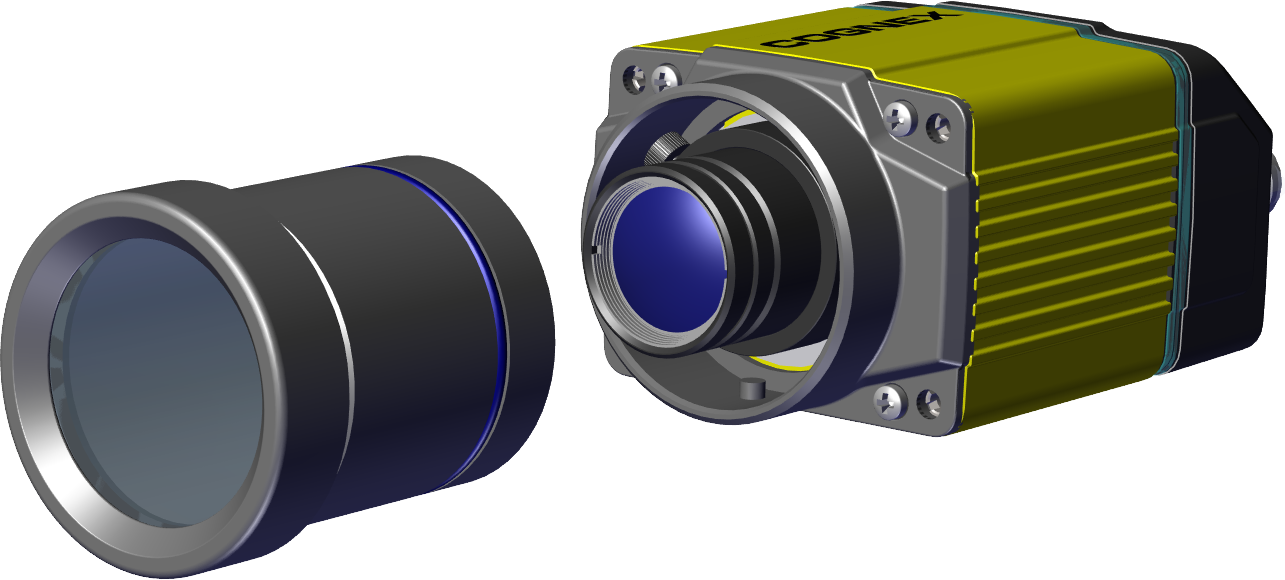
- Remove the adhesive protective film.
-
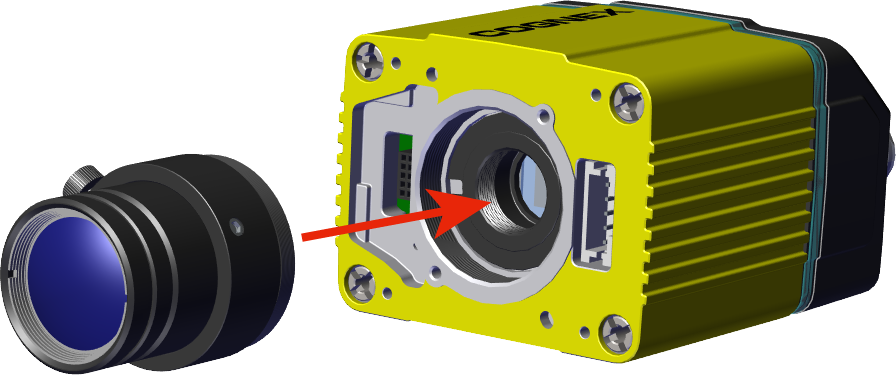
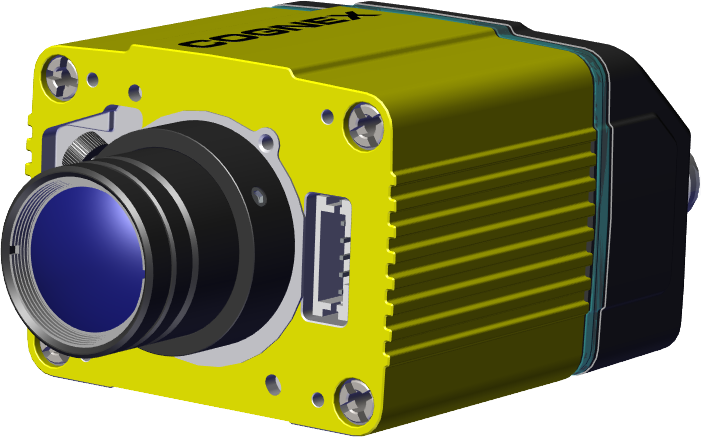
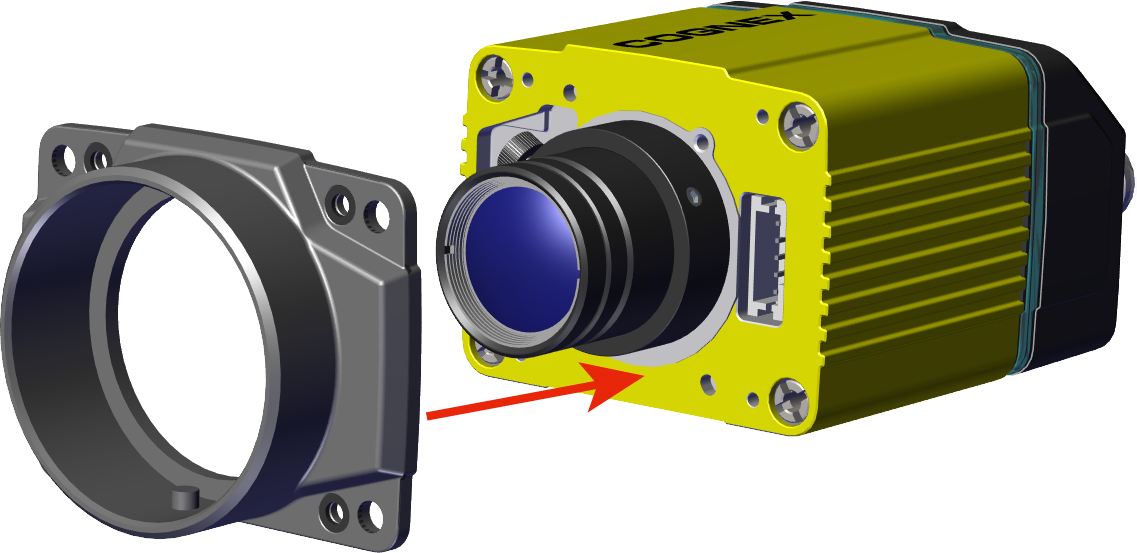
Thread the lens into the reader.
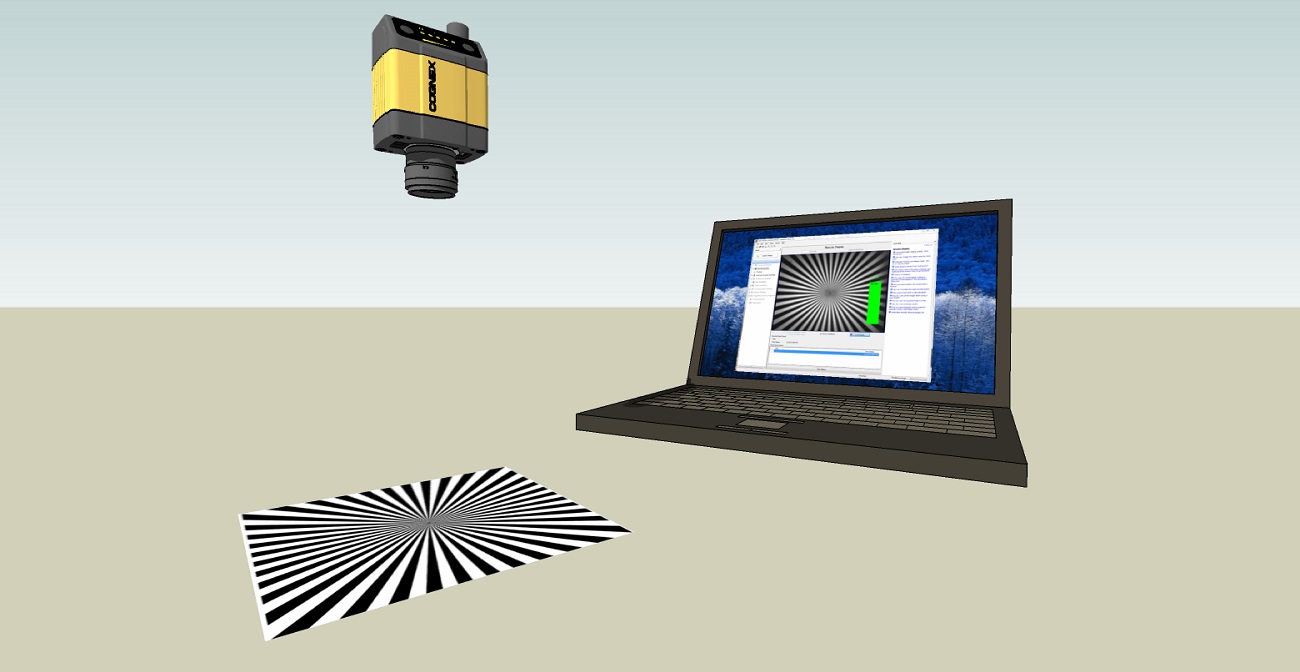
- Place the reader at the desired working distance from focus target.
- Connect the reader to the DataMan Setup Tool.
- Navigate to the Optimize Image pane, and on the Basic tab, click the triangle on the Live button to access the drop-down list, and check the Focus Feedback option.
- Use the DataMan Focus Target template, available through the Windows Start menu or the DataMan Setup Tool Help menu, to align the edge of the reader body to the line marked with the target distance used in your application.
-
Adjust focus for maximum sharpness. Enhance image quality in the DataMan Setup Tool for better guidance.
-
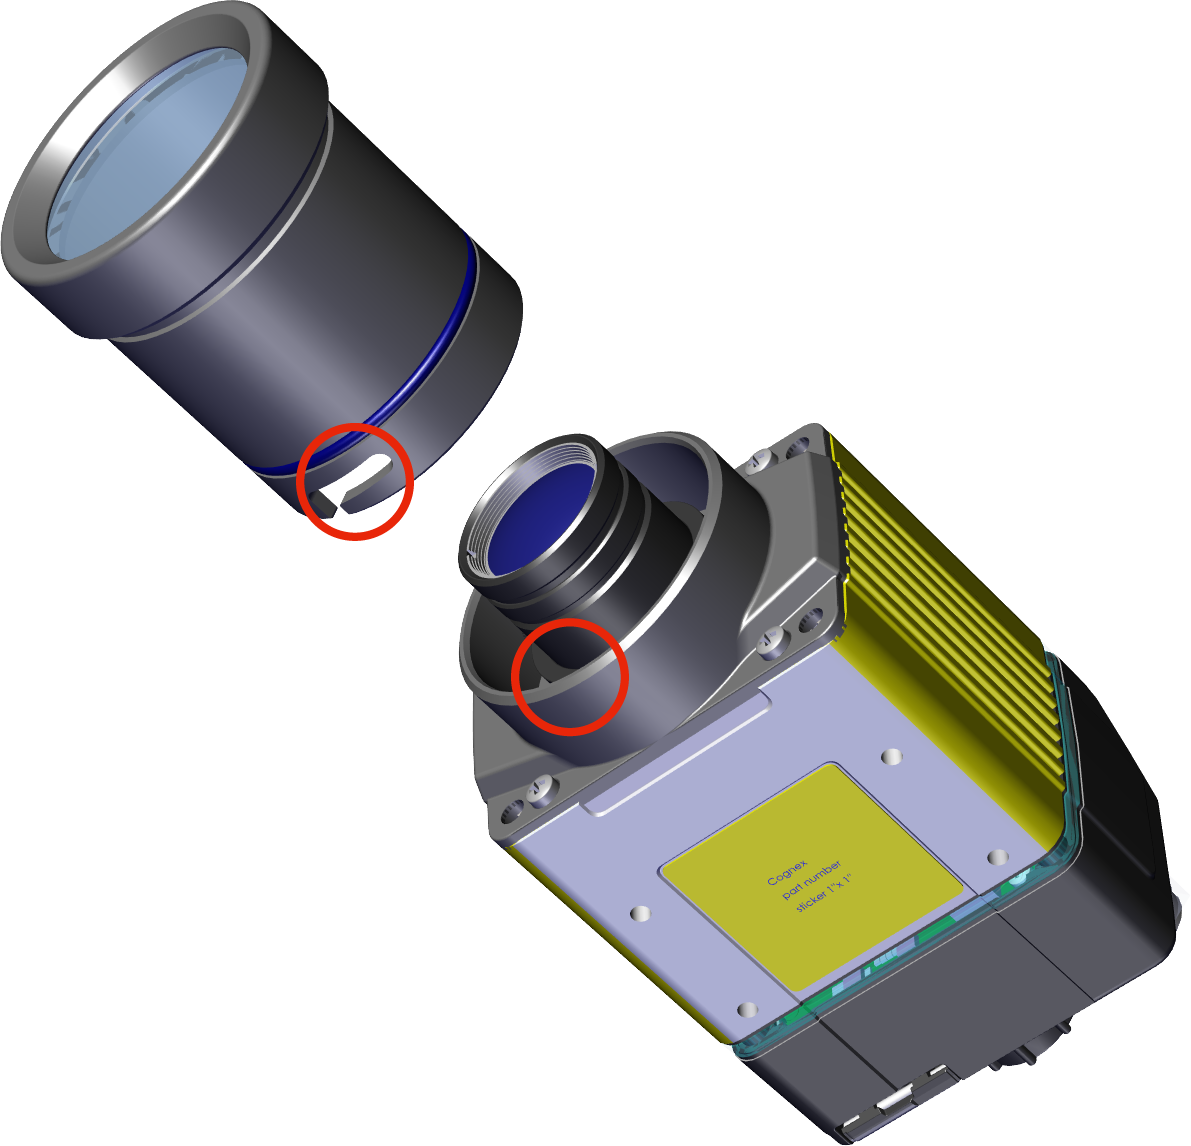
Attach the C-Mount cover base.
-
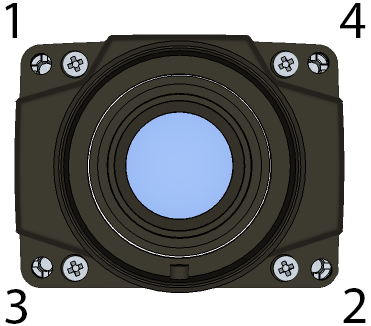
Add the screws to the C-Mount cover base.
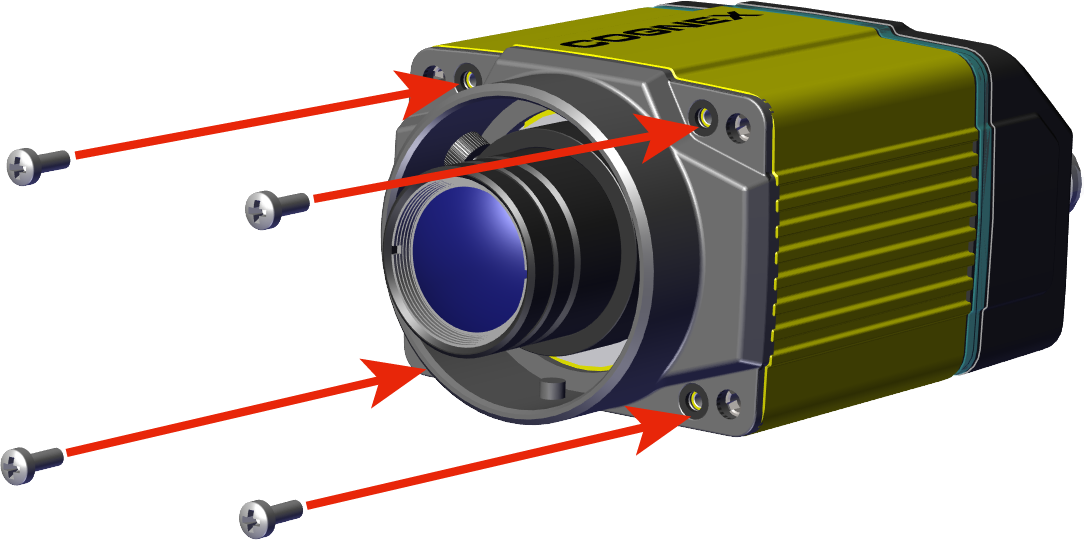
PHILLIPS PAN HEAD M2 X 6 mm
Note:Tighten in sequence. Torque limit: 9 Ncm (0.8 in-lbs).
-
Attach the front cover.
 Note: Do not unscrew the front-most part of the nose of the cover to avoid risking the glass lens falling out.
 - Align the peg on the reader and the slot on the cover so that the cover locks in place.
|
|
|