Install the Lens (C-Mount Lens Configuration)
There are two lens configurations available for the vision system: an M12 lens configuration, and a C-Mount lens configuration. If you purchased a vision system with the M12 lens configuration, the vision system is shipped with the lens pre-installed and no additional installation is required. If you purchased a vision system with the C-Mount lens configuration, you will need to complete the following steps to install the lens to the vision system.
- Autofocus is not supported for the C-Mount lens configuration.
- If you purchased a vision system with the pre-installed M12 lens, the lens can be replaced with other M12 lenses. The Cognex Lens Tool accessory (LNS-M12-TOOLKIT) must be used to replace the M12 lens. For installation instructions, refer to the In‑Sight® 7000 Series Vision System Optional Configurations, available for download on the In-Sight support site: cognex.com/support/insight.
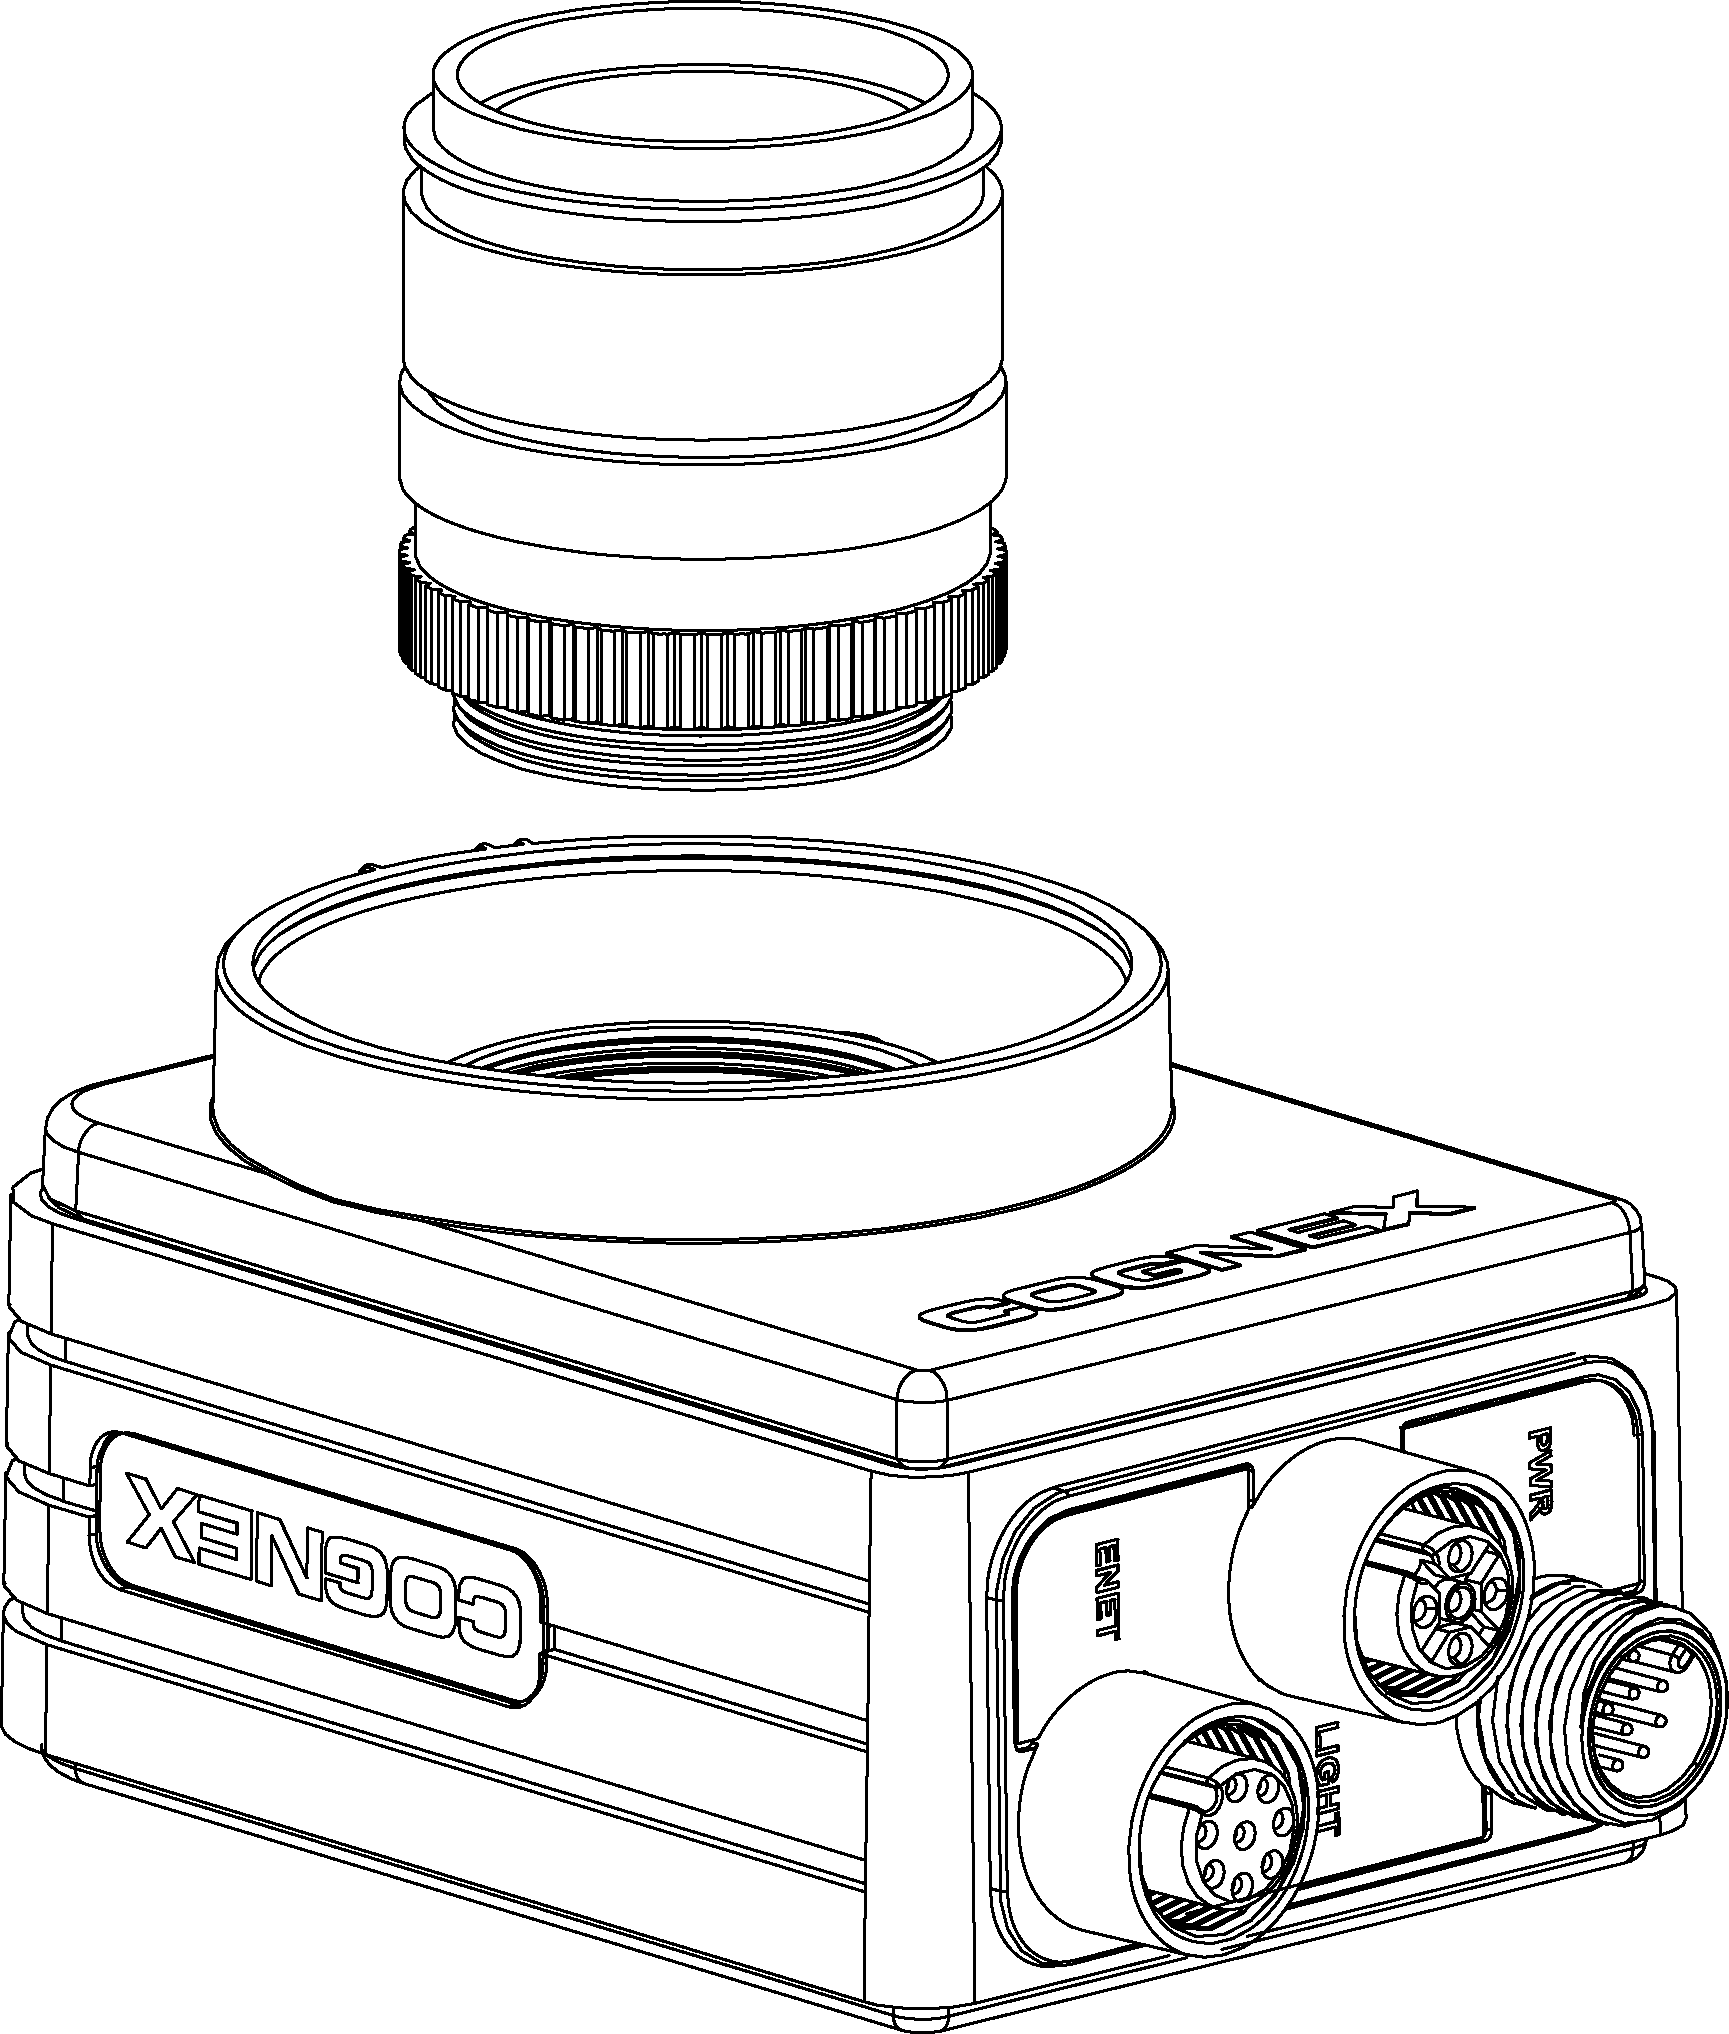
- Remove the protective film covering the threaded lens opening, if present.
- Attach a C-Mount lens to the vision system.The exact lens focal length needed depends on the working distance and the field of view required for your machine vision application.
-
If using a lens cover, attach the lens cover to the vision system.
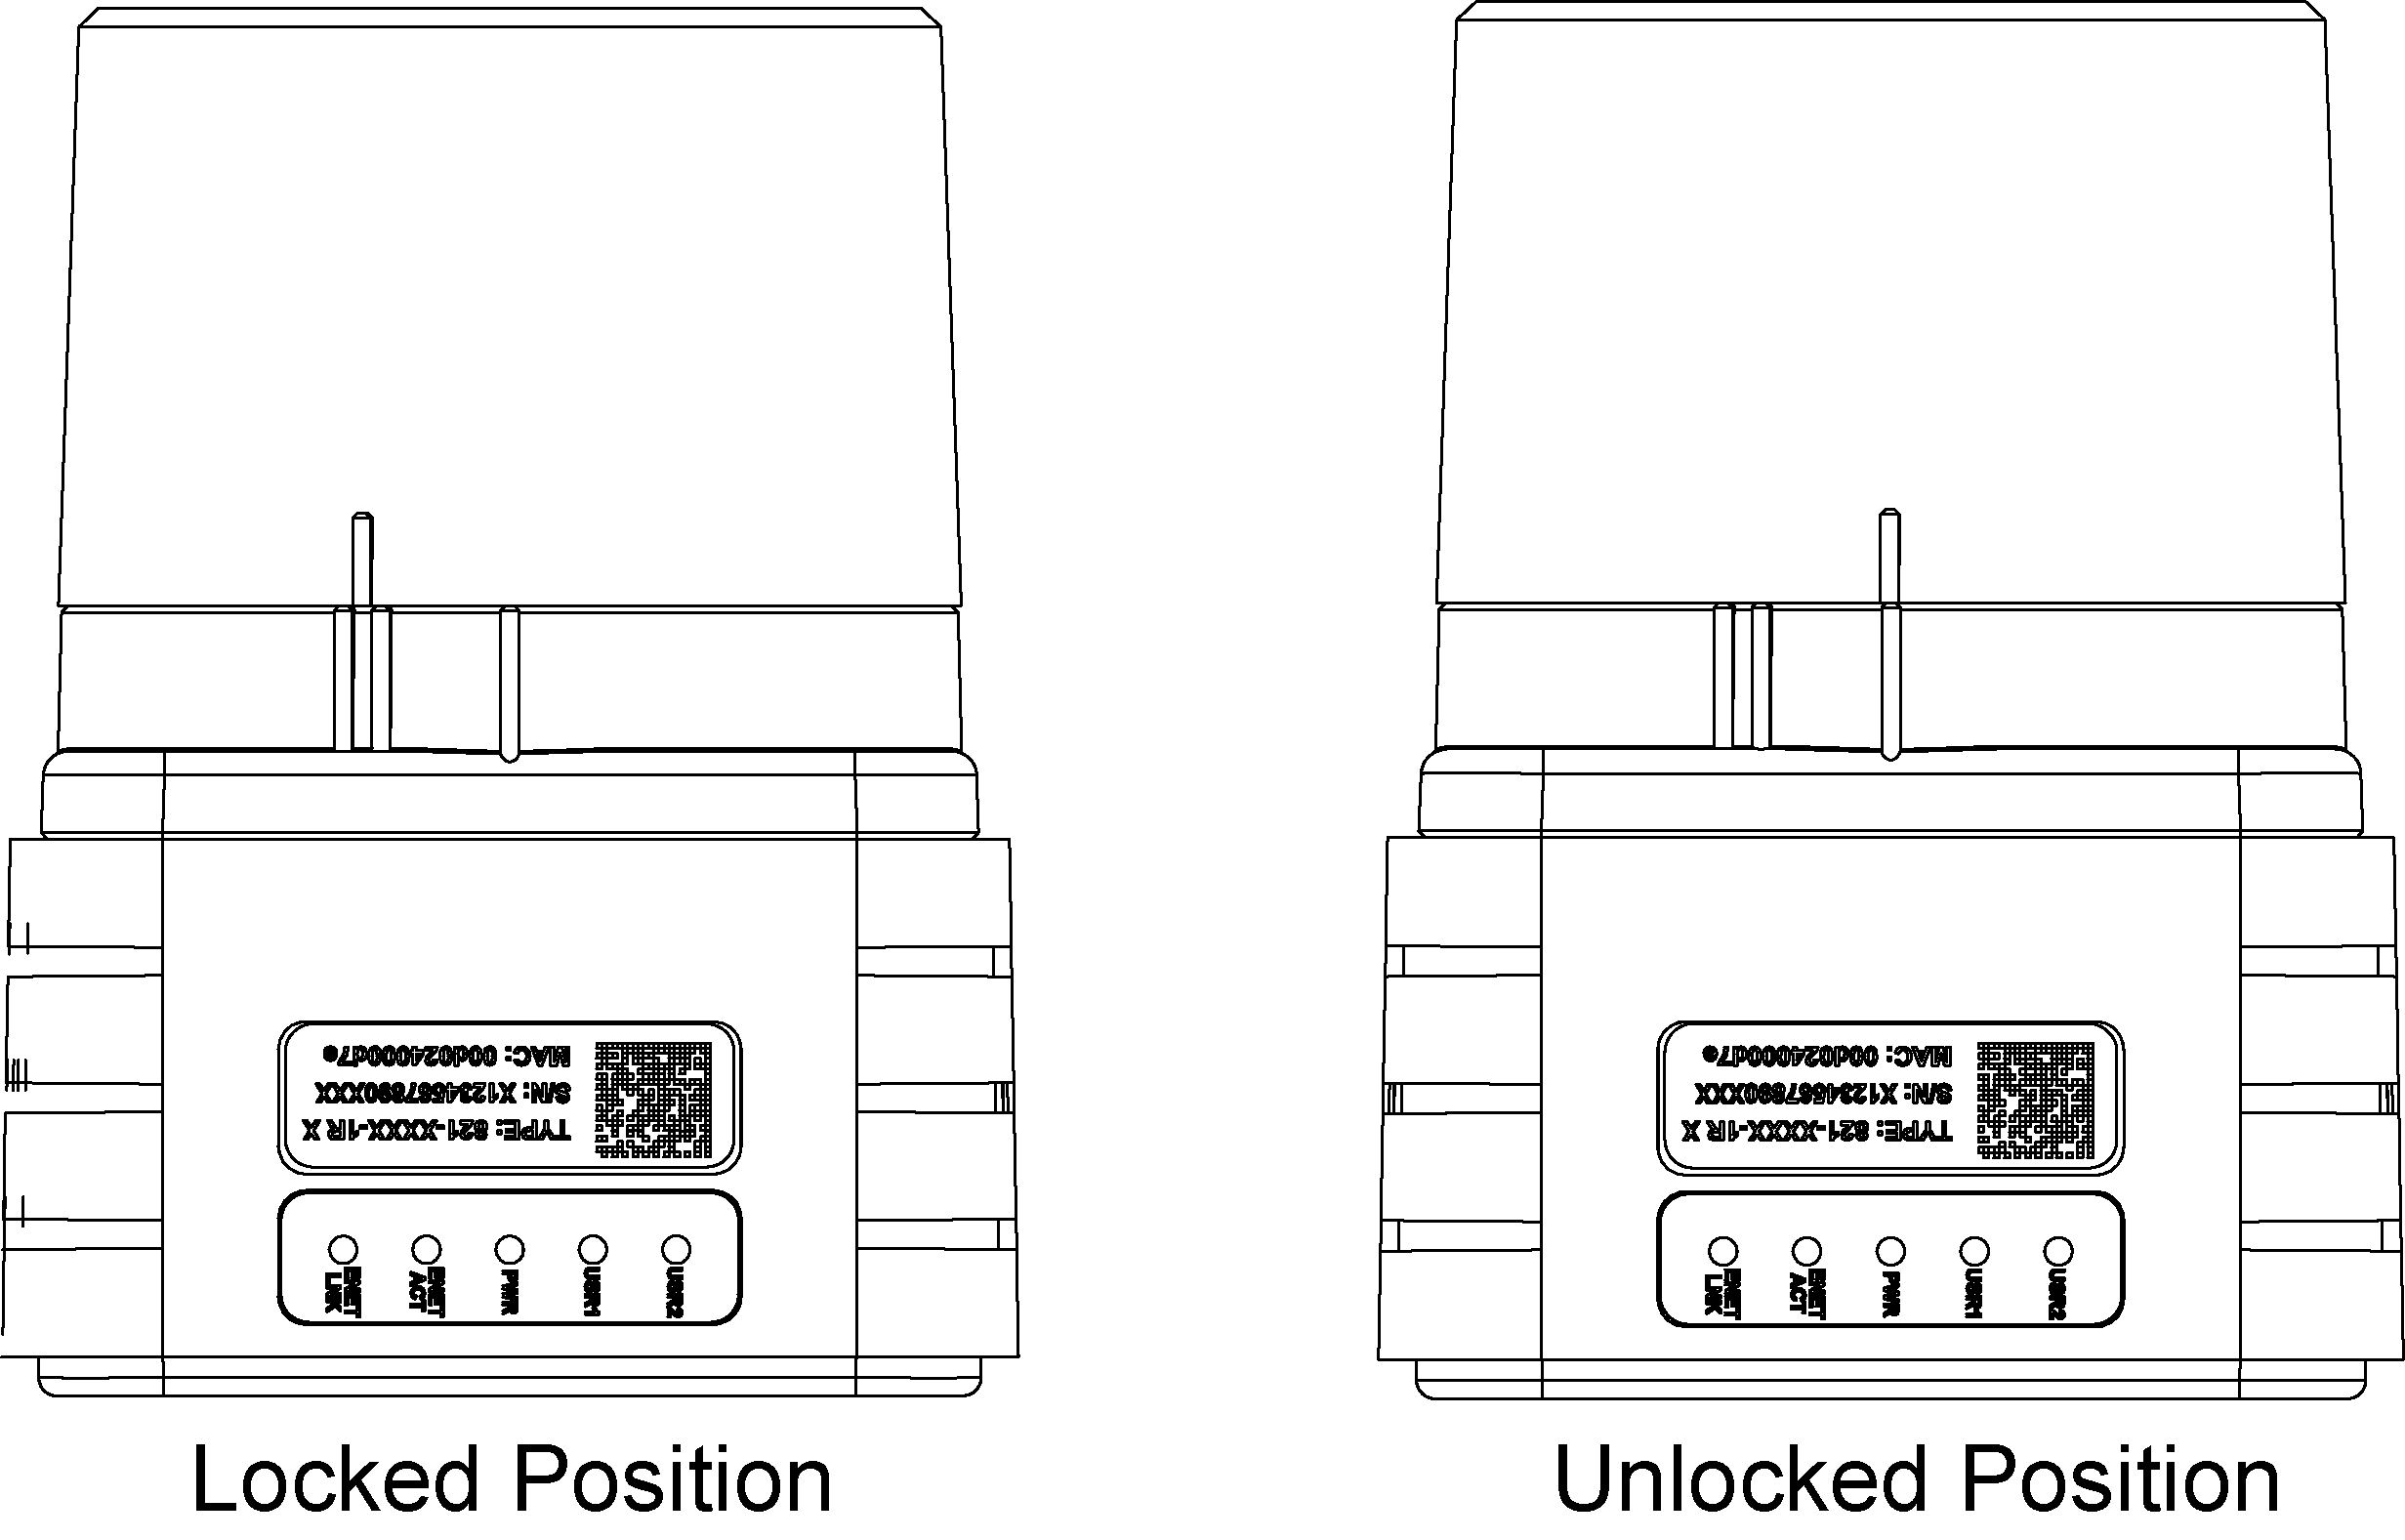
- Align the keys on each side of the lens cover with the notches on the vision system, then push the lens cover down to the vision system until it stops moving.
CAUTION: The lens cover is "keyed" to fit the vision system; do not force the connections or damage may occur.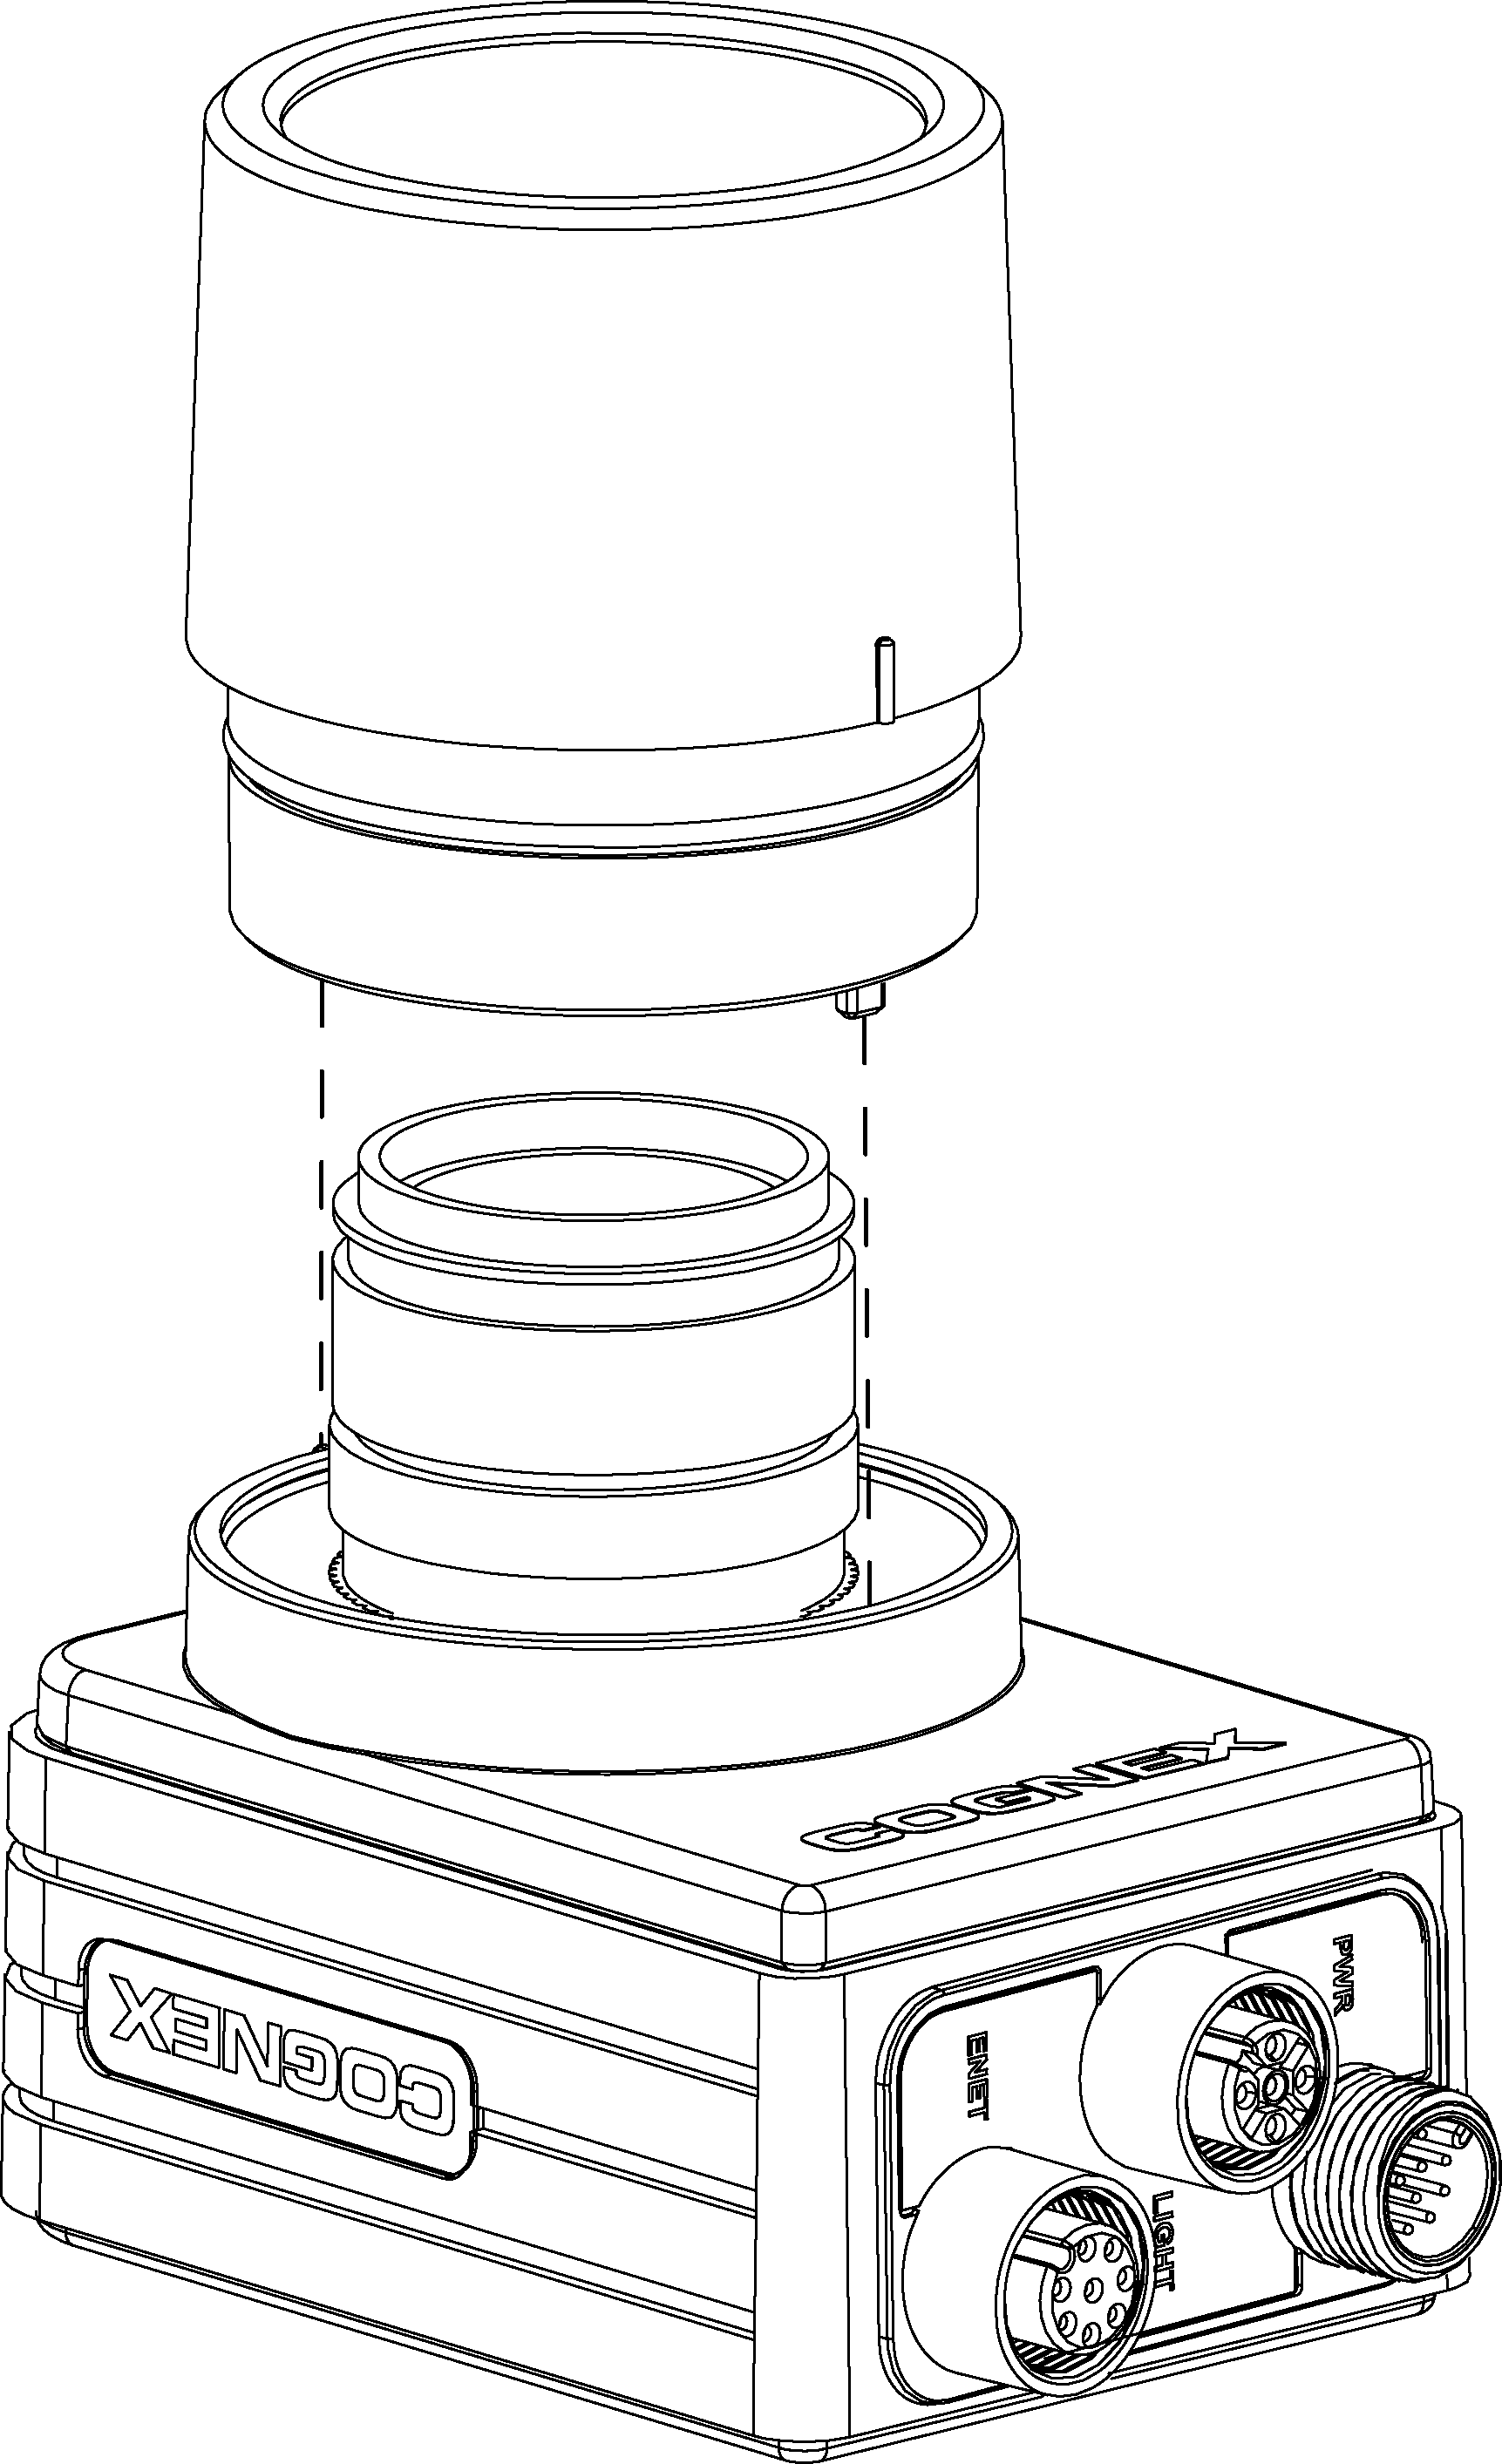
- Turn the lens cover clockwise until it is in the locked position.