Resource Editor
The Resource Editor is used to import and use Images, such as logos or other graphics in a WebPage. These resources are stored with the job, and can be accessed by an Image User Inputs element.
Use the editor as follows:
-
Open the editor by clicking Tools > Resource Editor in the menu bar.

The Resource Editor dialog then appears:
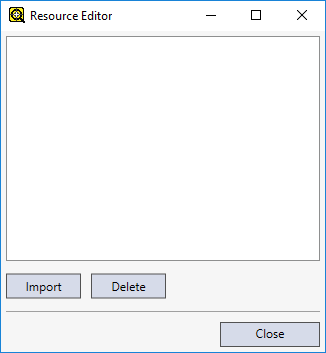
-
To add an image, click the Import button and then browse the image file you want to add, and then click Open. The editor supports importing GIF, JPG, BMP, PNG, TIFF and SVG files.
-
If you browse a supported image type and click Open, the Enter Resource Name pop-up appears, allowing you to specify a descriptive name for the image.
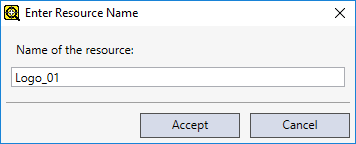
The default name of the imported image is the same as the image's file name. Click Accept when you are done.
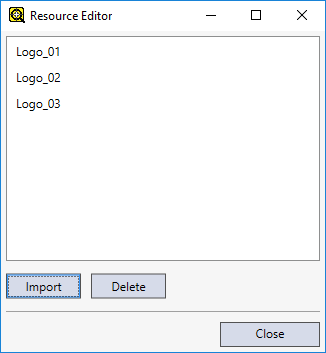
-
The Resource Editor should list the imported images as shown below once you are done.