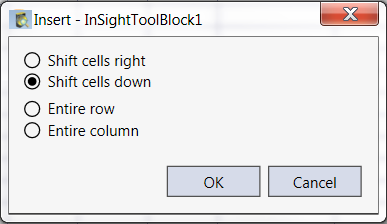
Insert Cells Dialog
The Insert Cells dialog is used to add a cell, a range of cells, a new row or new column to the spreadsheet.
To Display the Insert Cells Dialog
- Click a cell or a range of cells in which you would like to insert a new cell, a range of cells, a new row or new column.
-
Right-click the cell(s) that you want to insert additional cells, row or column near and select Insert from the right-click menu.

- Once you have decided upon how you would like the additional cell(s), row or column added, click OK to insert the cell(s), row or column.
Insert Cells Dialog Controls
- Shift cells right: Inserts the new cells to the left of the selected cell(s). Select the same number of cells as you want to insert.
- Shift cells down: Inserts the new cells above the selected cell(s). Select the same number of cells as you want to insert.
- Entire row: Inserts an entire row of cells. Click a cell in the row immediately below where you want the new row. For example, to insert a new row above row 5, click a cell in row 5.
- Entire column: Inserts an entire column of cells. Click a cell in the column immediately to the right of where you want to insert the new column. For example, to insert a new column to the left of column B, click a cell in column B.