Create a New Job with the Job Wizard
The Job Wizard allows you to quickly and manually set up a new job. It appears only if you have any custom job templates stored in the <X>:\Users\<username>\Documents\In-Sight Vision Suite\Job Templates folder
Perform the following steps to create a new job with the Job Wizard:
-
Click File > New to launch the Job Wizard.
Note:When clicking the option, the following dialog may appear, prompting you to save your job before continuing:
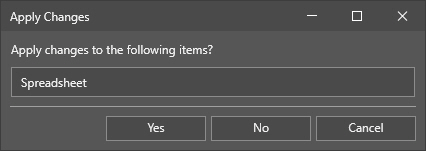
Click Yes if you want to save the currently loaded job and continue with the Wizard, or click No if you want to discard the unsaved changes before continuing. Click Cancel if you want to keep working on the currently open job.
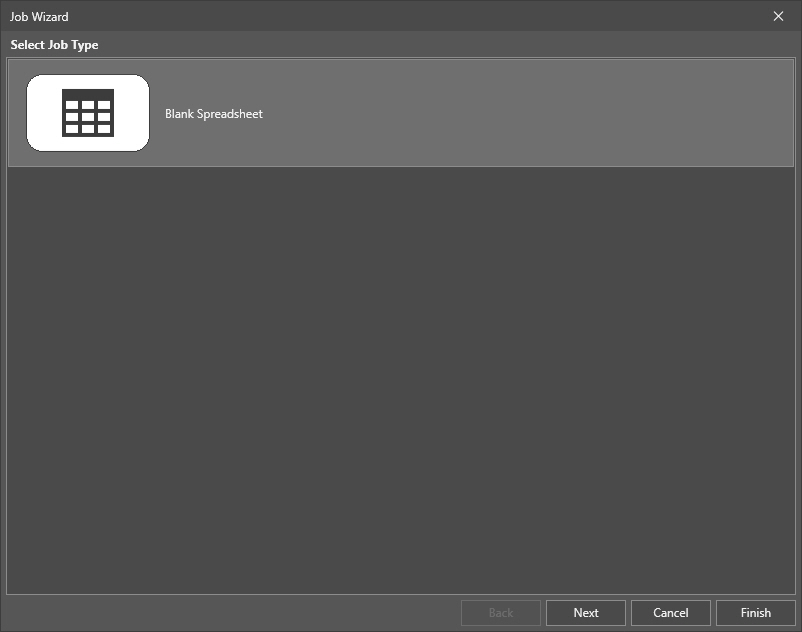
The Job Wizard dialog should open:
-
Select the available job template on the list. By default, the Blank Spreadsheet template should appear. However, in case you have any user-made custom job templates stored in the <X>:\Users\<username>\Documents\In-Sight Vision Suite\Job Templates folder, then these custom templates will also be listed in this step. Select the template, then click
-
The Image Preview step appears.
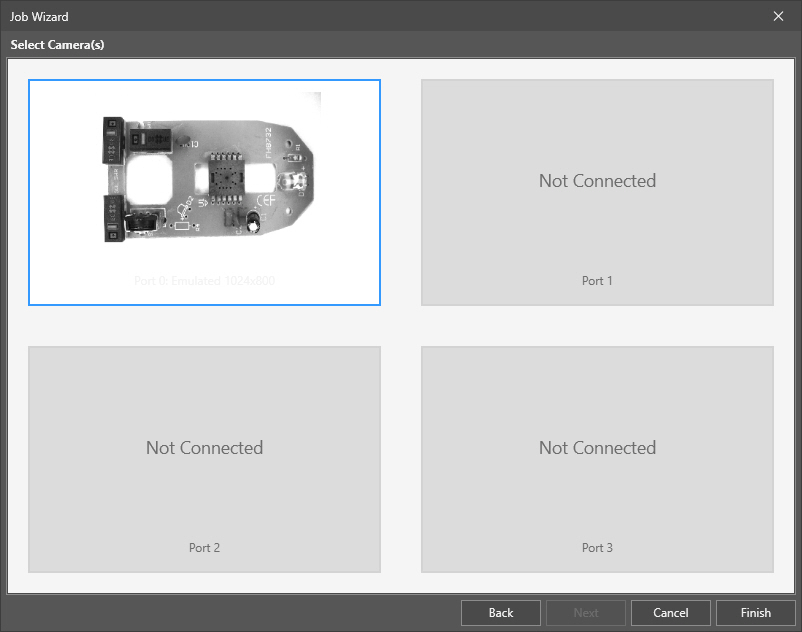
Proceed depending on whether you are using a physical device (that is, a D900 series vision system or an In-Sight ViDi PC deployment with physical CIC cameras) or an emulated device:
- If you are using a physical device (or devices), make sure that the image preview on the screen shows good-quality live acquisition. If not, adjust the hardware according to the hardware's reference guide. If yes, then click Finish.
- If you are using an emulator, make sure that applicable image files (8-bit grayscale JPG or BMP files in a resolution corresponding to the emulator settings) are available in the folder you set when configuring the emulator. The emulator settings are configured properly if the images used for emulation are looped through the camera thumbnail, and are shown without cropping. Click Finish when you are ready.
The job is then set up with the parameters provided in the previous steps with the Unsaved Job name. Use the File > Save All or File > Save As options of the Menu Bar to save the job.