Setting Up a Link-Local NTP Server on a closed network
General Overview
An NTP server on a closed network reduces outbound network traffic by designating a small subset of computers to sync their time with the global time servers and then relay that time to all devices internal to the network.
Set Up the NTP Server on Windows
All versions of Windows (as of January 2021) have an outdated and unsupported implementation of the NTP protocol. Therefore it requires some additional setup.
-
Download and install the latest NTP server installer for Windows from Meinberg Global. Scroll down to the bottom part of the page to find the setup.exe file next to the first
 (drop shaped) icon.
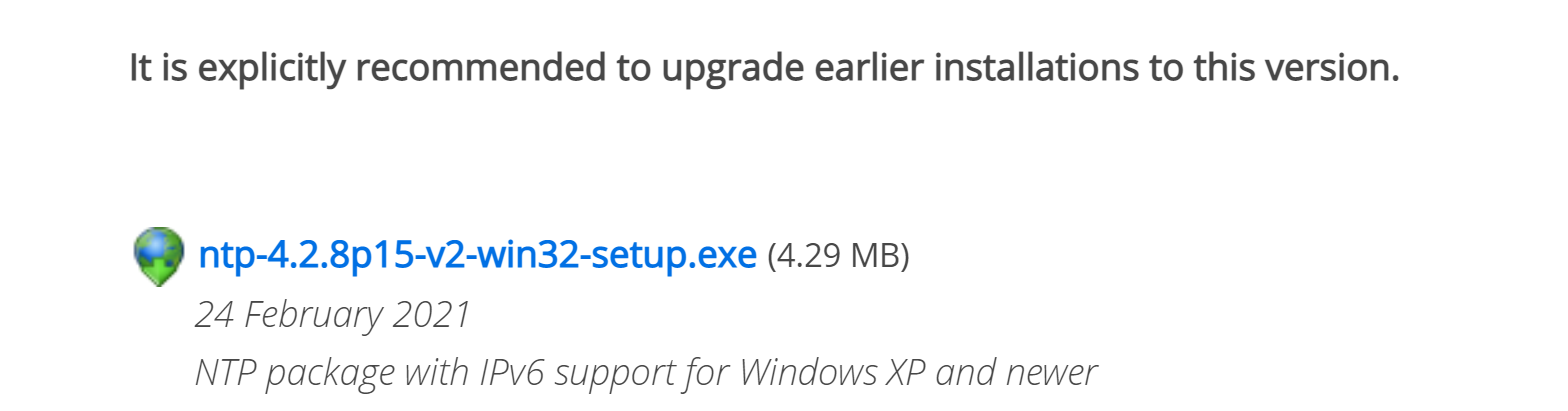
Scroll further, and under the file with the second
(drop shaped) icon you can find screenshots of the NTP installation process. -
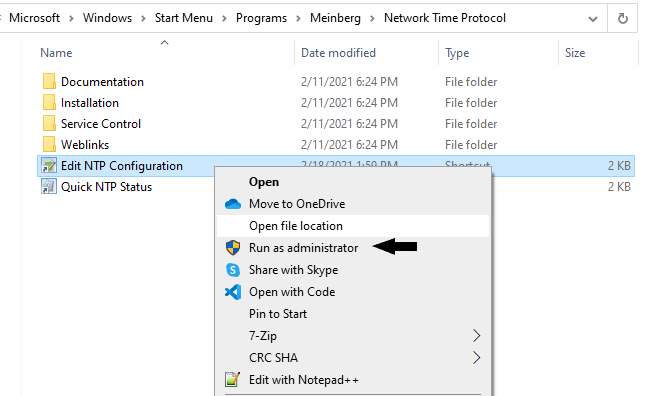
Once installed, navigate to the following folder:
-
Right click Edit NTP Configuration shortcut file and select Run as Administrator dropdown menu item:
- Modify the file to set up your NTP server. The file contains helpful comments and details if you would like to customize the setup to your own needs. For a simple solution, replace the contents of the file with the text below:
-
Back in the windows manager, open the folder Service Control, then right-click the Restart NTP Service shortcut file and select Run as Administrator dropdown menu item:

-
Once the restart has completed, go back to the previous folder and double-click the Quick NTP Status shortcut file to confirm that multiple servers show up (this may take several seconds)
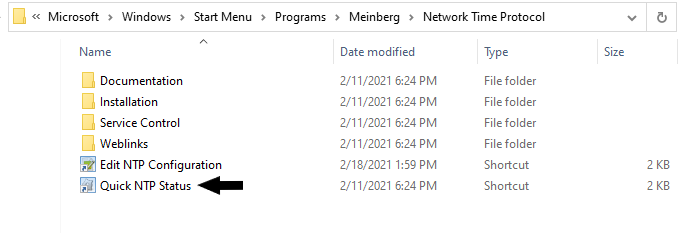
- If the status displays a list of upstream servers, then everything if working correctly. Connect the camera to your computer to set up the link-local connection.
-
Open the command prompt and type the following:
ipconfig
-
Record the IPvAddress that is associated with the ethernet adapter connected to the camera.
-
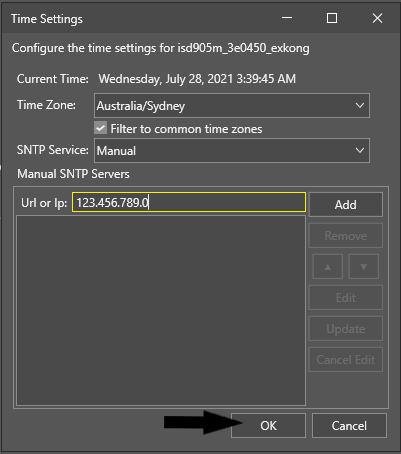
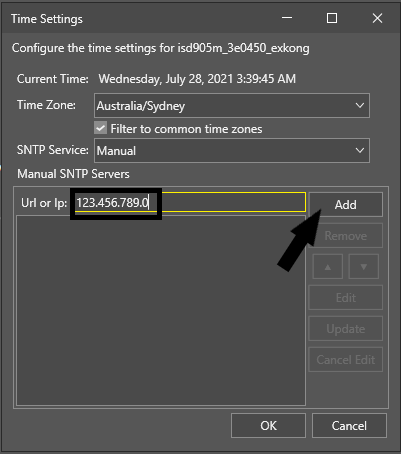
Open In-Sight Vision Suite, select the camera you have set up with link-local, and click the Time Settings button in the Utilities bar on the bottom.

-
Remove all existing IP addresses.

Repeat this step until all IP addresses are removed from the list.
- Add the IP address collected in step 9.
-
Click the OK button and then restart the device.
-
The initial date adjustment may take a minute or two, but should eventually match the date on the host computer. To confirm this, once the camera has rebooted, select the camera in In-Sight Vision Suite and again click the Time Settings button. The Current Time: should have the same time as your host computer.
C:\Users\<USERNAME>\AppData\Roaming\Microsoft\Windows\Start Menu\Programs\Meinberg\Network Time Protocol\
restrict 127.0.0.1
restrict -6 ::1

driftfile "C:\Program Files (x86)\NTP\etc\ntp.drift"

server 127.127.1.0
fudge 127.127.1.0 stratum 12

server 0.pool.ntp.org iburst minpoll 6 maxpoll 7
server 1.pool.ntp.org iburst minpoll 6 maxpoll 7
server 2.pool.ntp.org iburst minpoll 6 maxpoll 7
server 3.pool.ntp.org iburst minpoll 6 maxpoll 7
server pool.ntp.org iburst minpoll 6 maxpoll 7
Potential Issues
If the server is successfully up and running, but the time set of the camera is still not syncing, modify the host systems firewall settings for port 123 to allow UDP in and out.