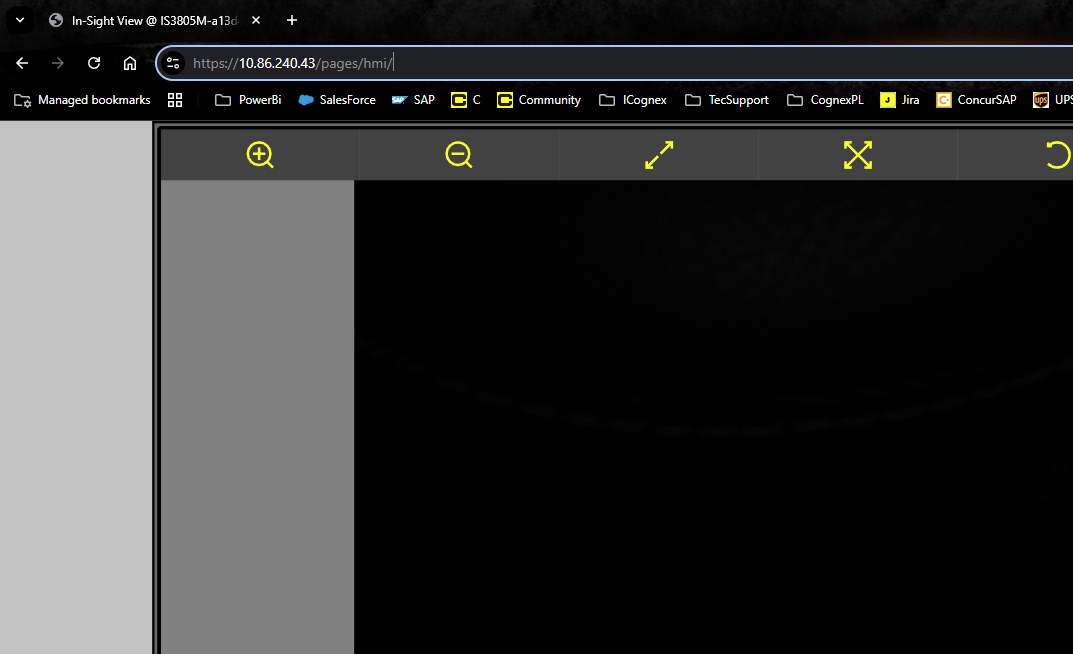
Question
How to add assigned certificate to support HTTPS connection for the WebHMI for In-Sight 2800/In-Sight 3800 camera
Answer
- Download OpenSSL either from github or installed version
https://slproweb.com/products/Win32OpenSSL.html - Install it on your PC
Run WIN64 OpenSLL Command Prompt from Windows->Start
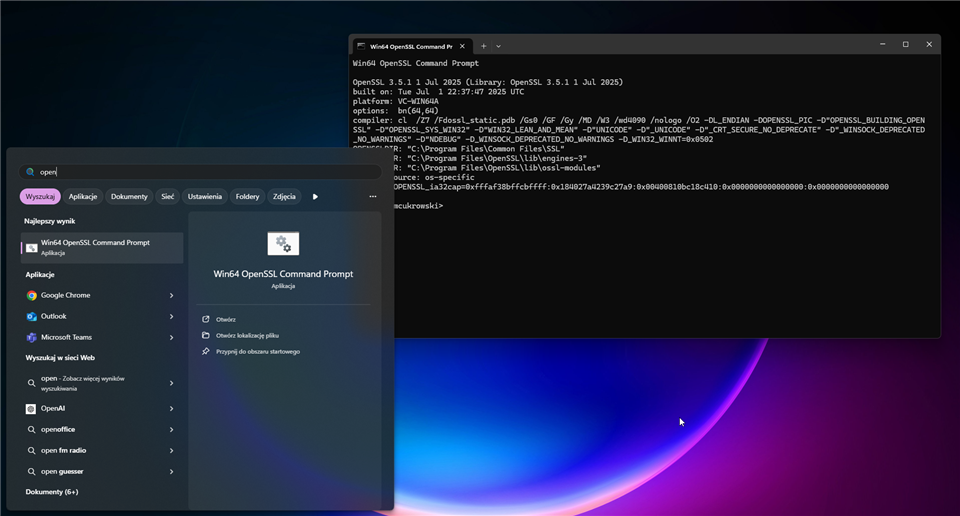
- Create working folder locally. For me C:/OpenSSL
Generate private key for your session
openssl genpkey -algorithm RSA -out "c:\OpenSSL\myCA.key" -pkeyopt rsa_keygen_bits:2048
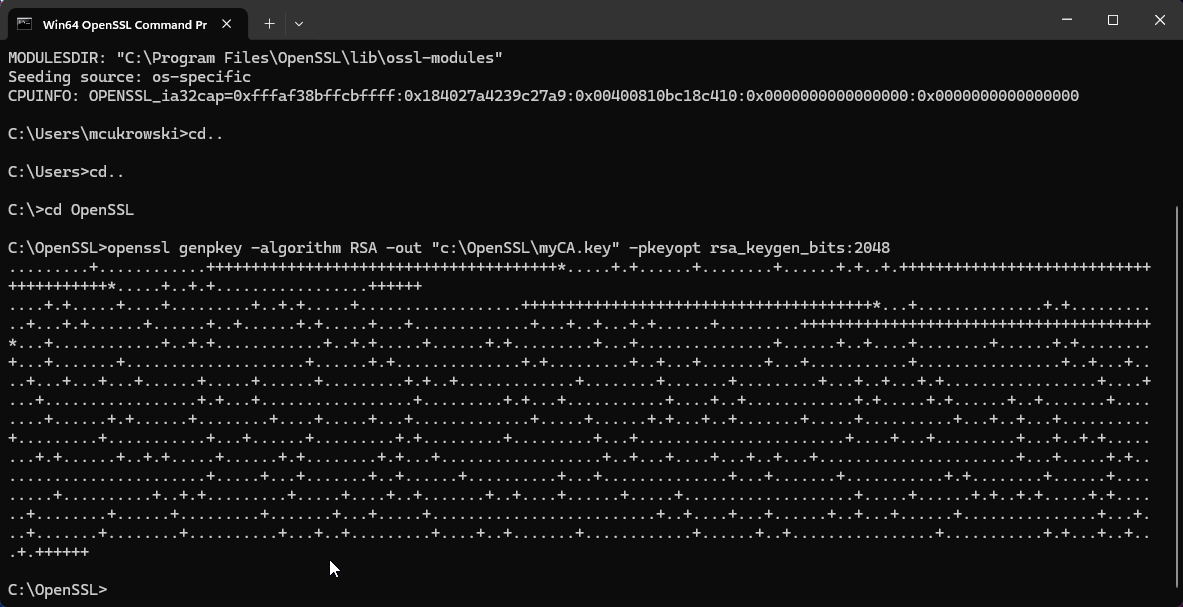
- File will be generated with name myCA.key
Generate gov certificate assigned with previously generated key valid for 365 days.
openssl req -new -x509 -key "c:\OpenSSL\myCA.key" -out "c:\OpenSSL\myCA.crt" -days 365 -subj "/CN=MyLocalCA"
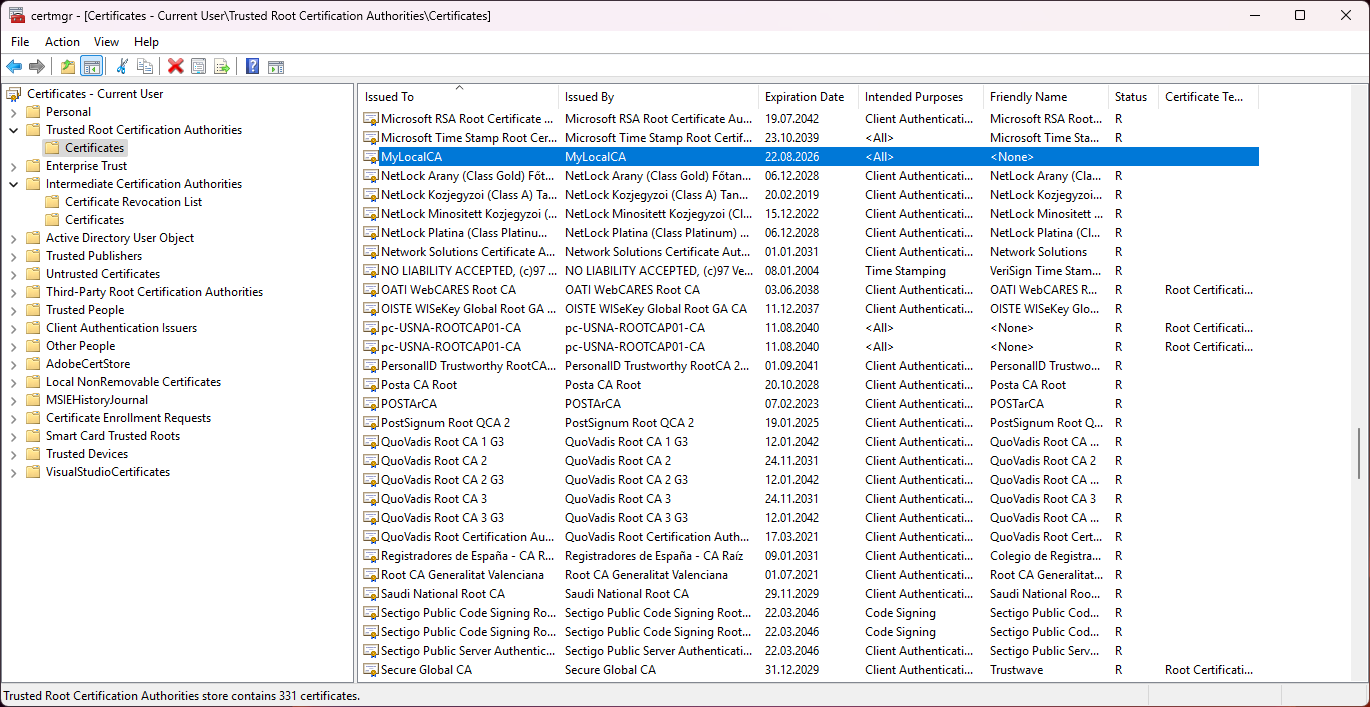
Go to Windows and type "Manage User Certficates"
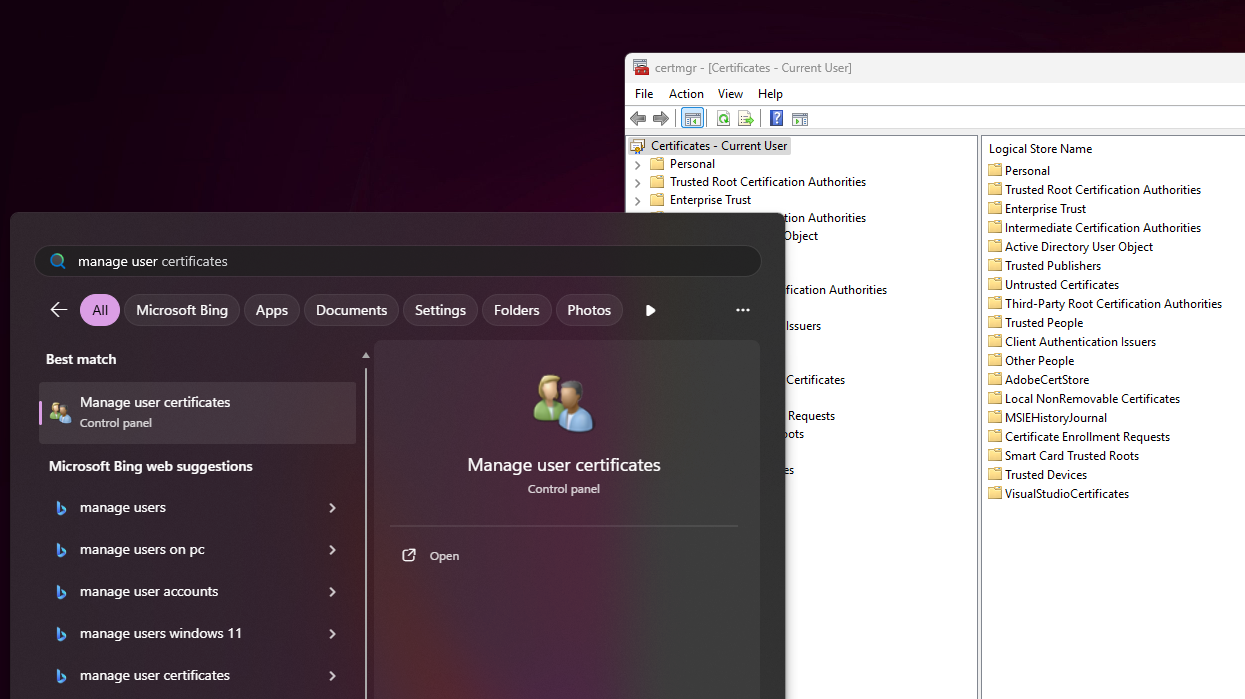
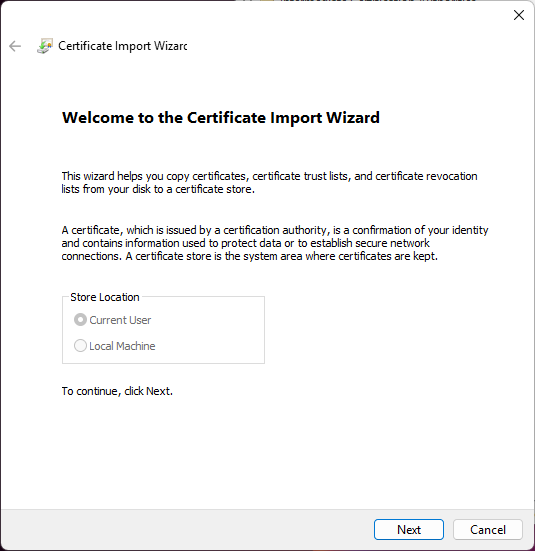
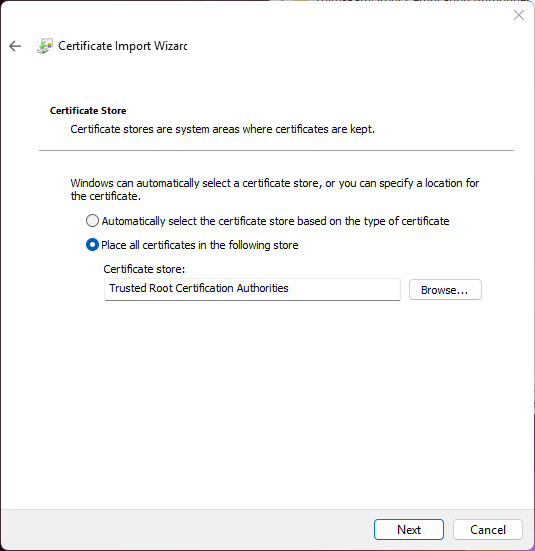
- Go too Trusted Root Certification Authorities -> Certificates -> right click on it and choose "All Tasks -> Import"
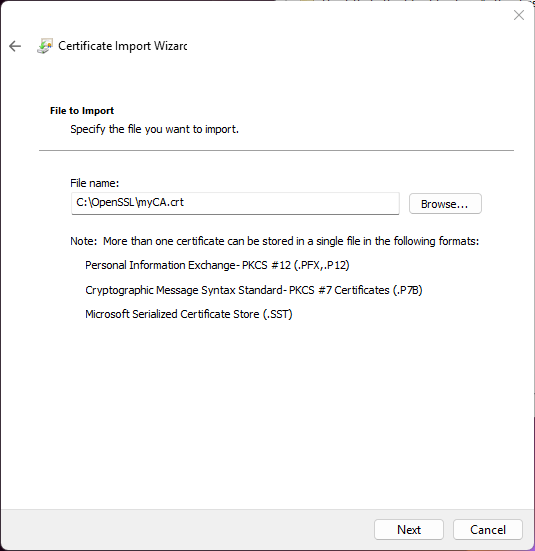
In Certificate Wizard -> click next until chosing your generated certificate
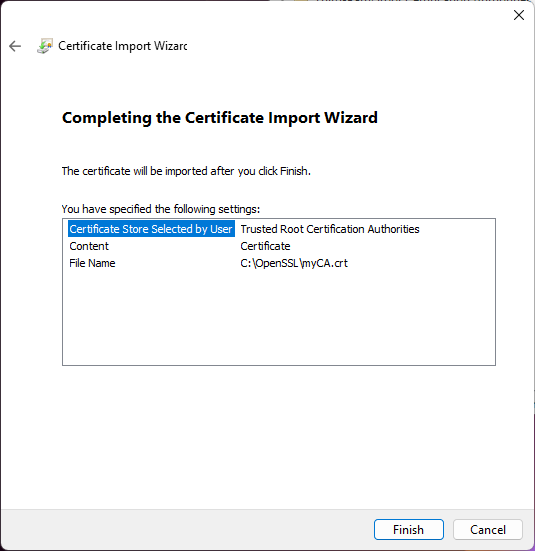
Check does certificate exist
Create SAN.cfn file in same working folder with your cameras' IP and cameras' name
[ v3_ca ]
subjectAltName = @alt_names[ alt_names ]
IP.1 = 192.168.0.34
DNS.1 = second-scan-up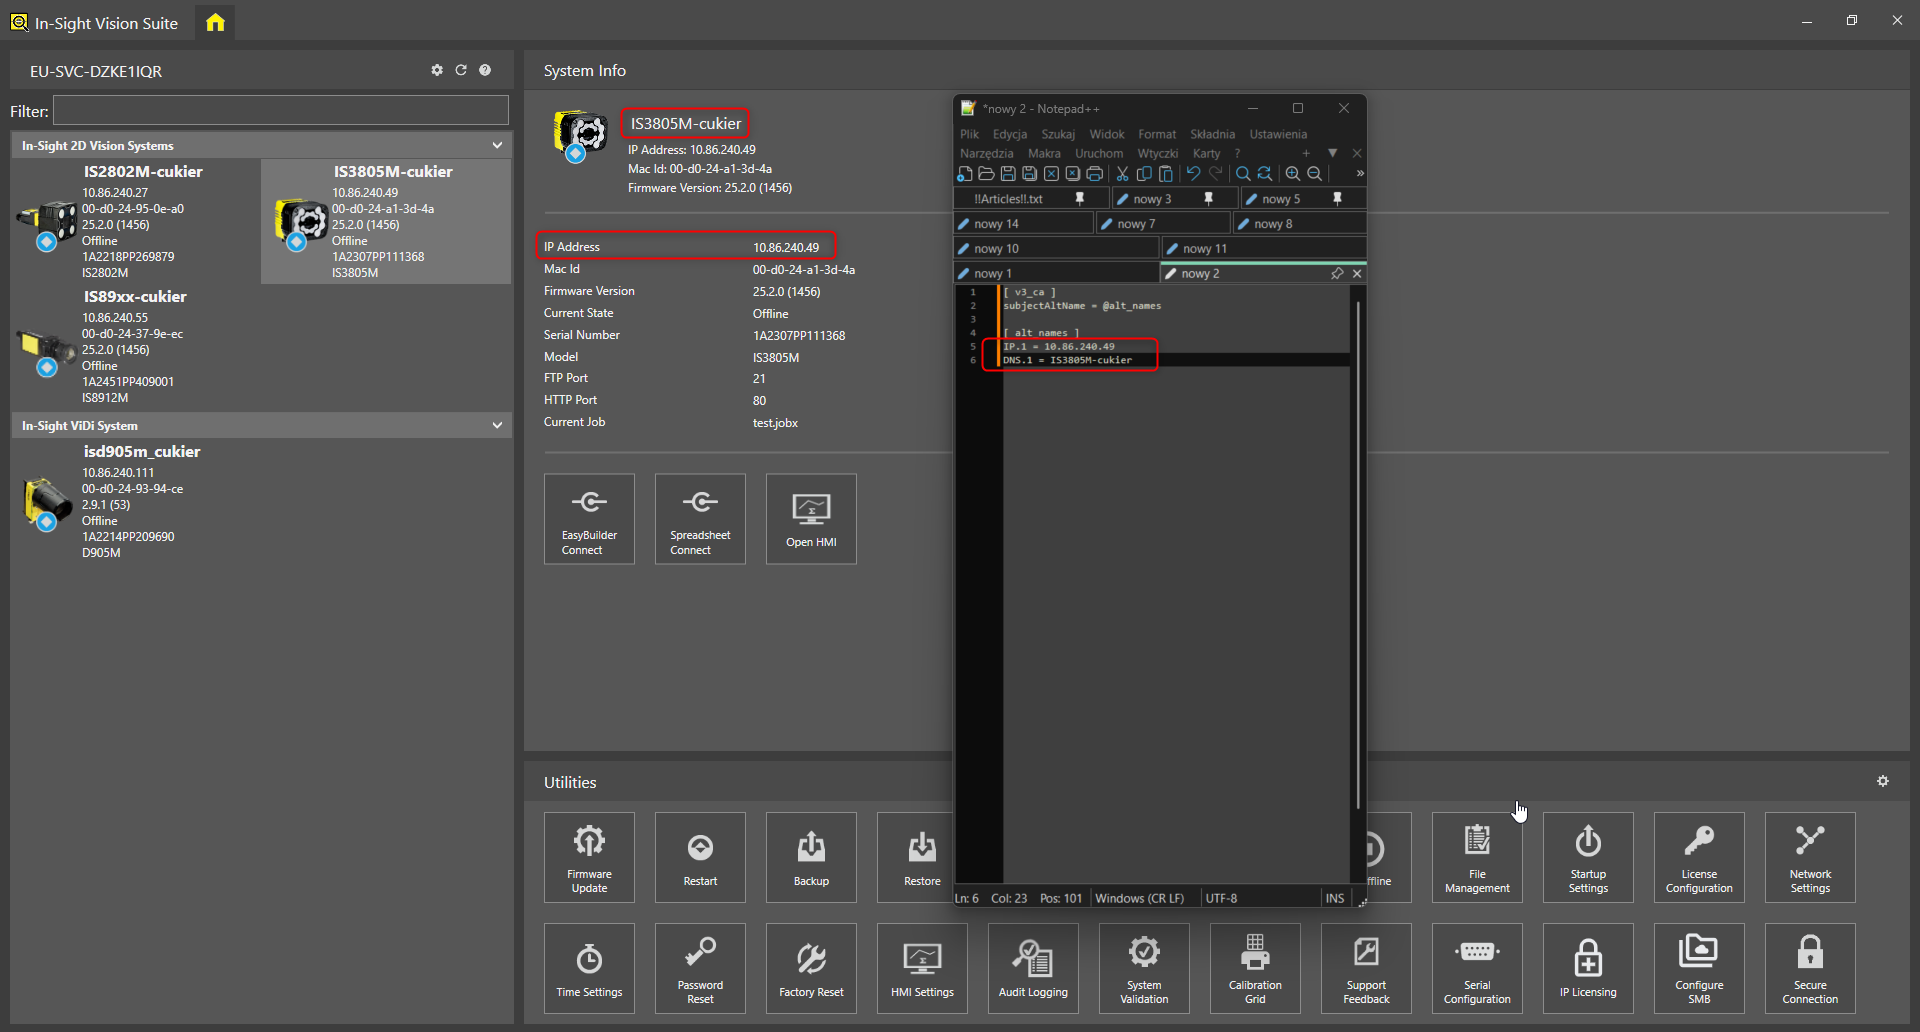
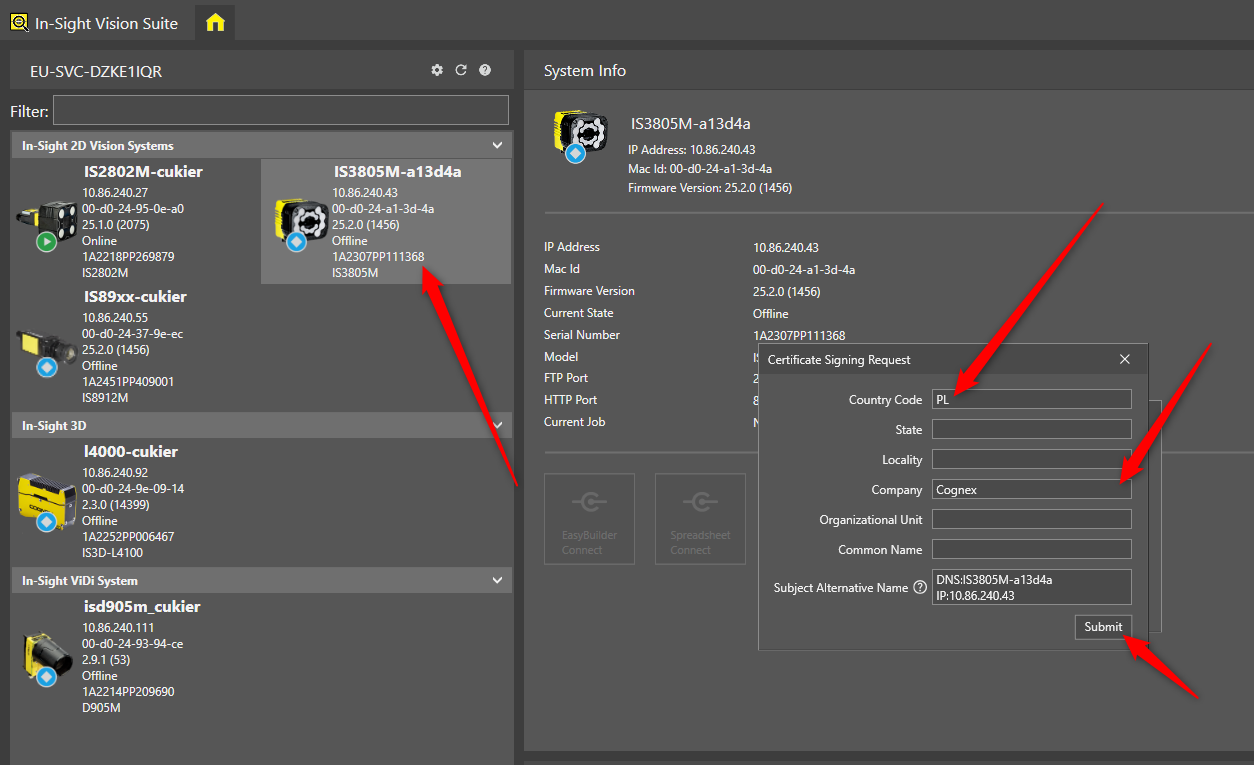
Generate cameras' certificate from Insight Vision Suite software by clicking Secure Connection and save it on same working folder. Add Country Code and Company name
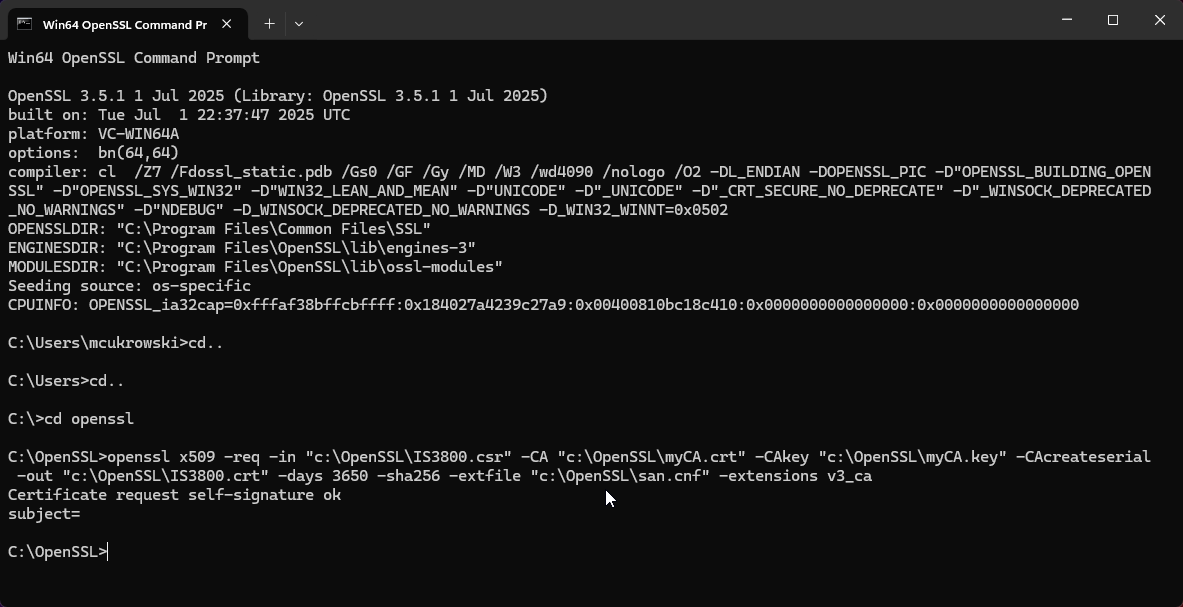
Assigned cameras' certificate with your key
openssl x509 -req -in"c:\OpenSSL\IS3800.csr" -CA
"c:\OpenSSL\myCA.crt" -CAkey
"c:\OpenSSL\myCA.key" -CAcreateserial -out
"c:\OpenSSL\IS3800.crt" -days 3650 -sha256 -extfile
"c:\OpenSSL\san.cnf" -extensions v3_ca
Add certificate to camera from Insight Vision Suite
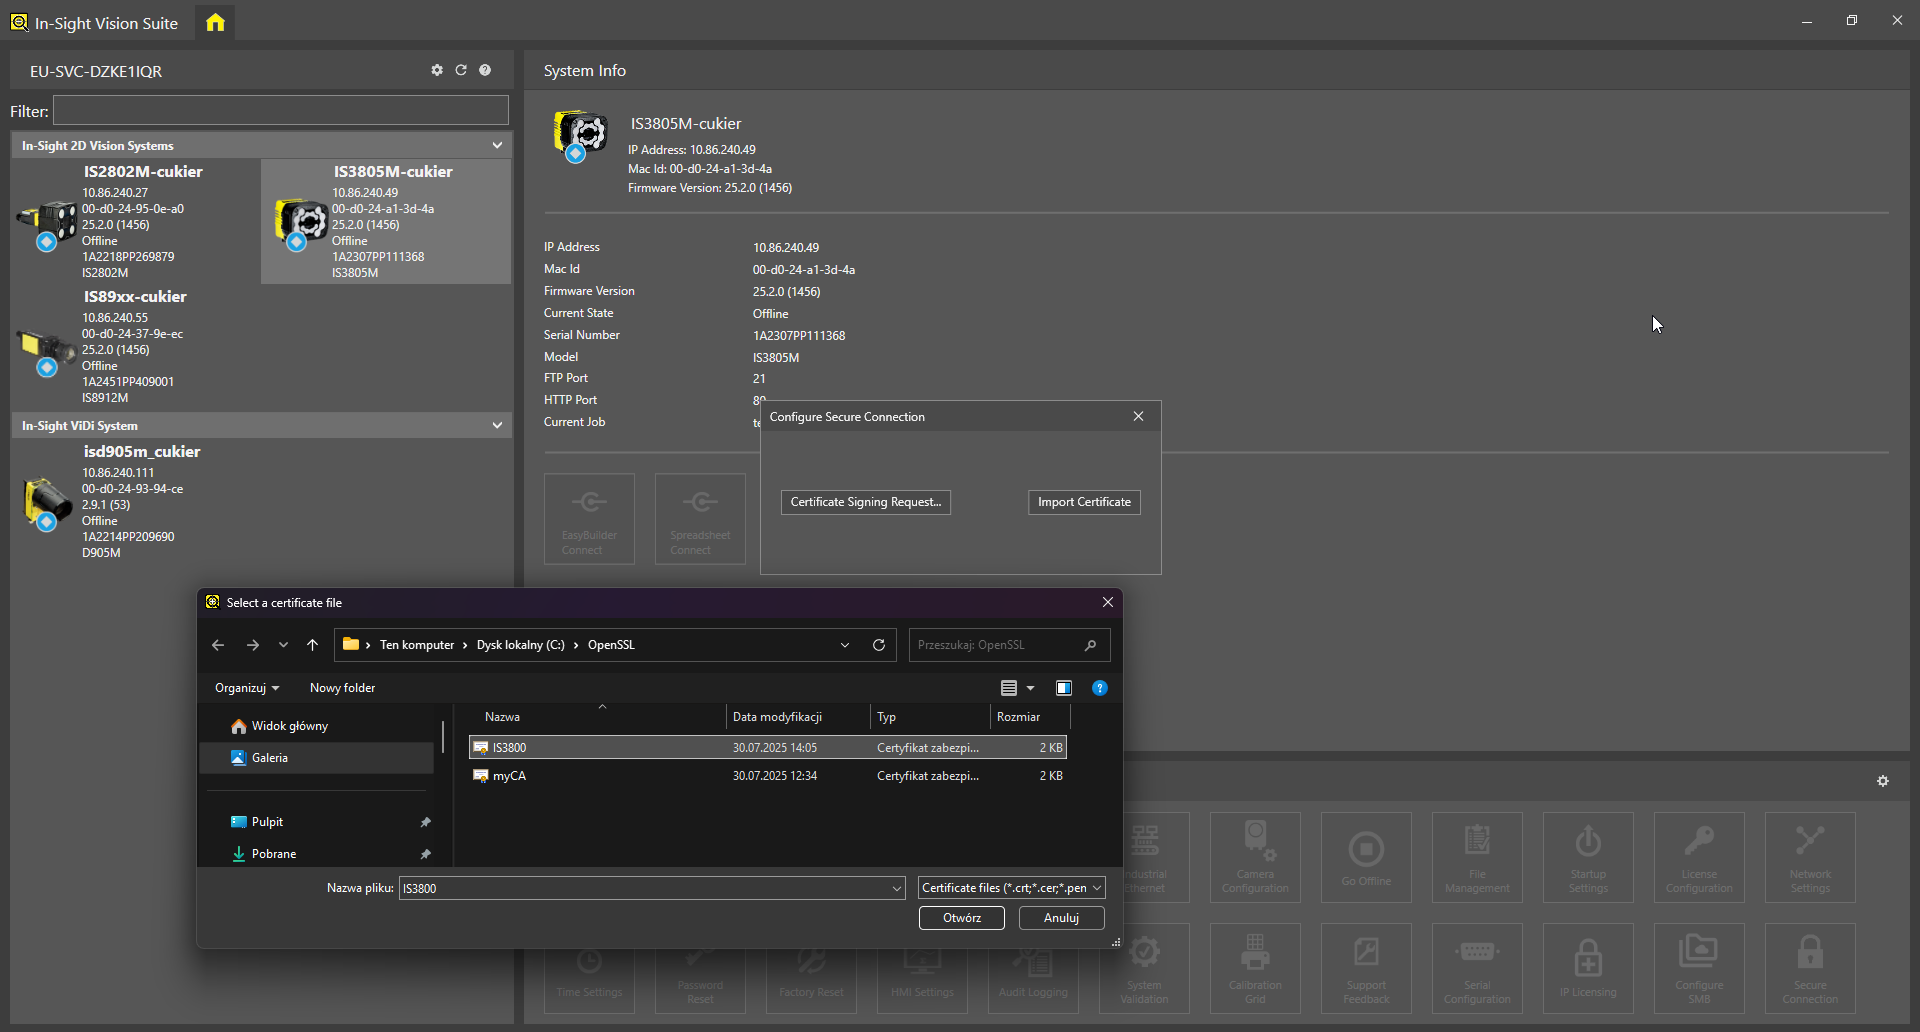
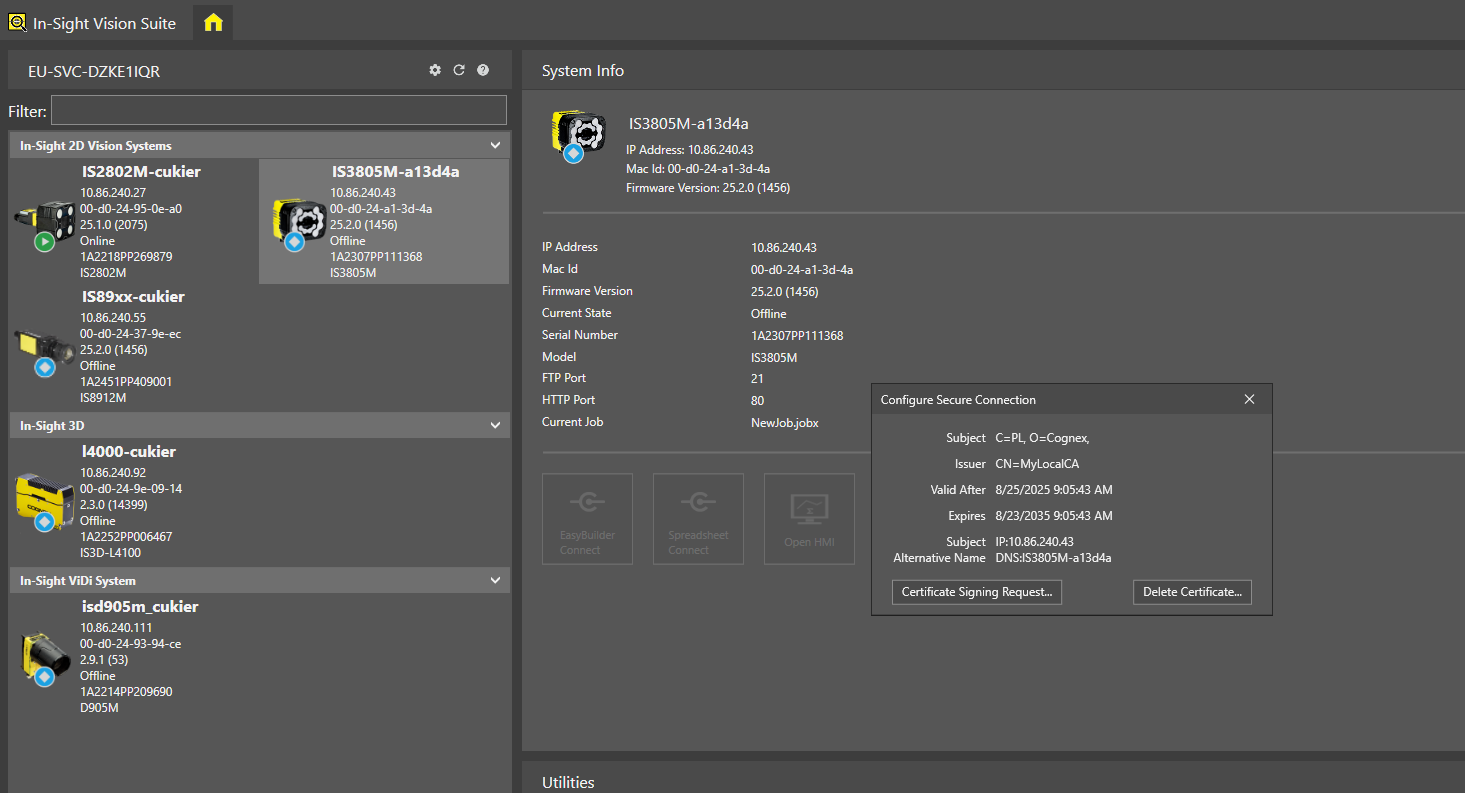
Certificate has been assigned and added succesuffy to camera
Open webbrowser and try to open HTTPS