Answer
Overview
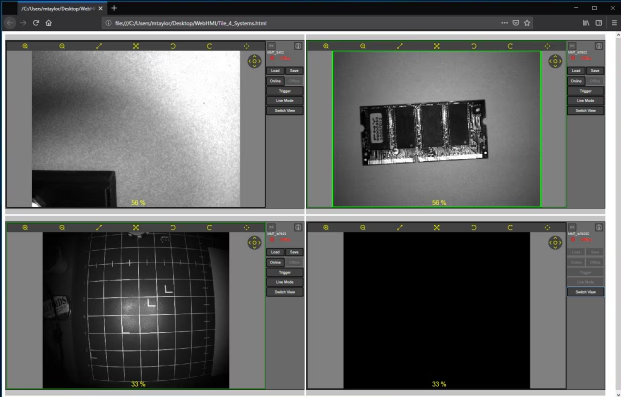
The purpose of this document is to outline the steps needed to tile multiple unsecured WebHMIs in one browser window. This tiled view only works for systems that are not configured for secured http (https), as secured mode does not allow for redirection. This approach will allow for multiple systems to be monitored in one browser tab. Users will be able to push buttons and interact with each system. Unlike tiled mode in VisionView, selecting a system that is tiled in the browser will not resize the view to fill the screen for better viewing. Unlike VisionView, all tiled WebHMIs will update in real time and allow for their controls to be used.
Technical Details
This section will show how to create a simple html document to redirect webpages from individual vision systems to one collective page, followed by instructions on how to have a PC load this page at boot time. Note, the individual views will be displayed in the order they are listed in the document, justified to the upper right of the display.
Create HTML Document
Open notepad and copy/paste the html below:
<!DOCTYPE html>
<html><body>
<embed src="http://192.168.1.30:8087/"http://192.168.1.30:8087/ style="width:500px; height: 300px;">
<embed src="http://192.168.1.247:8087/"http://192.168.1.247:8087/ style="width:500px; height: 300px;">
<embed src="http://192.168.1.30:8087/"http://192.168.1.30:8087/ style="width:500px; height: 300px;">
<embed src="http://192.168.1.247:8087/"http://192.168.1.247:8087/ style="width:500px; height: 300px;">
</body>
</html>
- Change the IP addresses to those of the vision systems being used.
- Add or remove lines as needed to reflect the number of vision systems being used.
- Change the width and height for each vision system window to divide the viewing area evenly between systems while fitting them all on the screen.
- Save this in notepad as an ‘.html’ file type.
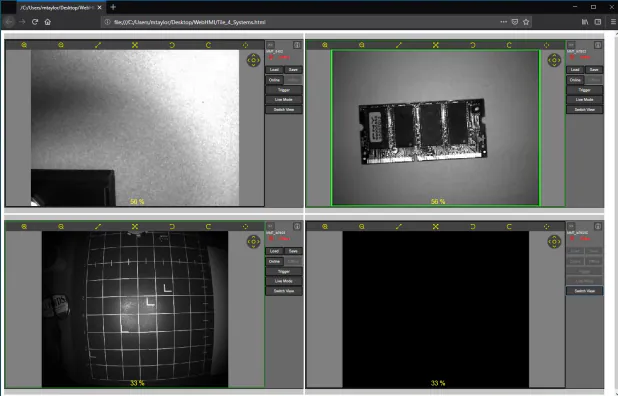
- Double click the file to launch a page in the default browser (see screen shot below)