Answer
Within the EZBuilder environment, go to the “Communication” section.
From here, on the right-hand side, locate the FTP Server reference.
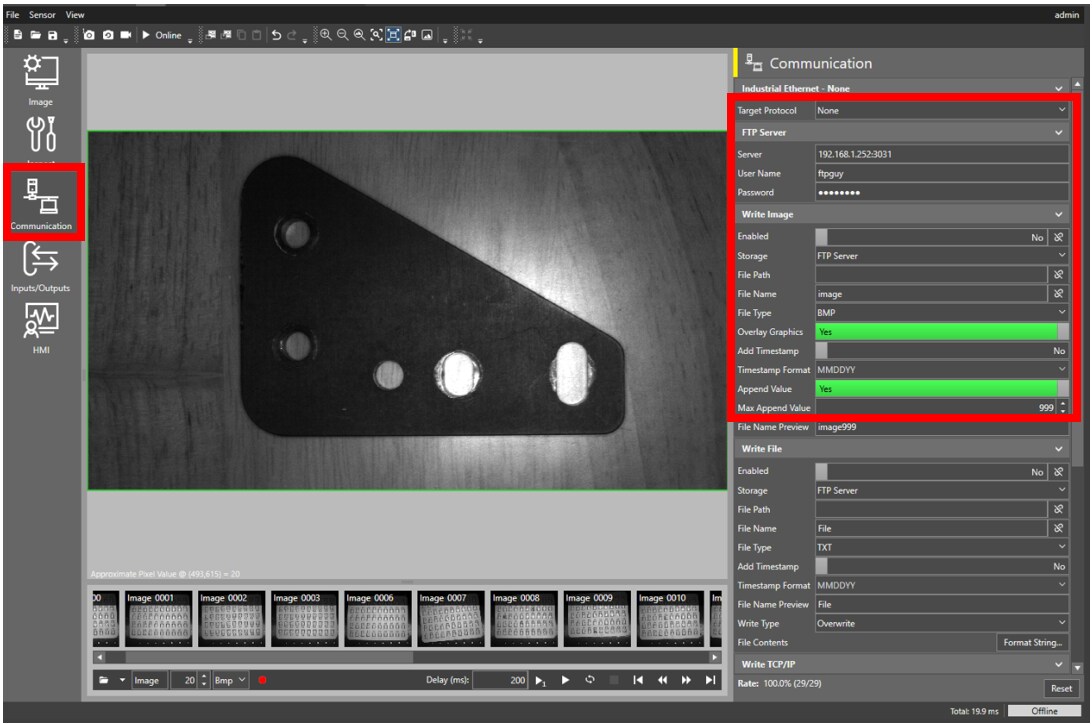
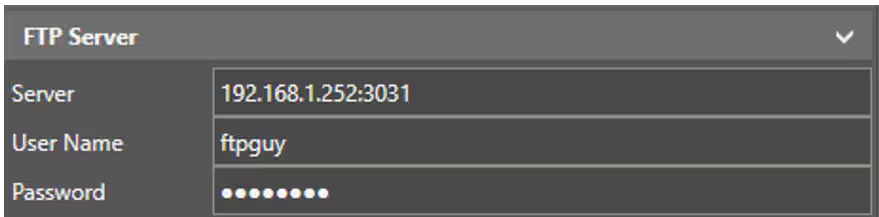
Here you will want to enter your FTP server’s address (including port number) and user credentials. (If you have not already setup an FTP server, please reference this guide for setting up a FileZilla FTP server : https://community.cognex.com/s/article/how-to-setup-filezilla-to-be-used-as-an-ftp-service).
In this example, the IP address is 192.168.1.252 and the port number is 3031. When this is entered, the IP address and port number are entered together with a colon (:) separating them (192.168.1.252:3031).
Next, below the FTP Server entry, locate the “Write Image” section.
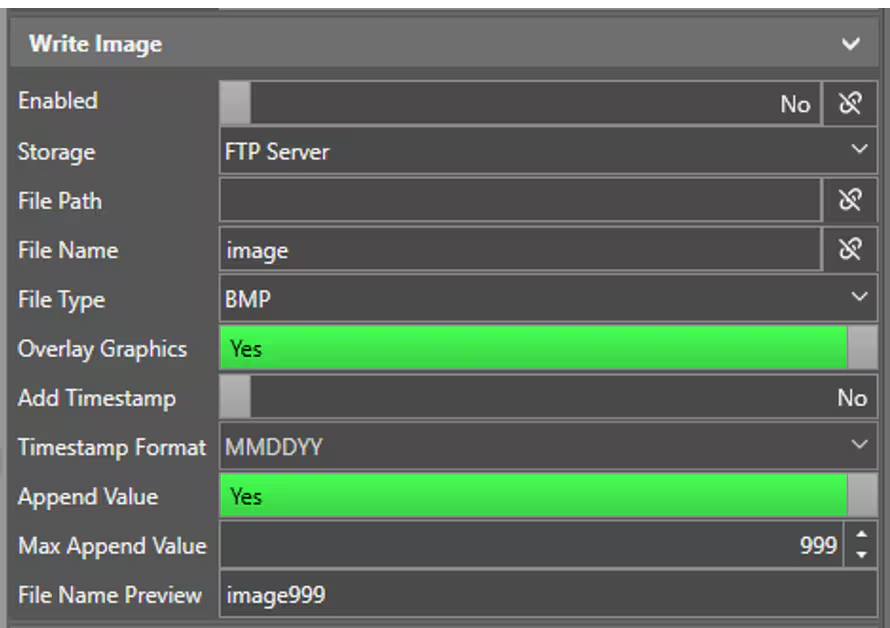
Click the slider for Enabled so that it is set to yes and ensure that storage is set to FTP Server.
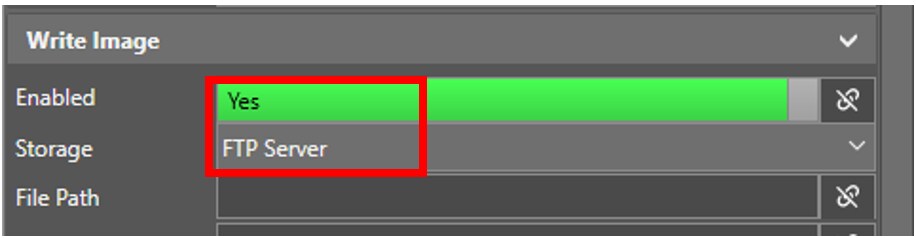
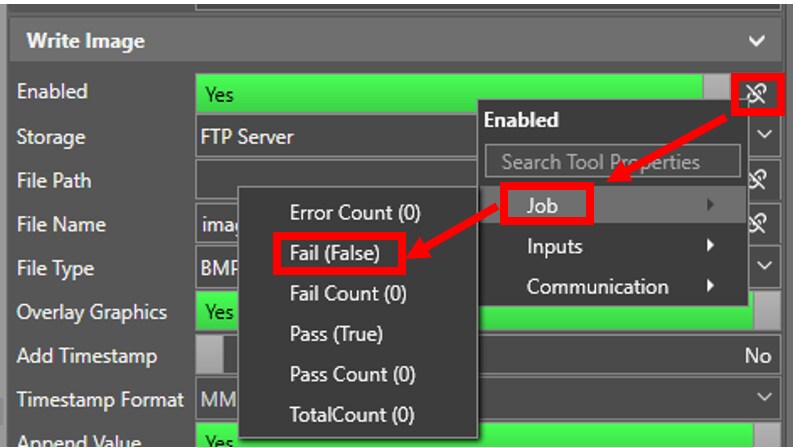
If you want to conditionally set the FTP image transfer, you can use the link icon to connect it to other tools or job results. For instance, if you only wanted to send the image when the tool failed, you could select the following.