
Details
This document serves as a guide to use the In-Sight Vision Suite Job Validation feature in your camera, included in the 25.1.0 release firmware. This feature is intended to help aid in obtaining CFR 21 Part 11 compliance and help ensure the validity of a system’s performance throughout its service.
There are no major changes between this tool available on In-Sight Vision Suite and In-Sight Explorer.
1. Update Firmware
To enable this feature, first update the firmware on the camera to use the 25.1.0 (or newer) version. To do this, install In-Sight Vision Suite 25.1.0 (or newer) and run the application. Once in, find your desired camera and click Firmware Update.
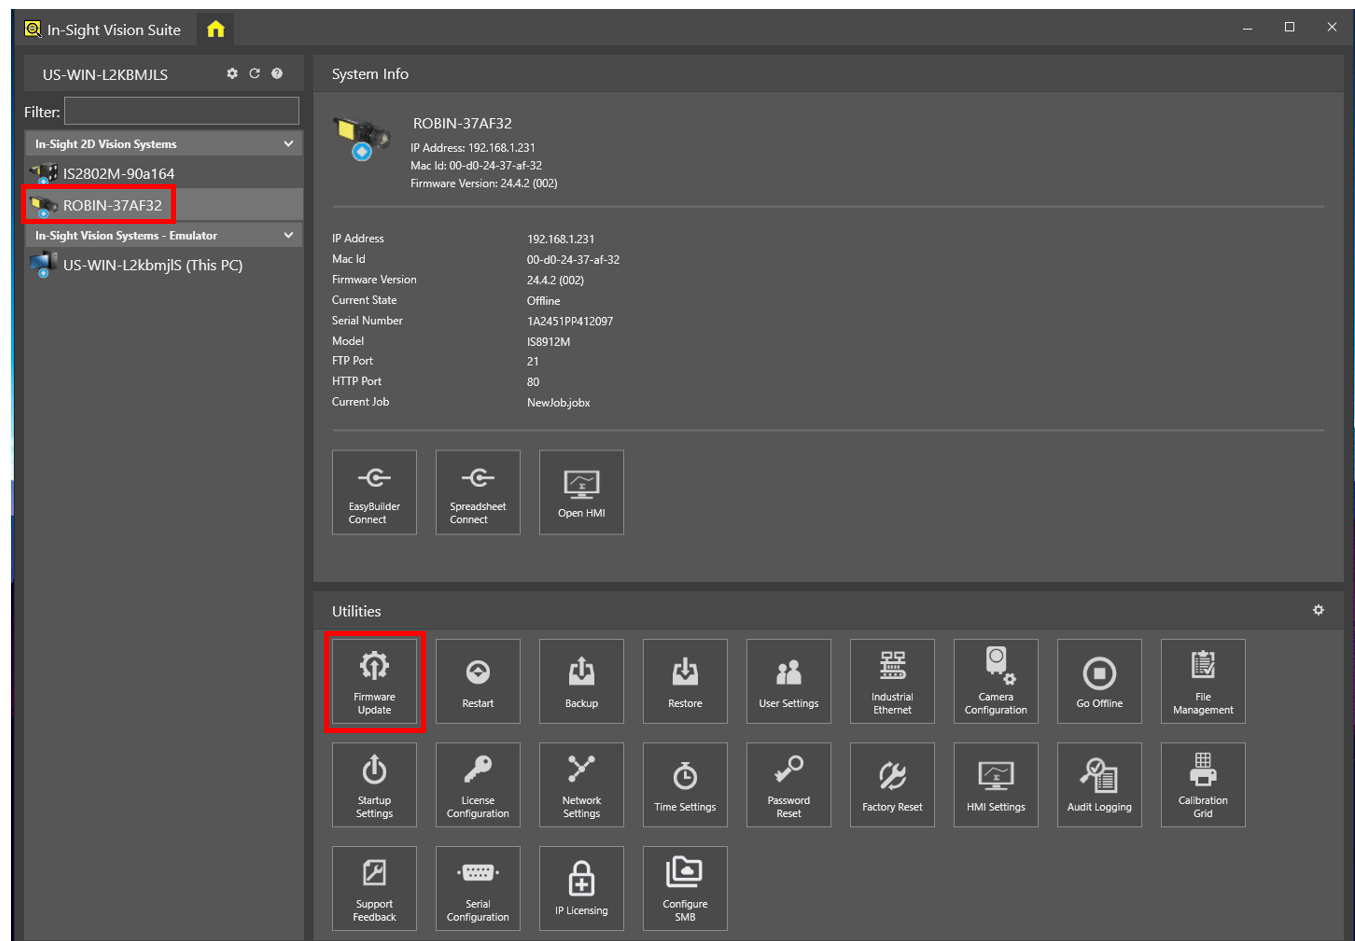
Take a backup by checking the Backup box.
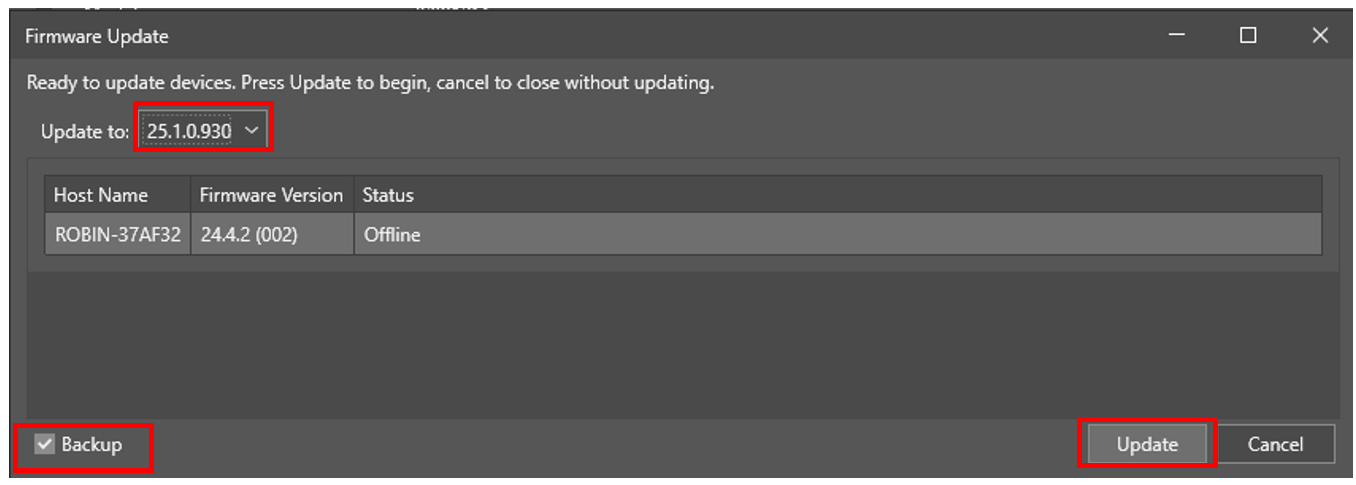
From here, the system will begin the update process. Once done, you should see a Firmware update complete if successful and you can close the window.
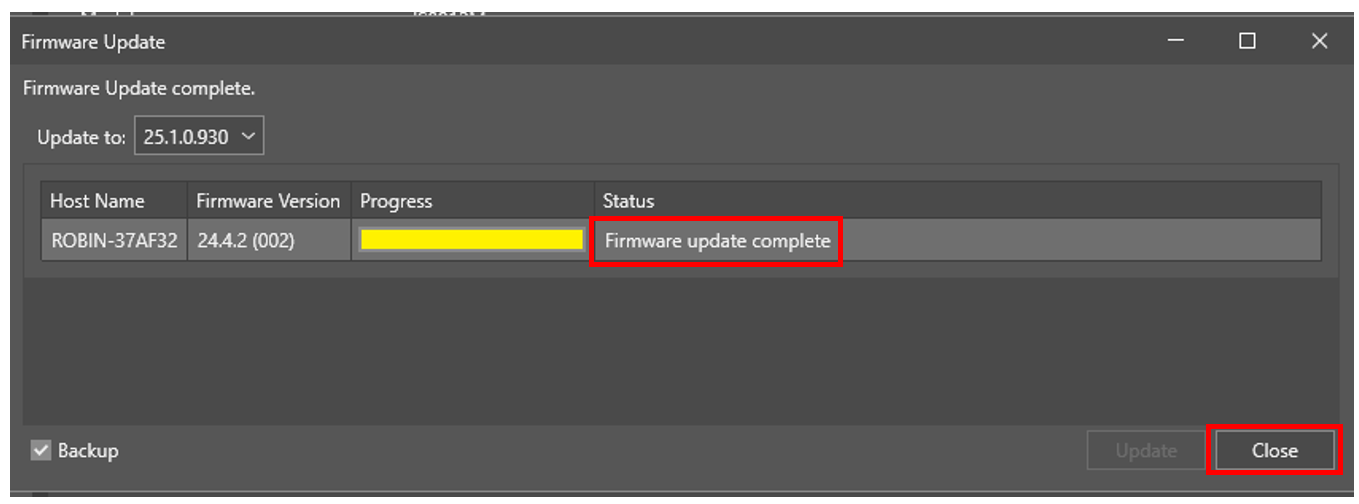
Once updated, connect to your camera and start your job creation within spreadsheet.
2. Image Upload
From here, it’s a good idea to upload your images used for validation to the camera and to name/label your images “good” or “bad” beforehand to help keep track of what should pass and what should fail.
Once you have your images named appropriately, place them in a folder labeled something meaningful.

Copy this folder and paste it into your camera using the File Management utility in In-Sight Vision Suite.
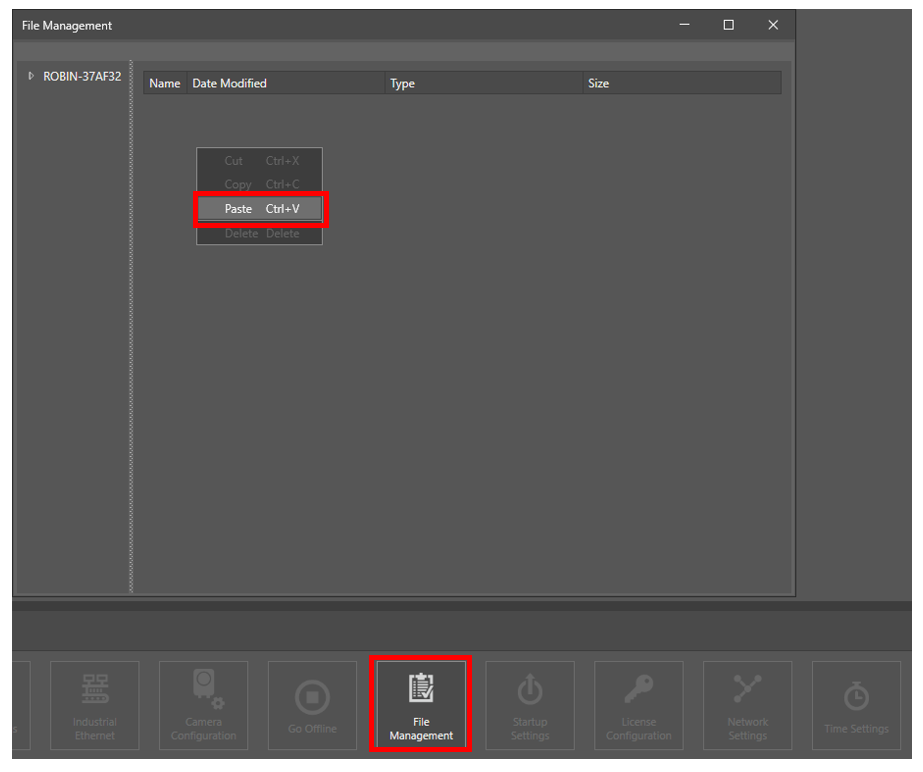
Once complete, you should see your image folder copied over.

3. Set Up Job Conditions
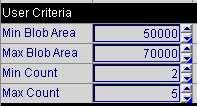
In this example, we will set up a simple blob tool and count the number of pieces that fall within a certain range of pixel area. For our passing criteria, we will look at allowing a range of areas and a min/max count of blobs that fall within that range by using the EditInt function. Once we have our adjustable values, we can reference them when using a blob tool.
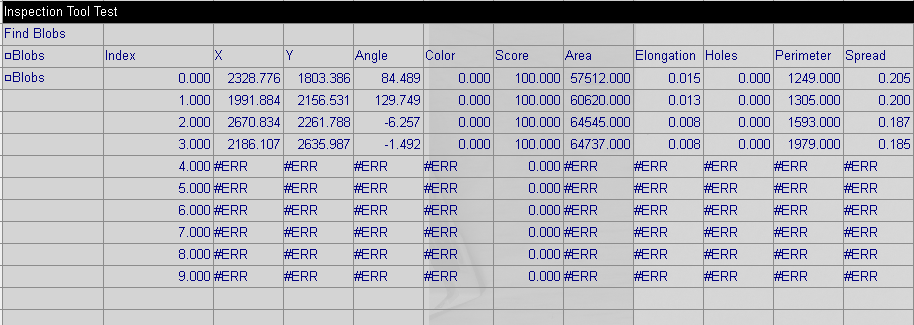
We’ll use the DetectBlobs tool in conjunction with the SortBlobs tool to find up to 10 blobs.
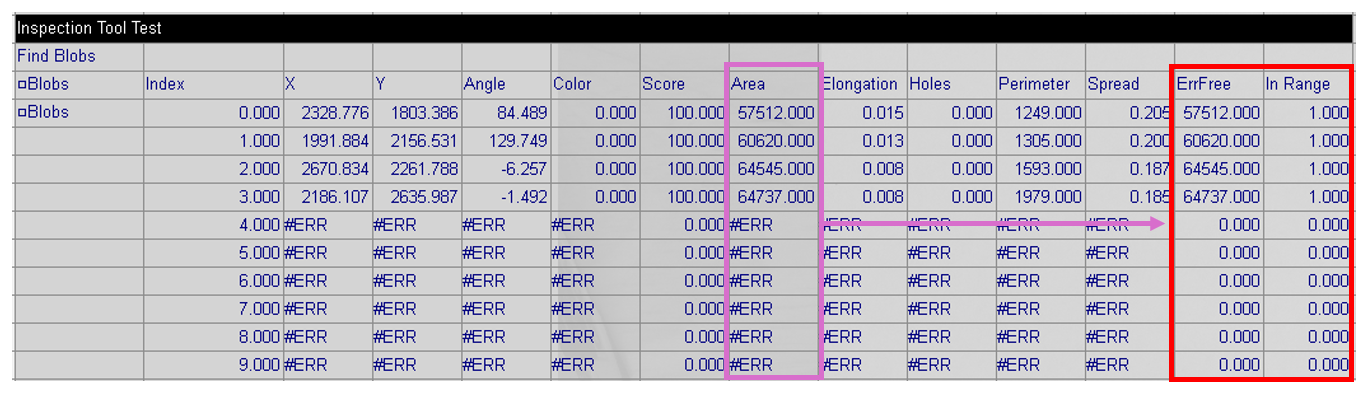
Once here, we can add on an ErrFree column to check the Area measurements and then create a column for using that value with an InRange to check if they fall within our criteria.
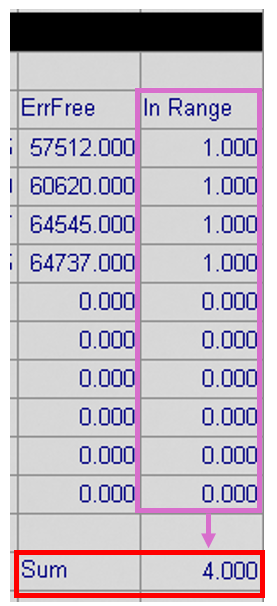
From here, we can sum the cells that are in the InRange column.
Next, we will create a separate portion to check that the count is within the min/max count of passing blobs.
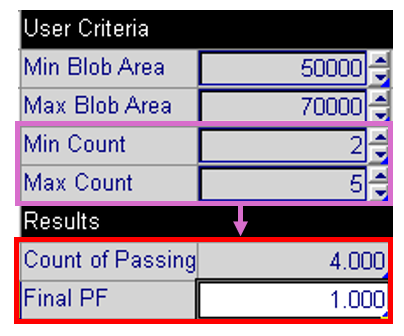
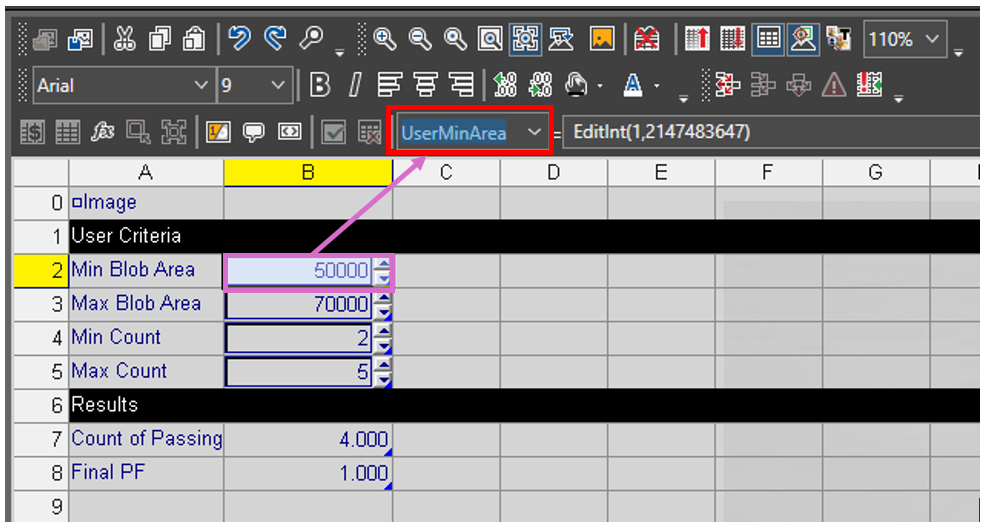
To enable these values into the Job Validation, we need to setup names for these editable and result variables. To do this, click on each cell and give it a name in the cell formula section. The example below, we will call cell B2 “UserMinArea.”
We will do this for the remaining cells that we want to validate.
4. Create Validation Set
Once your inspection and variables are setup, go to the Job Validation section of In-Sight Vision Suite.
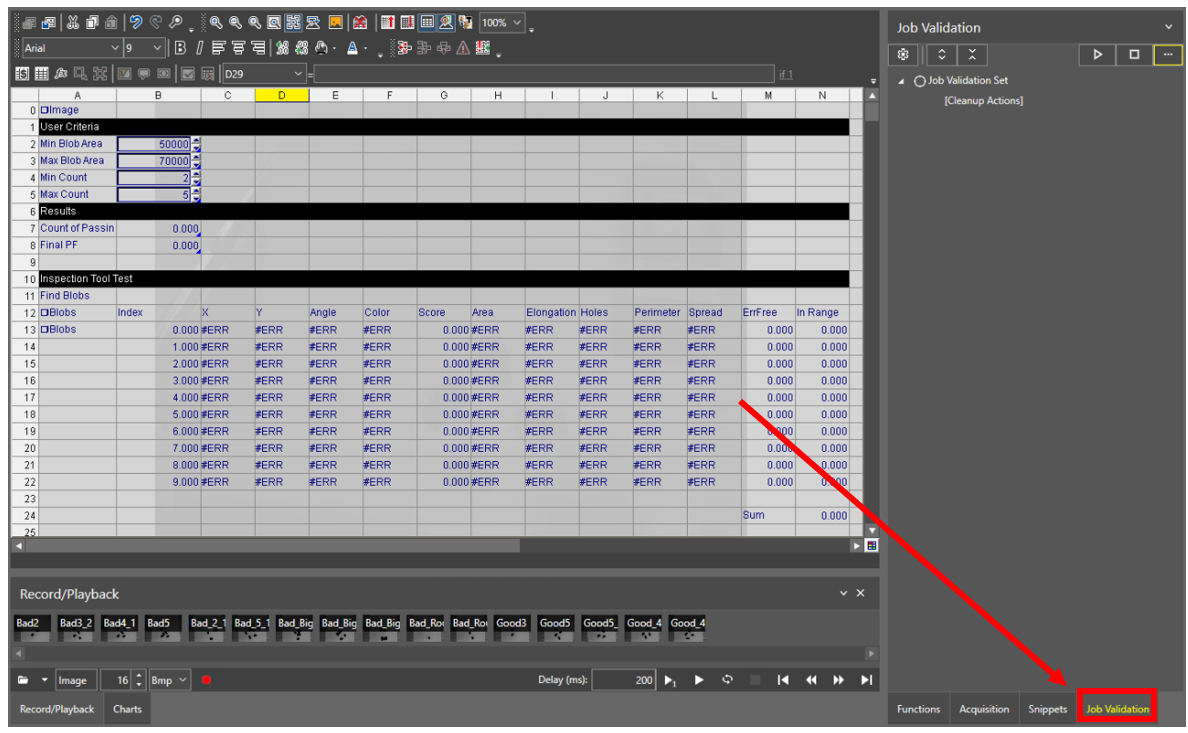
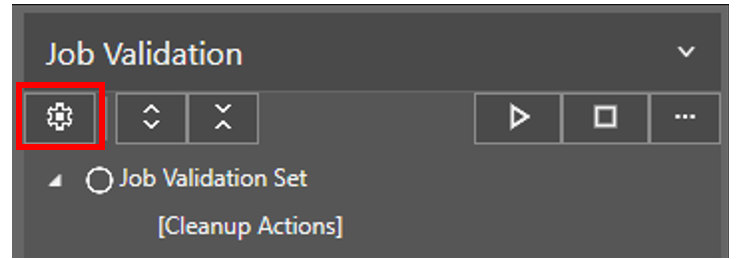
Once opened, press the gear icon towards the top-left to start the validation process.
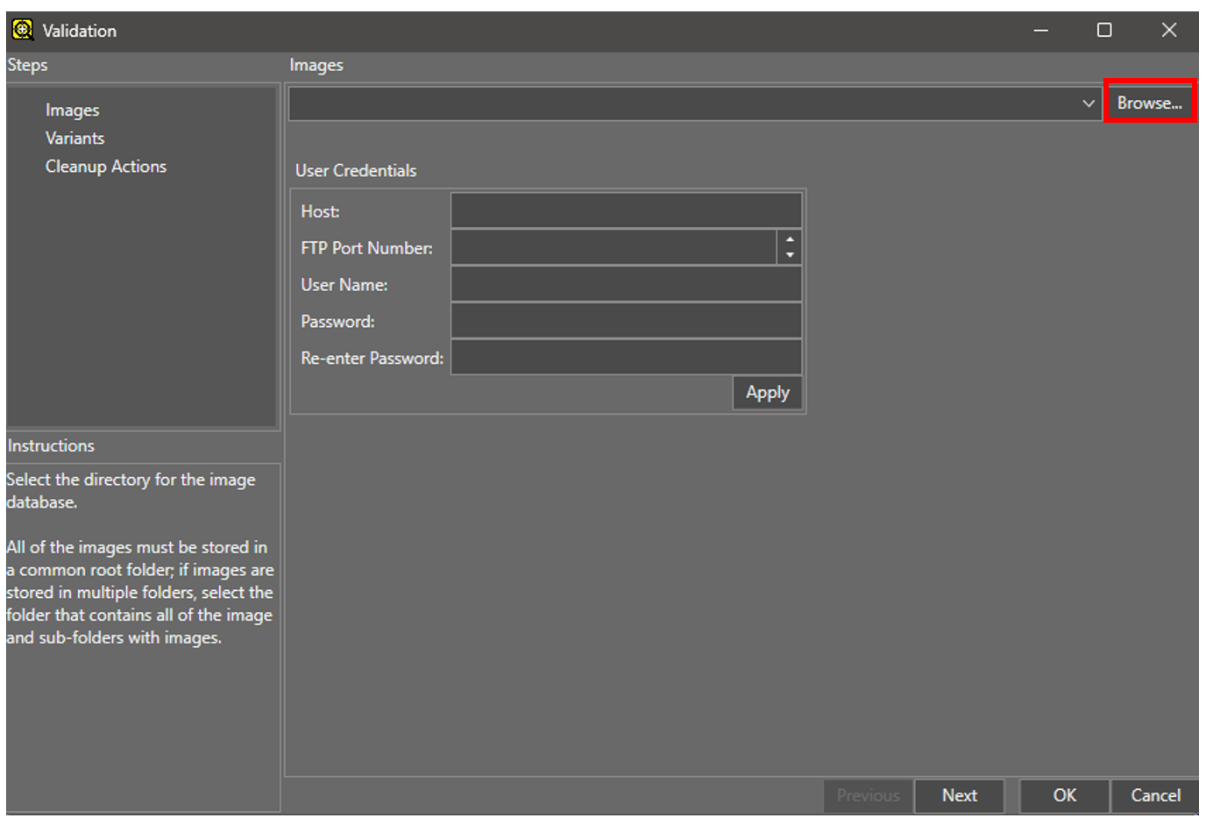
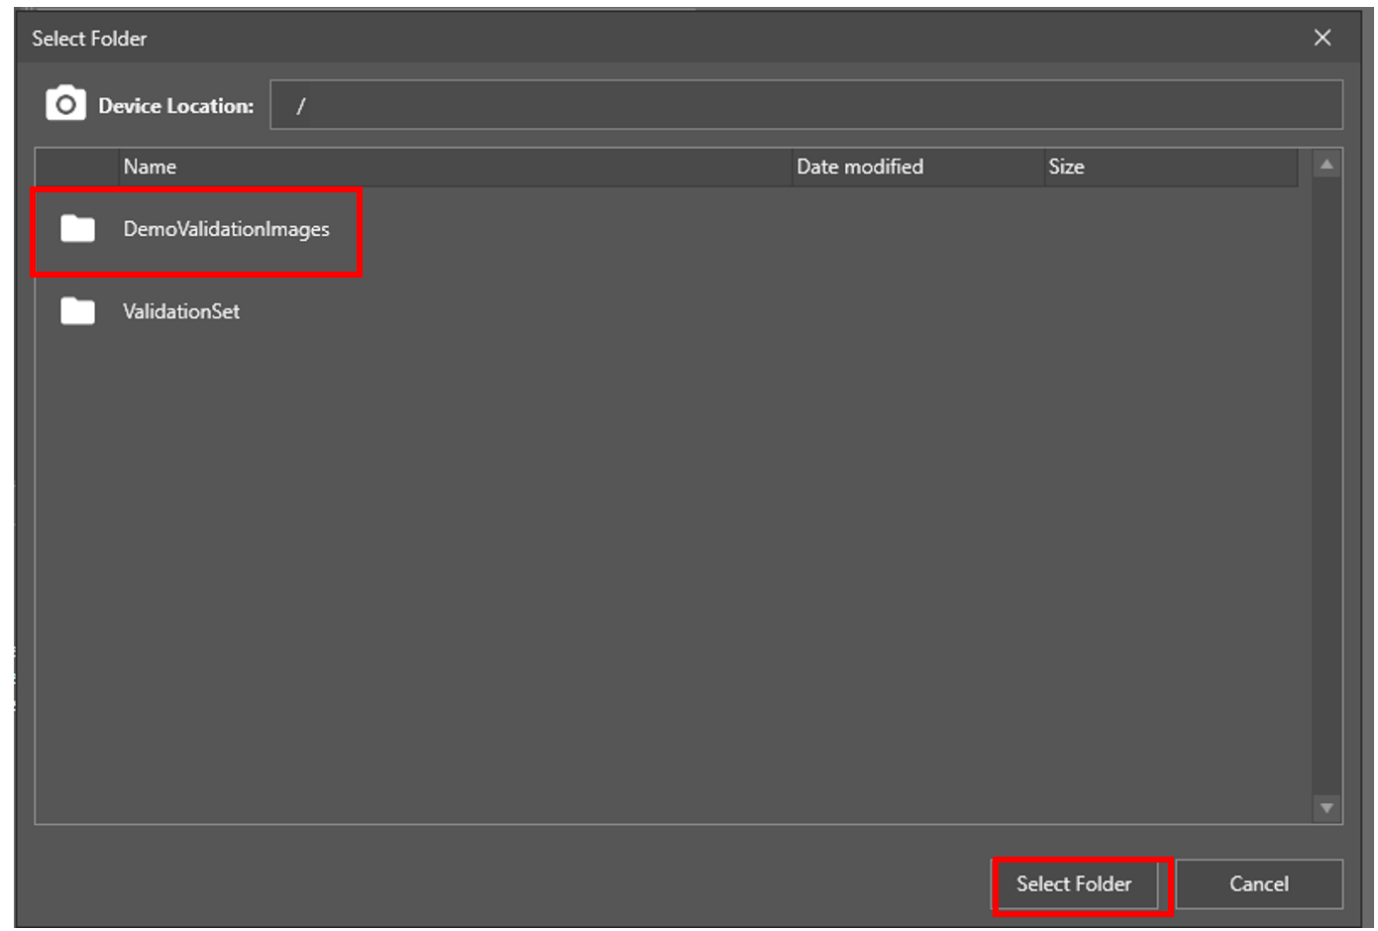
Taking the images that we set up earlier on the camera, we can reference them now.
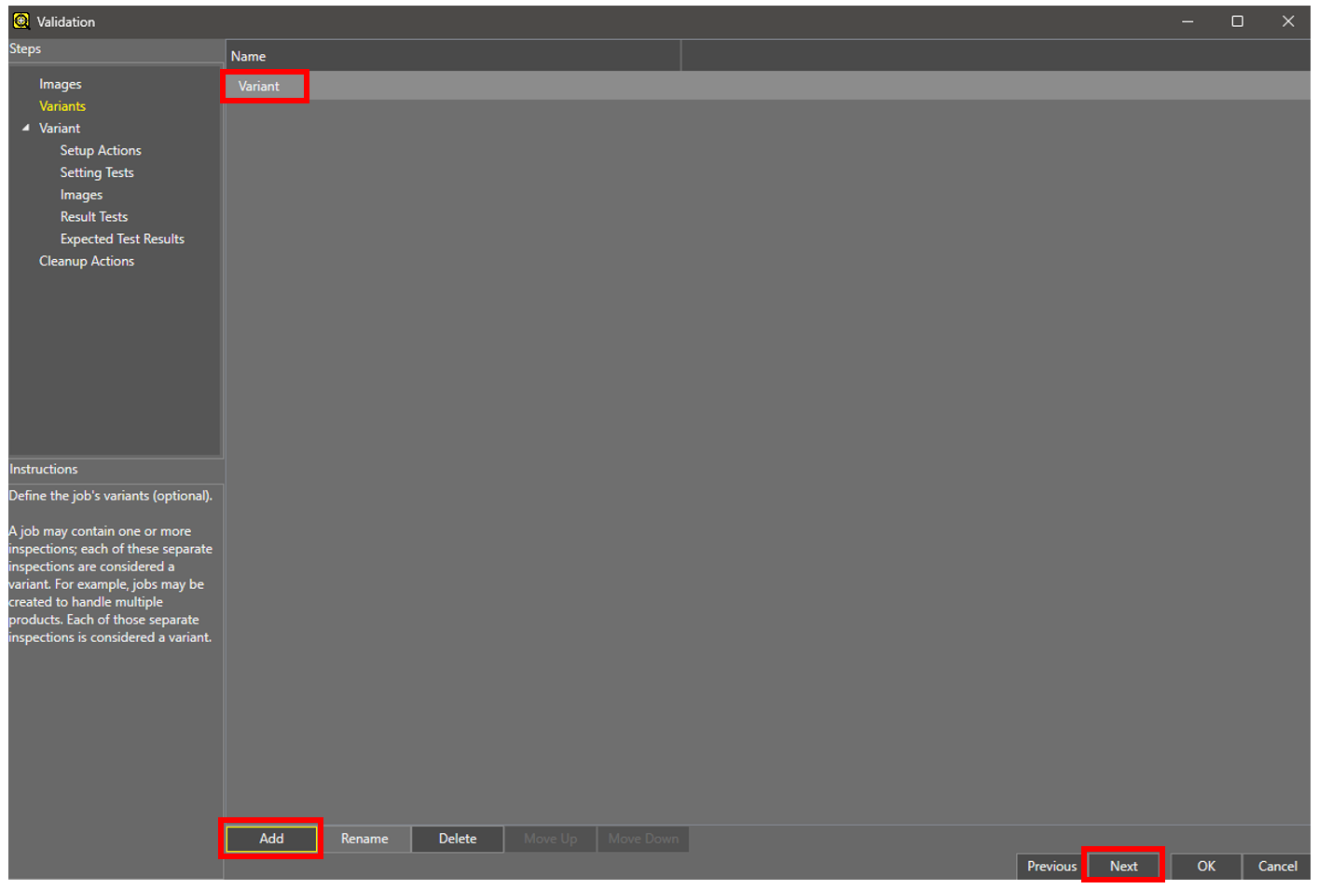
Next, create a Variant. Variants can be considered like job recipes. For instance, if you inspect multiple parts within the same job but the tolerances could change depending on them, you can set up your validation settings to correspond to multiple parts. For now, we will just use one and leave the default name of “Variant.”
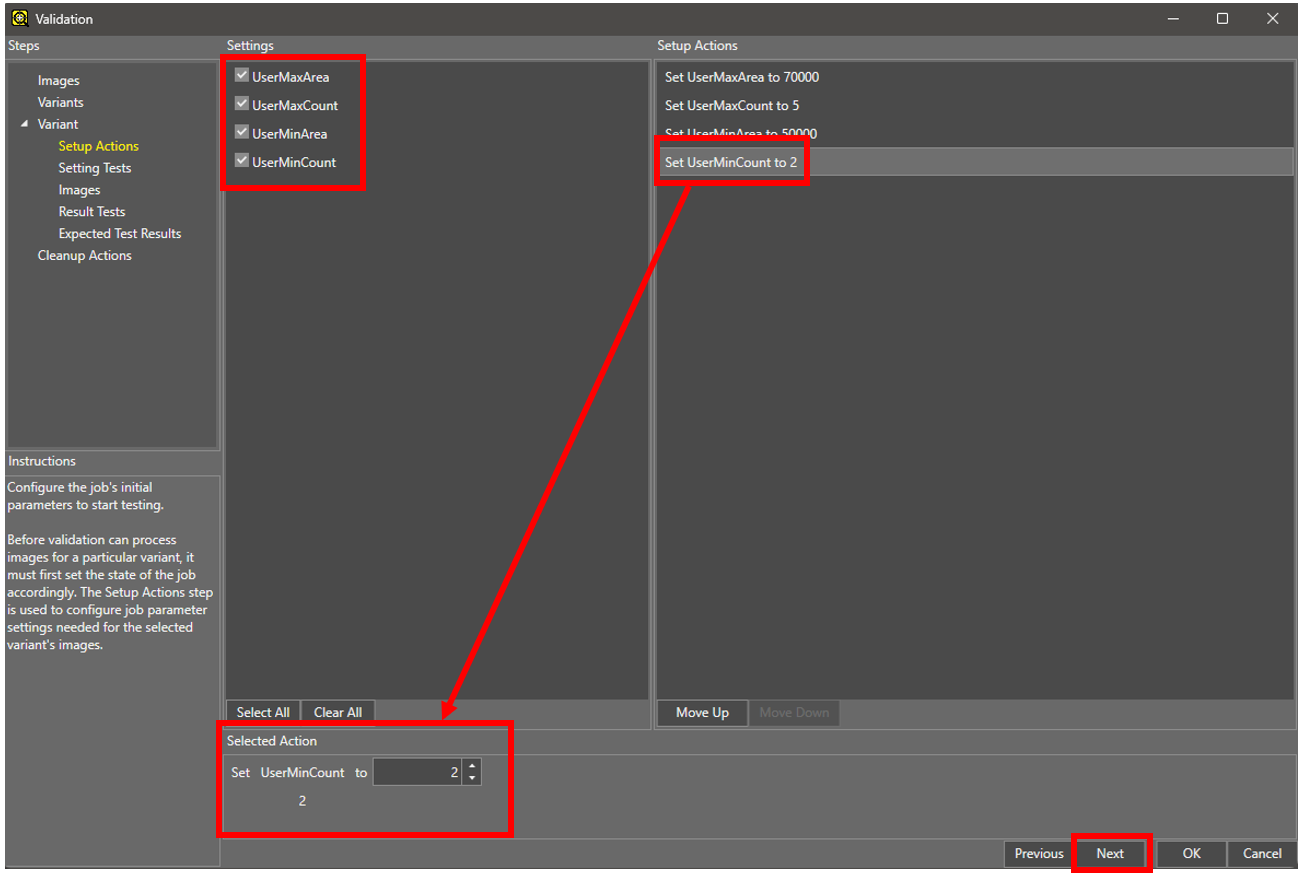
Once the variant is created, we will start with Setup Actions. Note that the variables we gave names to are placed in the list as checkboxes. From here, as we check them, we can set them up to have a specific input value.
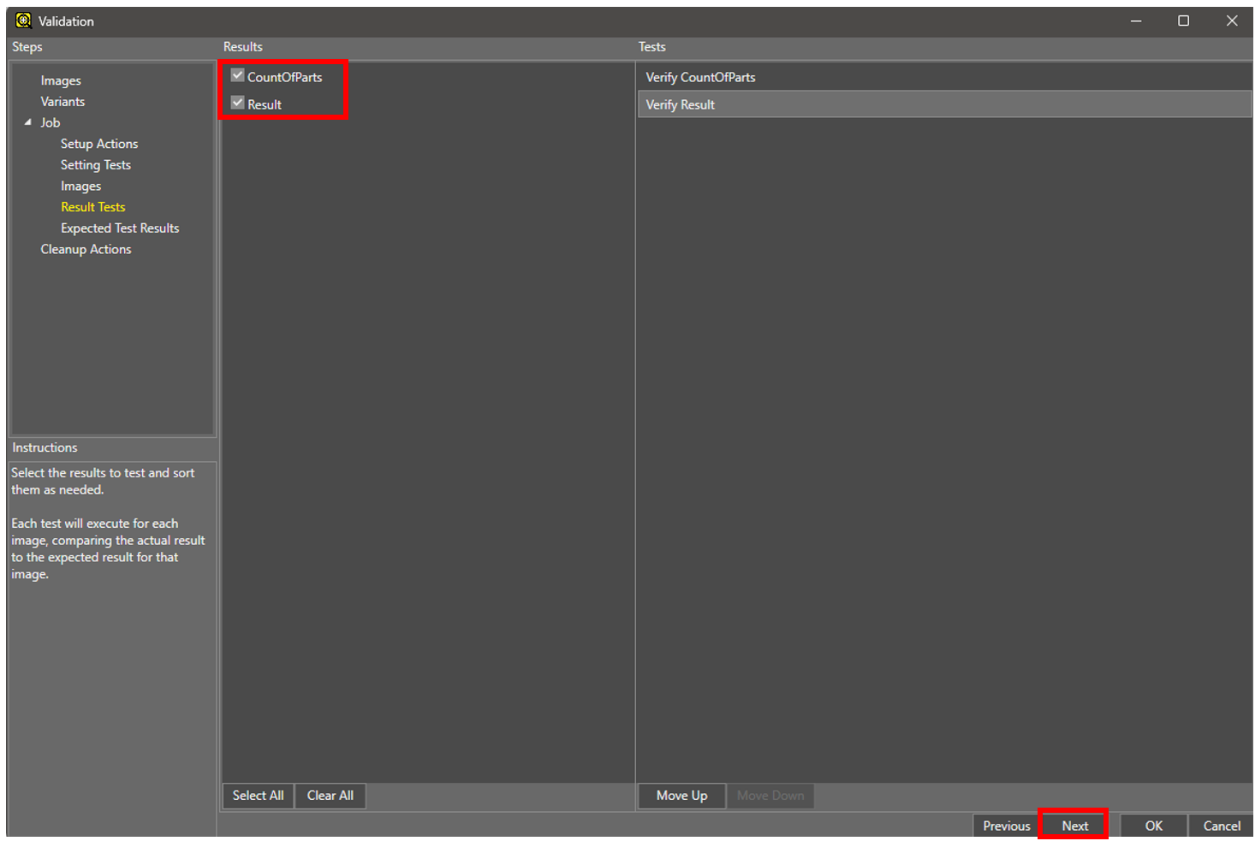
Next, select which images in your set to test against.
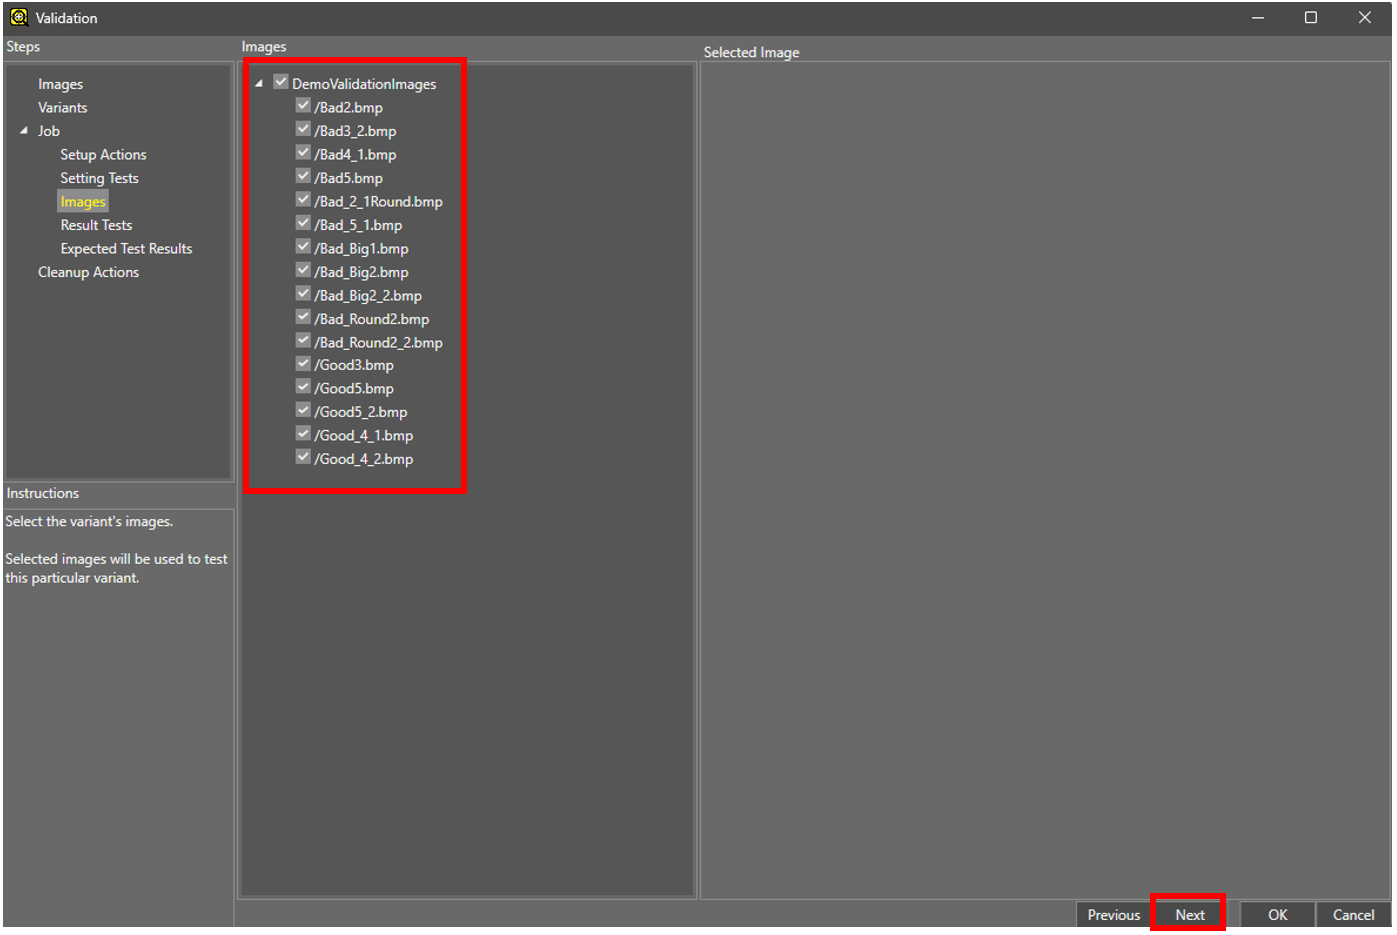
Next, we will set up the result tests. This automatically pulls in the non-editable variables that we assigned with names earlier.
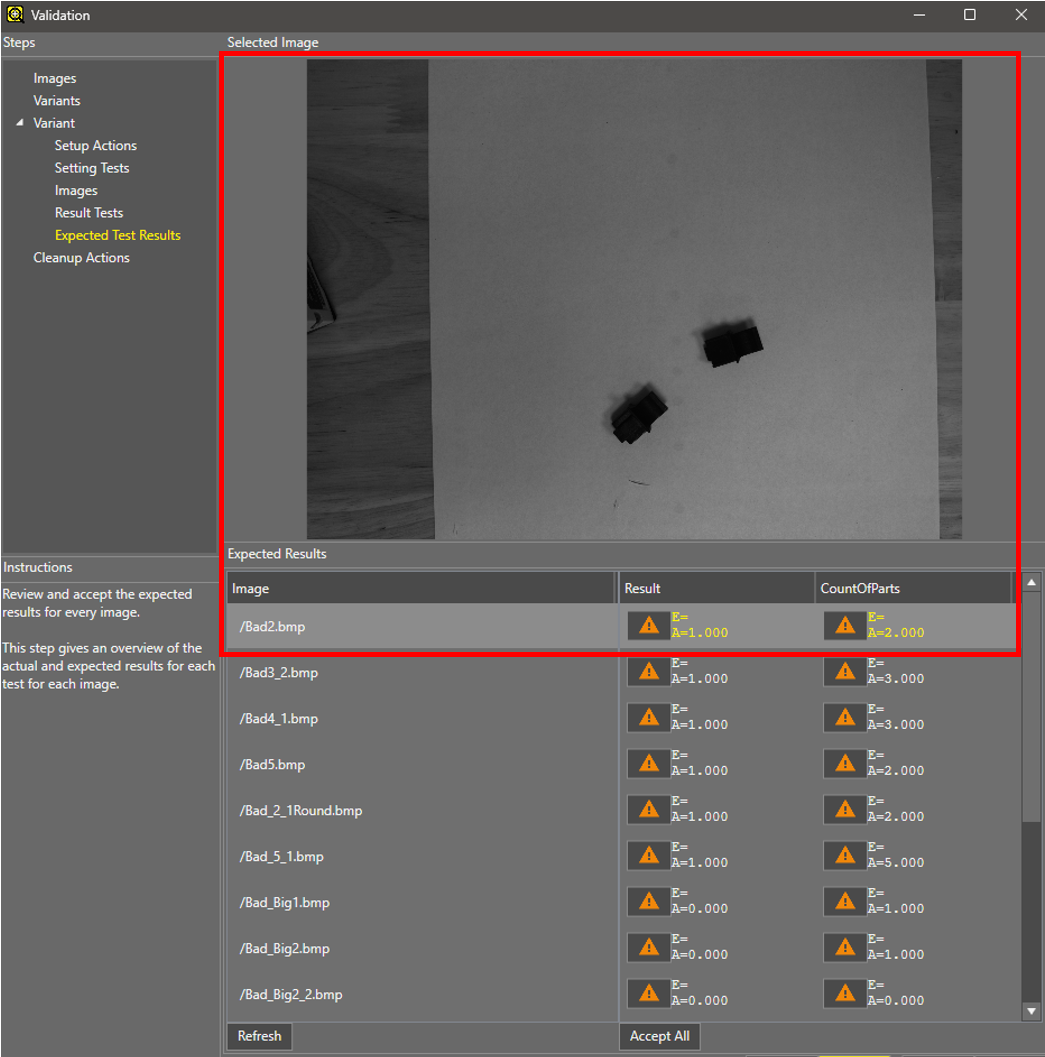
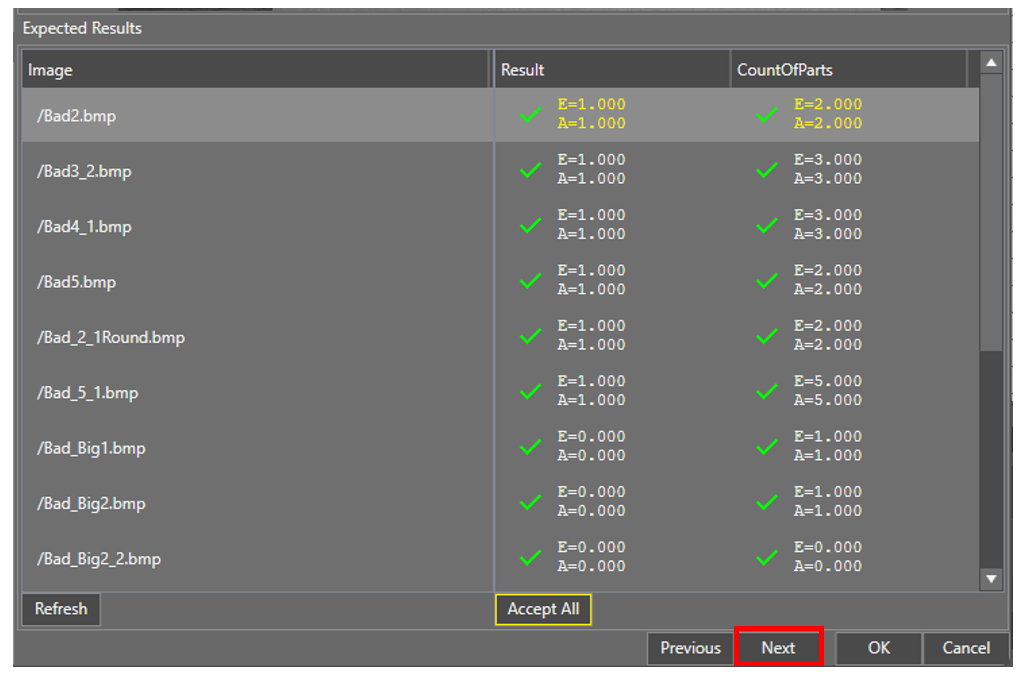
Next, you will see the initial results coming from the tests for each of the images. Selecting the image will give you a preview of it towards the top.
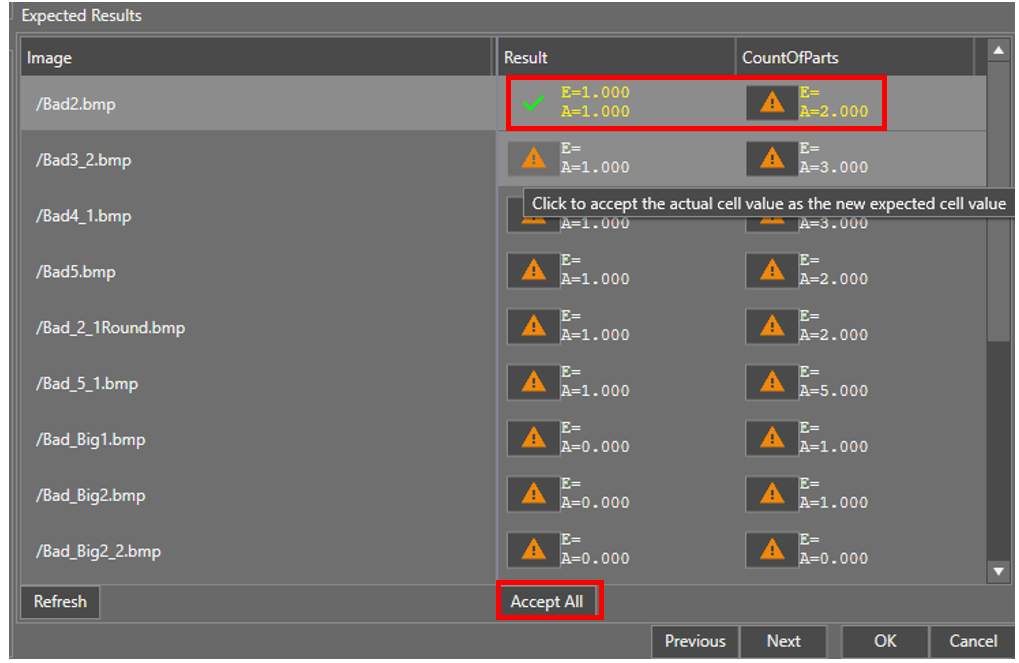
You can accept the result from each variable either manually by clicking the individual alert icons or by clicking Accept All. This sets the expected values for the validation tests.
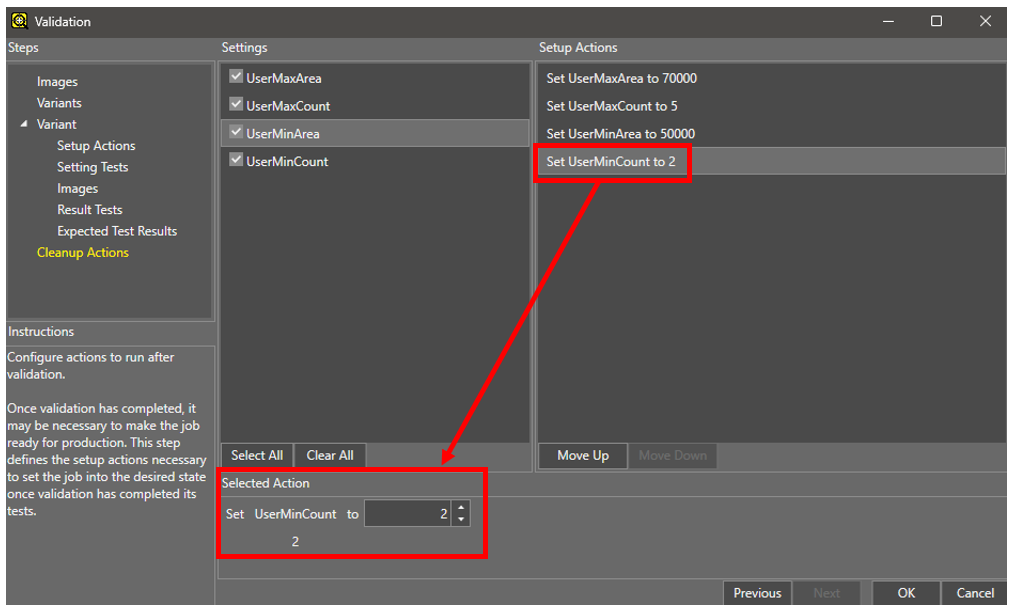
Lastly, if you changed any of the variables to have an initial value from the Setup Actions section, you can revert them back to the old value or some other value by using the Cleanup Actions section.
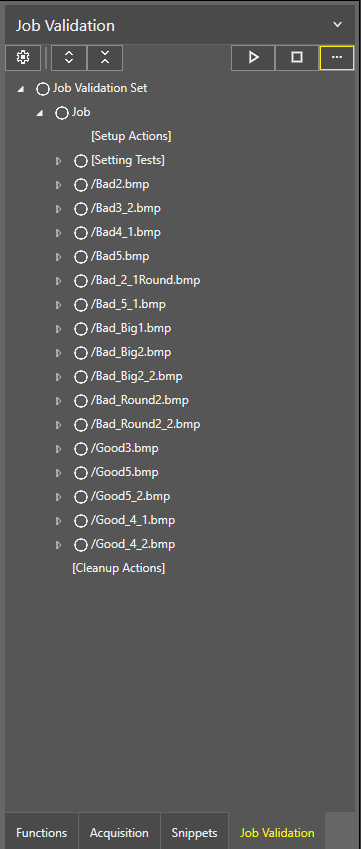
After clicking ok, you should have the validation setup within your side menu.
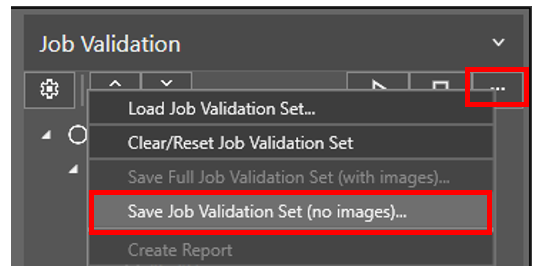
It’s a good idea to save this now to the camera.
5. Run Job Validation
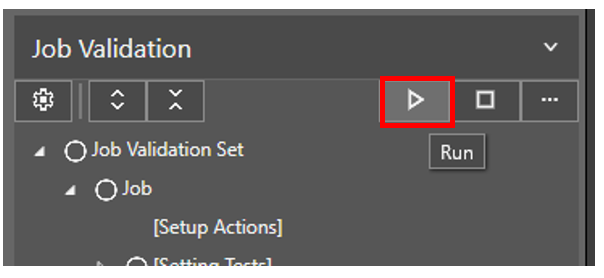
You can run the job validation by going to the Validation tab and clicking Play.
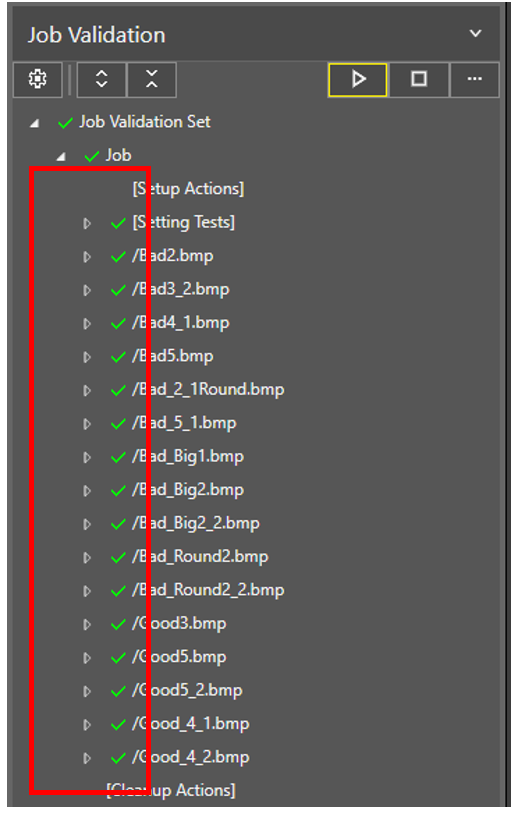
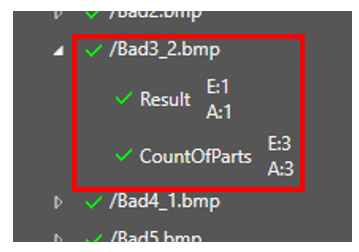
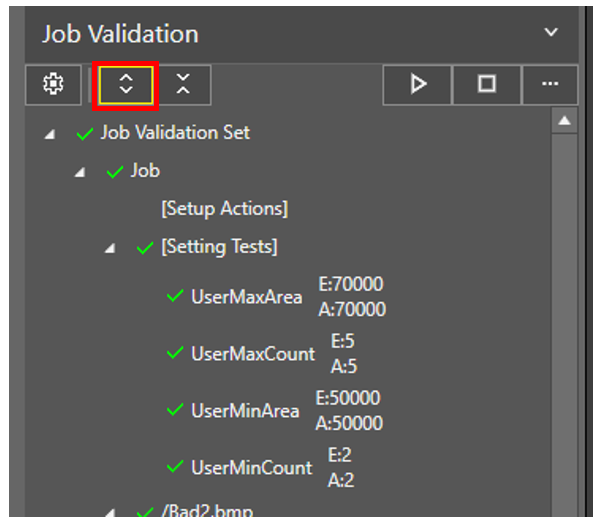
Every test will have a good/bad indicator on each image tested, giving you the individual results (“E” stands for expected value and “A” stands for actual value).
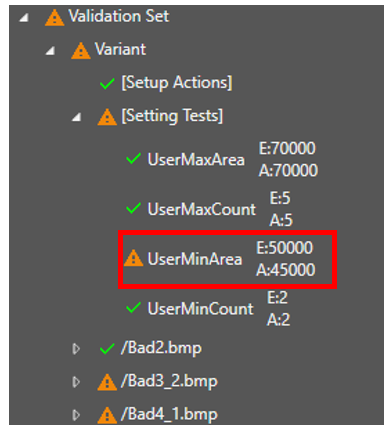
If any of the tests fail, the result will be shown with the Alert icon.
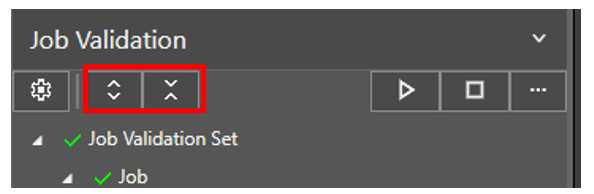
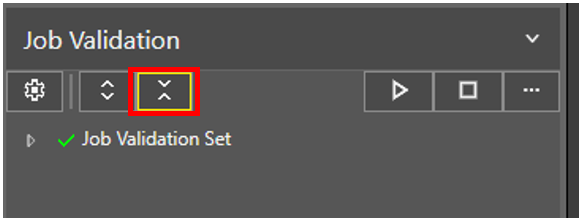
If you want to quickly expand or collapse the individual results, you can press the expand or collapse buttons at the top of the Job Validation panel.
6. System Validation
System Validation is a new feature that can act as a flag to know if the system is still valid or if changes have been made that invalidate the system. Inside the utilities section of In-Sight Vision Suite, you will see a System Validation option.
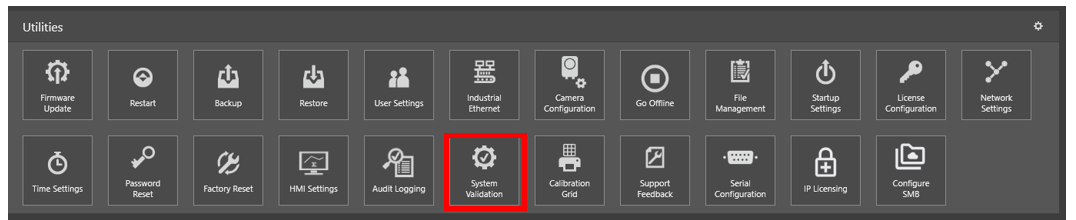
The following will appear:
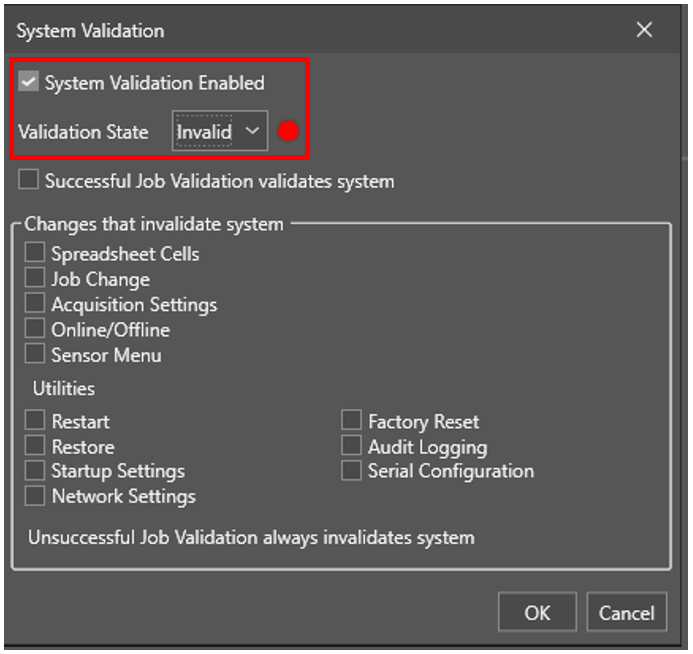
From here, you can choose to enable/disable the validation option, set the current state, set up a successful job validation to validate the system, and lastly, set up what changes to the system/job would cause the system to become invalidated. Note, a Job Validation that is run and becomes unsuccessful will invalidate the system and this cannot be changed.
There are multiple ways to access the current state of the system.
First is checking the state via the System Validation within the In-Sight Vision Suite Utilities.
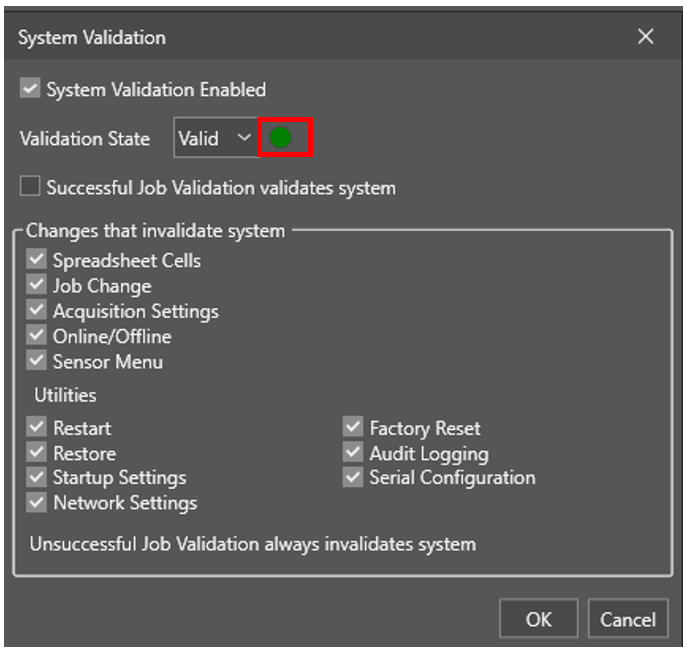
The next is by using the web api to get the JSON formatted state.
You can view/test this by opening a web browser and entering in the following:
{IP address of camera}/api/system-validation/state
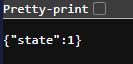
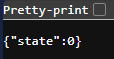
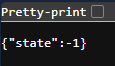
The states consist of the following:
| Value | State |
| 1 | Validated |
| 0 | Invalidated |
| -1 | Disable |
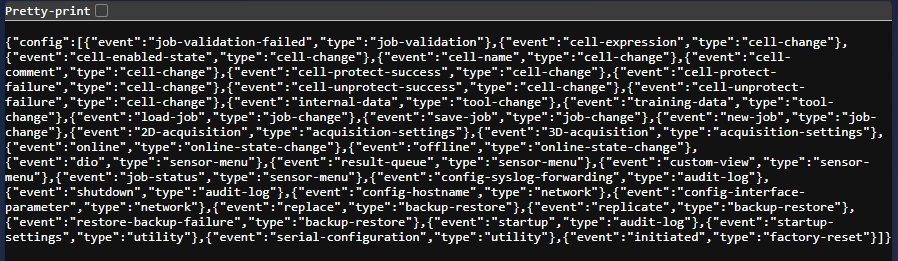
To see what is tied to the validation state criteria, use the following API.
{IP address of camera}/api/system-validation/config
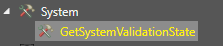
You can also access the Validation State within Spreadsheet.

7. User Control
By default, only a user with full privileges (such as admin) can access the ability to set the system validation settings. This helps ensure that others don’t tamper with your validation settings.
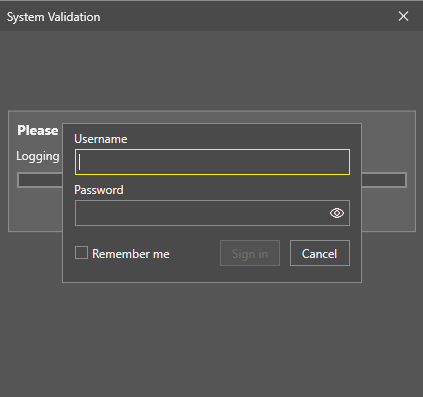
Once logged in with the proper credentials, you can set the validation settings.