Importing Items
There are two ways to import an item from the template directory:
-
Double-click or Right-click – For top-level templates, see supported elements in the Templates section, since they have only one target where they can go.
-
Drag and Drop – From the Template Browser, can be used with all elements.
Different items can be imported differently:
-
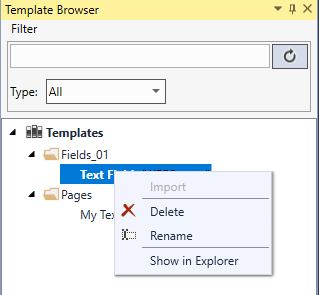
Low-level elements require a user to select where they should be imported to - drag-and-drop them in their respective place. This is why there is no Import option in the right-click menu for them.
 Note: When importing objects with bindings / references to tags, the tags are not automatically created. Some tag names may already exist in the other project but they are being used for other purposes.
To handle these issues, follow one or more of the following strategies:
- Import the referenced tags (assuming those tags are already exported).
- Create the necessary tag(s).
- Use the Edit | Replace Tag () tool to globally replace any missing tags used by the object(s) that have been imported with existing tag(s) that the project already uses.
- Manually rename tags for certain new or existing objects to resolve conflicting uses.
-
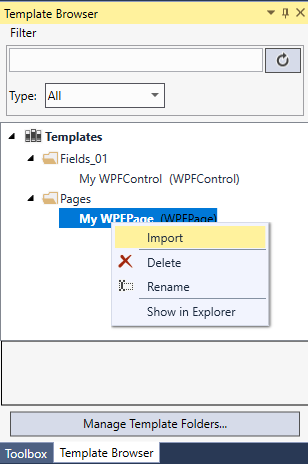
High-level elements have one possible import location, therefore this can be done automatically - you can import them by double-clicking or by right-clicking and selecting Import. For high-level items, see the Templates topic.
 Note: While importing templates, it is possible that existing components in the application conflict with the items being added. To handle this, you can simply rename the imported elements. Remember to run the Project | Verify tool after importing to ensure all required referenced scripts and tags exist.