Setting Up 3D-L4000 Series Vision Systems
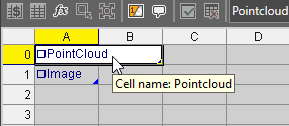
Following their physical deployment, 3D-L4000 series vision systems are configured through the 3D-L4000 Series Acquisition Wizard, available by double-clicking the InputPointCloud function's cell in the spreadsheet.
The configuration with the acquisition wizard has 5 main steps:
-
Configuring the basic triggering and motion detection settings on the Trigger tab. This tab allows you to set-up trigger and encoder settings.

-
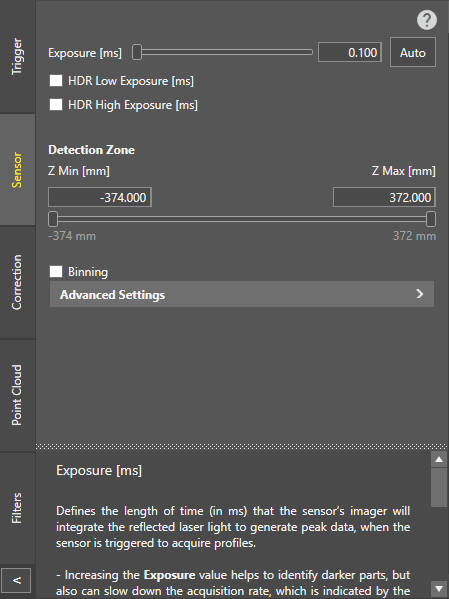
Setting the sensor properties affecting the device sensor, such as exposure, HDR, detection zone, or peak selection. These properties are available under the Sensor tab of the wizard, and can be modified both before and after field correction.
-
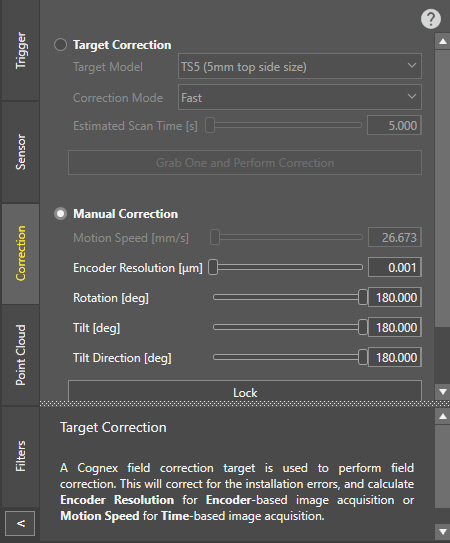
Performing field correction to correct potential misalignments between the sensor and the motion. The related settings are available under the Correction tab of the wizard.
-
Defining the resolution and length of the acquired point cloud, and enabling or disabling 2D greyscale image acquisition in the Point Cloud tab.

-
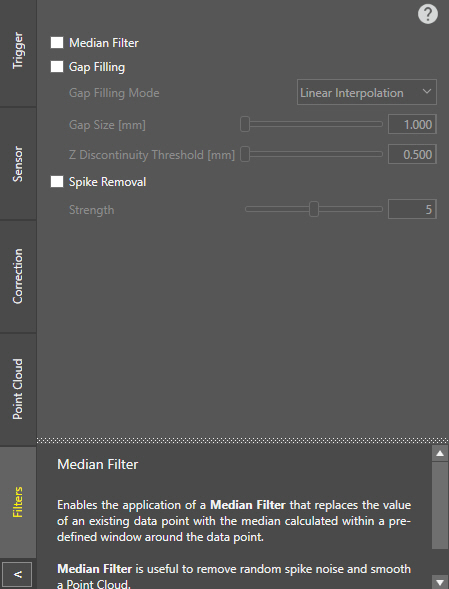
Enabling or disabling spike removal, gap filling, or both on demand in the Filters tab.
The Wizard has a built-in step-by-step tutorial on how to set up the acquisition settings of the device and how to perform field correction. Click the ![]() button on any of the Wizard tabs to open the tutorial.
button on any of the Wizard tabs to open the tutorial.
![]()
While open, you can navigate the tutorial pages with the ![]() and
and ![]() (Previous and Next) buttons. Once you are ready, use the
(Previous and Next) buttons. Once you are ready, use the ![]() (Close) button at the top right corner of the tutorial area to close the tutorial.
(Close) button at the top right corner of the tutorial area to close the tutorial.
See the following topics for more information on the available options listed in the Wizard and the Properties window.