3D-L4000 Series Acquisition Wizard

The acquisition wizard of the 3D-L4000 series vision systems allows you to:

  • Configure the device acquisition settings,
  • Perform field correction,
  • Check the current status of the device based on the configured acquisition properties,
  • Check the raw acquisition data and the 3D point cloud of the acquisitions.

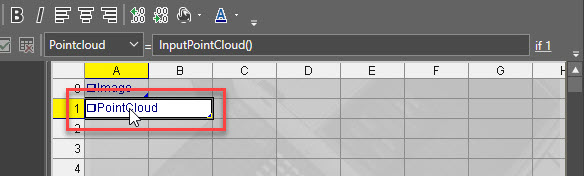
To open the window, make sure that an InputPointCloud function is present on the spreadsheet, and double-click the function.

Note: The InputPointCloud and GetGreyscale functions are automatically inserted into the spreadsheet when a new job is generated.

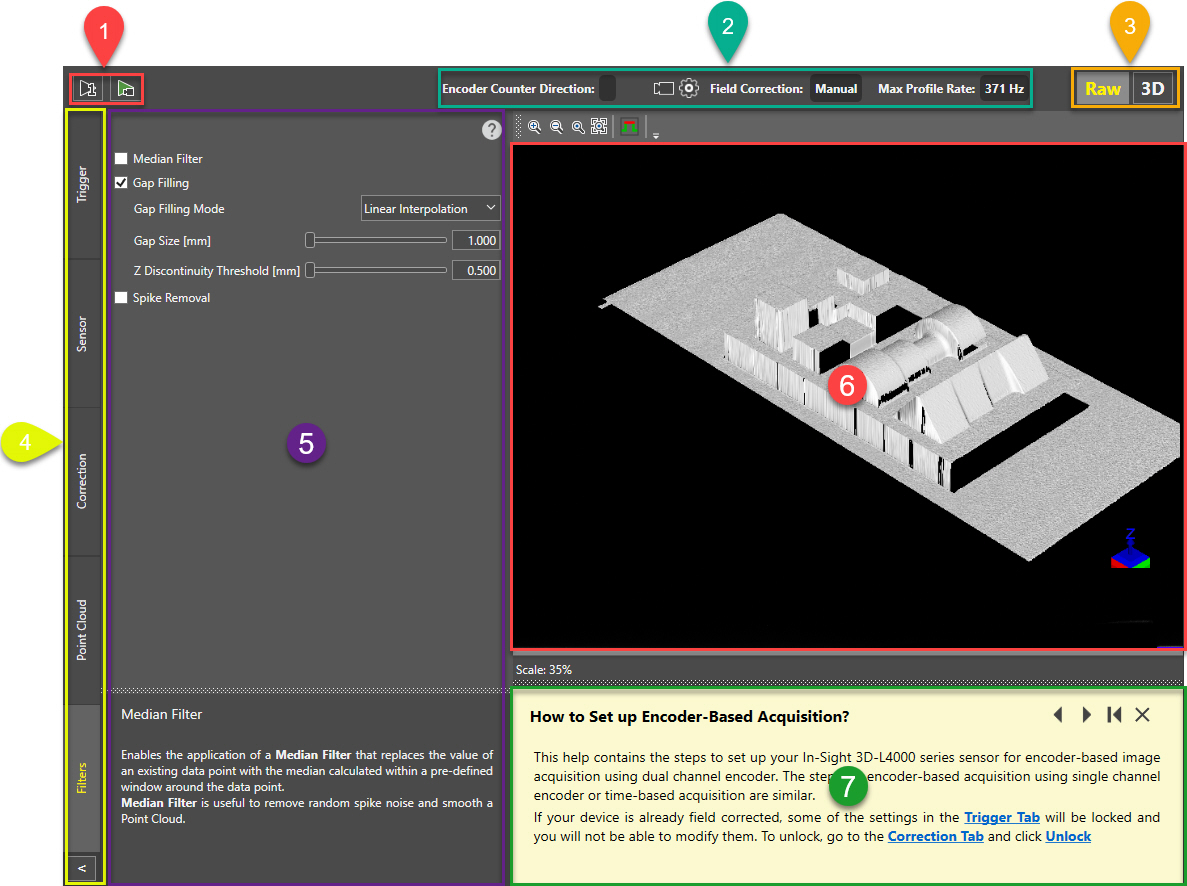
The window consists of the following parts:

Number Description
1

Sets the acquisition method for acquiring Raw or 3D data, as specified in (3).

  • Click (Single Acquisition) to perform a single acquisition immediately.
  • Click (Live Video) to make the sensor continuously acquire images.
Tip: Cognex recommends manually performing single acquisitions with the button while setting up the acquisition settings.
2

The status bar of the wizard, indicating the encoder counter, the acquisition/ update settings indicator, field correction status, and the max. frame rate available with the current settings.

  • Encoder Counter Direction: Indicates the encoder counter direction with up/down arrows.
  • : Indicates the point cloud acquisition status with the following icons:
    • : No acquisition is performed.
    • : Acquisition is in progress.
    • : The acquired point cloud data is being downloaded to the device.
  • : Indicates the status of the device acquisition settings with the following icons:
    • : The configured acquisition settings are valid for the next acquisition.
    • : The configured acquisition settings are currently synced and being applied. This typically occurs for a couple seconds after performing any changes in the acquisition settings. While the changes are being synced, and this icon is shown, recent changes in the acquisition settings are not applied to the current acquisition(s).
    Tip: Observe this icon when configuring the acquisition settings of a remote vision system.
  • Field Correction: Indicates the field correction status of the device:
    • Manual: Correction settings have been set manually without using any Cognex frustrum models.
    • Target: The device has been corrected with a Cognex frustum.
  • Max Profile Rate: Indicates the number of profiles/lines the device can make in a second with the currently configured settings.

    Note: This value is only valid for 3D acquisitions, not for Raw acquisitions.
3

Allows you to select the acquisition mode:

  • Selecting Raw changes the acquisition mode so that the device acquires raw 2D gray-scale images with the overlay of the detected laser on top.
  • Selecting 3D changes the acquisition mode so that the devices acquires a 3D point cloud.

The acquired visual data is shown in the image area (6).

Note: Use the Raw mode during device setup to help adjusting the acquisition settings.
4

Allows you to switch between the available configuration screens:

  • Trigger: Provides options for hardware, software, time and encoder-based acquisition triggering settings.
  • Sensor: Provides options for configuring various settings related to acquisition and profile formation.
  • Correction: Provides field correction settings for the device.
  • Point Cloud: Provides settings related to 3D point cloud accumulation
  • Filters: Provides settings for additional point cloud filtering.
5 Shows the settings of the active configuration screen selected with the corresponding tab (Trigger, Sensor, Correction, Point Cloud, or Filters). Also provides a short overview for the selected configuration property.
6

The image viewer of the window, showing the latest acquisition's image data selected with the Raw or 3D buttons (3). The available controls at the viewer's header also change depending on the selected image acquisition mode.

Tip:
  • Hold the left mouse button and move the cursor to pan the image (in case of Raw 2D images) or to rotate the point cloud (when a 3D acquisition is shown).
  • Use the mouse scroll to quickly zoom in or out of the acquired image or point cloud.
7

Shows tutorial messages on using the various configuration screens (4), providing information on how to configure the various acquisition settings, or how to perform field calibration.

  • Open the tutorial dialog with the button of the settings section (5).
  • Move between the tutorial pages with the and buttons.
  • Close the tutorial with the button.

See the Setting Up 3D-L4000 Series Vision Systems topic for more information on how to use these settings and how to prepare your device for acquisition.