Save & Open Dialogs
The Save and Open dialogs are essentially FTP clients that establish a connection either between two In-Sight vision systems. Job and image files can be loaded from remote vision systems, as well as saved to remote vision systems.
- In-Sight vision system settings (for example, network configuration) cannot be saved using the Save As dialog. A vision system settings file (proc.set) can only be transferred using standard FTP commands from an In-Sight emulator or other non-In-Sight FTP device on the network.
- There are two Working Emulator Directories (C:\ProgramData\Cognex\In-Sight\Emulators\5.x.x and C:\ProgramData\Cognex\In-Sight\Emulators\4.x.x). When the In-Sight emulator is used, depending on the Emulation Model, a different directory will be used for saving or opening jobs/images. For example, when the Emulator Model is set to In-Sight 8405, jobs/image will be saved to the 5.x.x directory. When the emulator Model is set to In-Sight Micro 1400, jobs/images will be saved to the 4.x.x directory. Therefore, if a job is saved to a 4.x.x emulator (e.g. In-Sight Micro 1400 Model) and then the emulator Model is changed to 5.x.x (e.g. Standard Model), when attempting to open the job from the Open dialog, the job will not be listed in the dialog.
Open a Job
The Open dialog allows you to load a job file into the memory of an In-Sight vision system as the active job.
To open a job file from an In-Sight vision system:
-
On the File Menu, click Open Job.
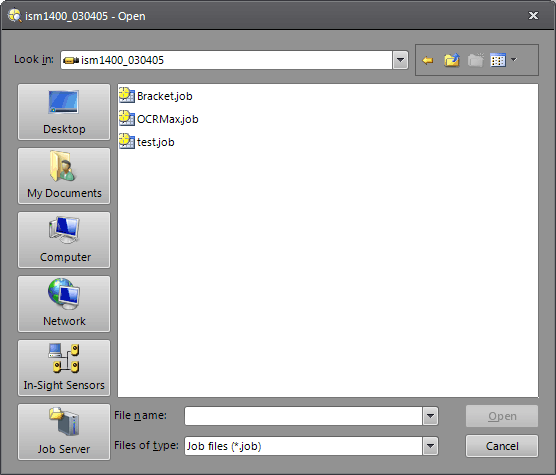
- Choose the location that contains the desired
job file to open. The Look In:
drop-down list contains drives on your local PC, network drives, detected
In-Sight vision systems and emulators
-
Highlight the desired job and click Open. Alternatively, you can double-click the job file or type in the file name.
Note:- Unless defined within the Explorer Host Table, In-Sight vision systems that are not located on your subnet do not automatically appear within the Look In: drop-down list.
- The Open dialog
is not accessible under any of the following conditions:
- The active In-Sight vision system is Online.
- The user's access level is locked.
- The Open dialog is accessible for a user with protected access only if FTP-Read privileges are granted to that particular user within the user list.
- In-Sight vision system settings cannot be loaded from the Open dialog. A vision system settings file (proc.set) can only be transferred using standard FTP commands from an In-Sight emulator or another non-In-Sight FTP device on the network.
-
The Job Server location only appears when the Job Server is enabled using the Job Server Settings dialog.
- Job Server is not supported on the In-Sight 2000 series vision sensor.
- Right-clicking a file from the dialog allows you to copy, delete and rename files. Copied jobs can be pasted to other In-Sight vision systems, emulators or SD Cards.
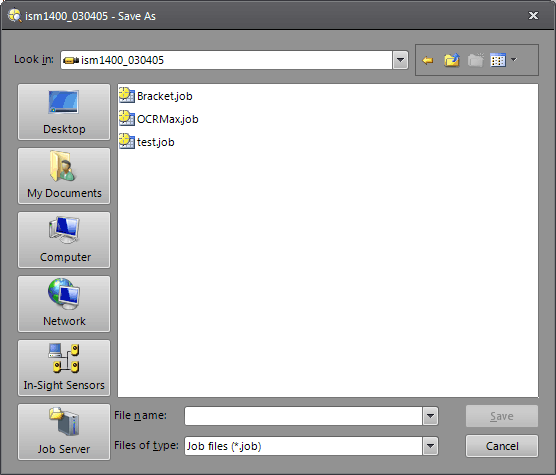
Save a Job
The Save As dialog stores a job file into flash memory on an In-Sight vision system. When the destination is an In-Sight emulator, the job is saved to a file on the PC's hard disk.
To save a job file on an In-Sight vision system:
-
On the File menu, click Save Job.
-
Choose the location where you want to save the file. The Look In: drop-down list contains drives on your local PC, network drives, detected In-Sight vision systems and emulators
-
To save the active job as a new file, enter a name inside the File name: text box and click Save. To replace an existing file, select that file from the list and click Save.
Note:- If you are saving the file for the first time, you will be asked to specify a file name. When naming files, avoid using the backslash character ("\") because files with a backslash character in their name cannot be copied or deleted without first renaming the file and removing the backslash character; file names with a backslash will also cause an error during a restore operation.
- A file Name can contain spaces.
- A file Name cannot contain any of the following characters: / : , ; * ? " < > | %
- Do not cycle power on the vision system while a job is being saved. If power is interrupted while the file is being saved, the file must be saved again.
- Depending on the size of the job or the connection speed of the device the job is being saved to, some jobs may take longer to save than others.
- To save a copy of the file or select a different location to save the file, select Save Job As from the File Menu.
- Job file path names can contain a maximum of 255 characters. The job file path name refers to all of the characters from the root directory through the file name and file extension. If you will be using Native Mode commands, job slots that are pre-pended to the filename have to be factored into the total number of characters.
- Unless defined within the Explorer Host Table, In-Sight vision systems that are not located on your subnet do not automatically appear within the Look In: drop-down list.
- The Save As dialog
is not accessible under either of the following conditions:
The active In-Sight vision system is Online. However, if the Allow Online Job Save checkbox on the User dialog is enabled, users with Full or Protected access are allowed to access the Save As dialog.
The user's access level is locked.
- The Save As dialog is accessible for a user with protected access only if FTP-Write privileges are granted to that particular user within the user list.
- Beginning with In-Sight Explorer 4.4.1, if a job has been protected, a drop-down menu option, Encryption, will become enabled. There are two options: Fast (default) and Legacy. The Fast option reduces job-related delays, especially with large job files; the Legacy option is used for jobs that must be compatible with In-Sight vision systems running 4.4.0 or earlier. The Encryption drop-down is set to the current encryption option used by the job.
-
The Job Server location only appears when the Job Server is enabled using the Job Server Settings dialog.
- Job Server is not supported on the In-Sight 2000 series vision sensor.
- Right-clicking a file from the dialog allows you to copy, delete and rename files. Copied jobs can be pasted to other In-Sight vision systems, emulators or SD Cards.
Open an Image
The Open dialog also allows you to load a standard .BMP or .JPG file onto an In-Sight vision system; the image becomes the active image on the destination vision system and replaces image.bmp on the In-Sight file system.
To load an image file as the active image on an In-Sight vision system:
-
On the File menu, click Open Image.
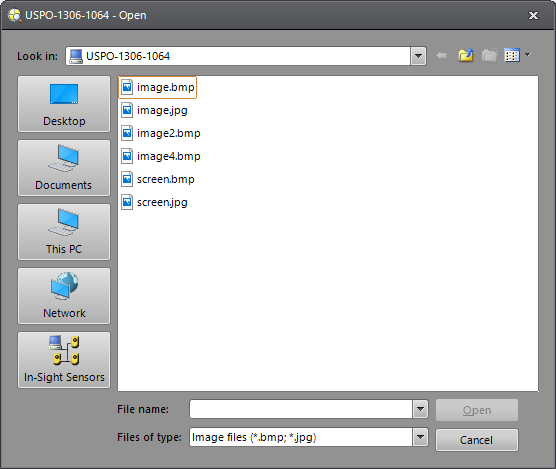
- Choose
the location that contains the desired image file to open. Choose
the location that contains the desired image file to open. The Look
In: drop-down list contains drives on your local PC, network drives,
detected In-Sight vision systems and emulators (including SD Card folders) on your local subnet, as well
as any devices defined in the Explorer
Host Table.
-
Highlight the desired image and click Open. Alternatively, you can double-click an image file or type in the file name.
Note:- The Open dialog
is not accessible under either of the following conditions:
- The active In-Sight vision system is Online.
- The user's access level is locked.
- The Open dialog is accessible for a user with protected access only if FTP-Read privileges are granted to that particular user within the User List.
- In-Sight vision systems (except color vision systems) can output the last acquired image as a low-resolution image. Using the get [File Name] FTP command from a separate FTP connection, low-resolution images are available as image2.bmp (½ high by ½ wide) or image4.bmp (¼ high by ¼ wide). For example, from the FTP command line type, "get image2.bmp”.
- The Open dialog
is not accessible under either of the following conditions:
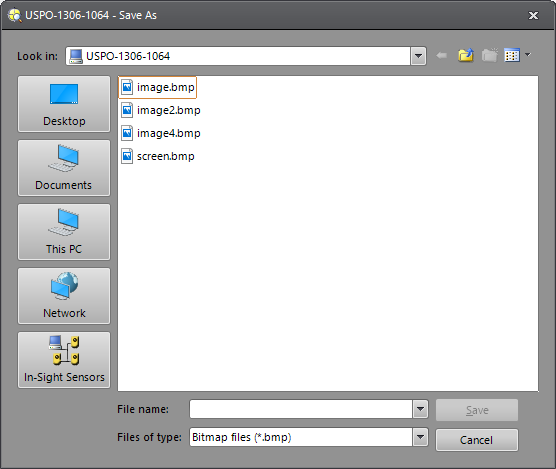
Save an Image
The Save As dialog allows you to store the active image from an In-Sight vision system for later retrieval. Images may be saved in either bitmap (*.BMP) or JPEG (*.JPG) format onto any In-Sight vision system or emulator.
To save an image file on an In-Sight vision system:
-
On the File menu, click Save Image As.
-
Choose the In-Sight vision system on which you want to save the image. Choose the location that contains the desired image file to open. The Look In: drop-down list contains drives on your local PC, network drives, detected In-Sight vision systems and emulators (including SD Card folders) on your local subnet, as well as any devices defined in the Explorer Host Table.
-
To save the image as a new file, enter a name inside the File name: text box and click Save. To replace an existing file, select that file from the list and click Save.
Note:- Image file names can contain a maximum of 251 characters (excluding the .BMP or .JPG extension).
- A file Name cannot contain any of the following characters: / : , ; * ? " < > | %
- To save images automatically while running in Online mode, insert a WriteImageFTP function into the spreadsheet.
- The Save As dialog
is not accessible under any of the following conditions:
- The active In-Sight vision system is Online.
- The user's access level is locked.
- The Save As dialog is accessible for a user with protected access only if FTP-Write privileges are granted to that particular user within the User List.