Collect Images
What Images to Collect?
For all machine vision applications, whether traditional or deep learning, quality, high contrast images are the key component. In Deep Learning applications, images are the primary input, and the images that are used to train the tool will determine its success. In addition, the images used to train the tool should be the same as the images that you expect to encounter during the tool’s deployment. So, the more consistent and accurately representative the images are during training, the better the tool will perform during deployment. It's also important to remember that Deep Learning and the power of deep learning cannot overcome poor image quality. The principle of “garbage in, garbage out” applies. The quality of the input will directly influence the quality of the result that Deep Learning is able to achieve.
The most important factor for programming Deep Learning will be creating an image set that is based on what you expect the software to encounter during its deployment phase. Your images should contain all the information that will be needed for Deep Learning to reach the correct decision. Look for scenarios where your manual inspectors may pick up parts, then manually tilt and rotate them to examine for defects. This will indicate that you will probably need angled imaging or lighting to capture those defects.
Another possible scenario would be where a human inspector sees dust or oil on a part, they pick it up and manually wipe off the dust/oil. If this dust/oil could be confused with a defect, you will need to teach Deep Learning about the dust/oil. This image set will need to include the full range of possible variations that can be captured by the camera. The goal for this is to properly generalize the data set. Generalization refers to the concept in deep learning of determining how effective the tools will be when used on newly acquired images that weren’t used during training. A well generalized tool will perform well on new data. In this scenario, the model formed by the neural net should fit the initial training set, and account for new data it encounters in unseen images.
Image File and Format Requirements
The supported input image channels, bit depths, and image file formats in VisionPro Deep Learning and the image channels, bit depths, and image file formats converted after importing to VisionPro Deep Learning are described in the table below. The image channels, bit depths, and image file formats not described in this table are not supported in VisionPro Deep Learning.
| Before Importing into VisionPro Deep Learning | After Importing into VisionPro Deep Learning | ||||
| Input Image Channel |
Input Image Bit Depth |
Input Image File Format |
Imported Image Channel |
Imported Image Bit Depth |
Imported Image File Format |
| 1 ch | 8-bit | bmp | 1 ch | 8-bit | png |
| 1 ch | 8-bit | jpg | 1 ch | 8-bit | png |
| 1 ch | 8-bit | png | 1 ch | 8-bit | png |
| 1 ch | 8-bit | tiff | 1 ch | 8-bit | png |
| 1 ch | 16-bit | png | 1 ch | 16-bit | png |
| 1 ch | 16-bit | tiff | 1 ch | 16-bit | png |
| 3 ch | 8-bit | bmp | 3 ch | 8-bit | png |
| 3 ch | 8-bit | jpg | 3 ch | 8-bit | png |
| 3 ch | 8-bit | png | 3 ch | 8-bit | png |
| 3 ch | 8-bit | tiff | 3 ch | 8-bit | png |
| 3 ch | 16-bit | png | 3 ch | 16-bit | png |
| 3 ch | 16-bit | tiff | 3 ch | 16-bit | png |
| 4 ch | 8-bit | bmp | 4 ch | 8-bit | png |
| 4 ch | 8-bit | png | 4 ch | 8-bit | png |
| 4 ch | 8-bit | tiff | 4 ch | 8-bit | png |
| 4 ch | 16-bit | png | 4 ch | 16-bit | png |
| 4 ch | 16-bit | tiff | 4 ch | 16-bit | png |
Maximum Image Size and Dimensions
The following guidelines will help you determine how best to configure your Deep Learning application, within these operational parameters. The figures in the table below (for example the maximum number of images per stream) are experimentally tested and the values vary more or less on which hardware settings you rely. Generally, the larger your memory (not GPU RAM) and hard disk capacity you have, the more the number and the size of the image you can handle.
-
Maximum image size (Channel parameter set to 1 to 4)
- Images up to 32MP (up to 16k in height or width) are supported
- Images up to 32k pixels wide (in one dimension, dependent upon GPU resources)
- Images over 32k are not supported
- Maximum number of images per stream for Red Analyze
- 1000
- Maximum number of defects per image for Red Analyze
- 1000
Capture Images
The Deep Learning tools are capable of handling image and lighting variability, but the tools must be taught what that variability might entail. If the lighting may be brighter or darker from image to image, capture that variability in the images, and teach the tools using that variability in lighting by adding those images to your training image set.
When configuring your lighting and imaging options you can use typical machine vision lighting and optics techniques. However, with Deep Learning, you want to ensure that the lighting and optics are consistent between training and production. If, for example, you train your images based on a certain lighting and optic setup, and you then alter that configuration during production, the tool will be basing its performance on that initial setup, thus failing during production.
If possible, use controlled lighting to avoid effects caused by ambient lighting or visual changes that can be caused differences in the lighting setup. When setting up the cameras, make sure that the camera setup in the lab is the same as what will be used during production. Also attempt to minimize perspective distortion, changes in lens focus, depth of field and field of view.
Load Images to VisionPro Deep Learning
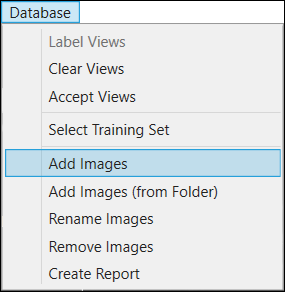
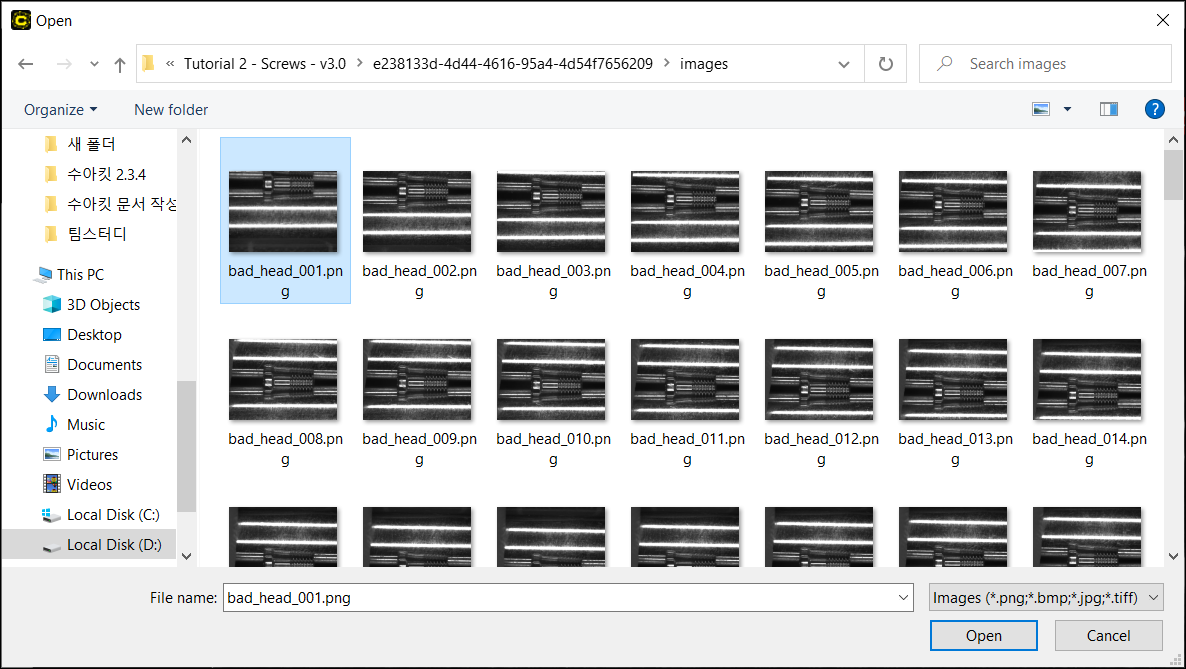
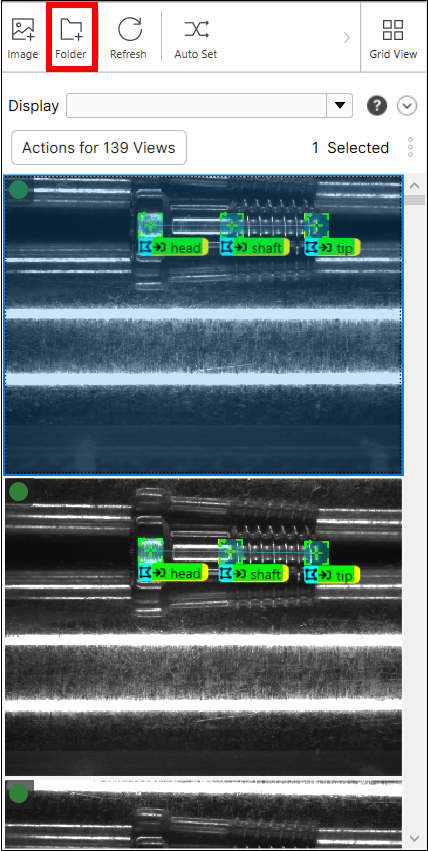
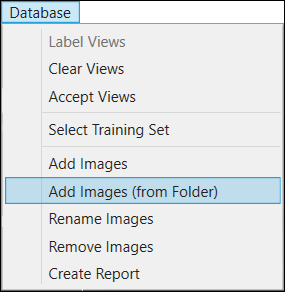
After a Workspace has been added or opened, images can be added through either the Database menu (select Add Images), by pressing Add Images in the display space of the GUI, or dragging and dropping images from a Windows Explorer directory into the View Browser.
Load an Image File
Load an Image File on View Browser
Load an Image File on the Main Menu
Load Multiple Image Files
Load Multiple Image Files on View Browser
Load Multiple Image Files on the Main Menu
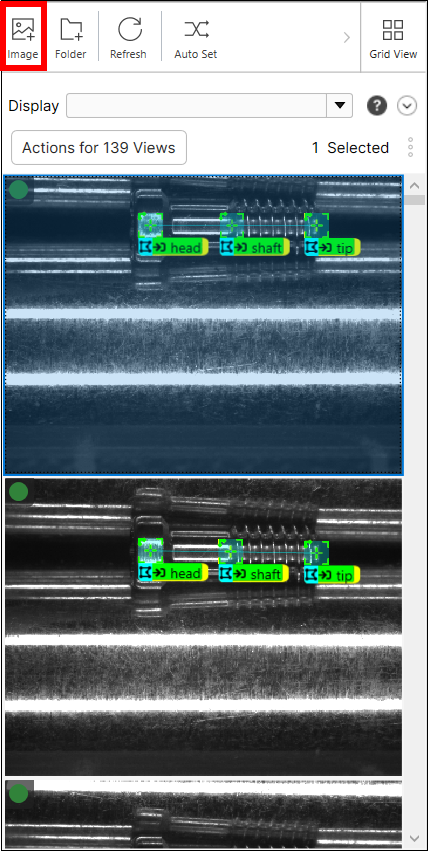
After adding the images, thumbnails of the images will be displayed on the right-hand side of the GUI in the View Browser. Selecting an image from the View Browser will activate the image and display it in the Image Display Area.