Review Markings
Once the tool is trained, it can process images in the database, as well as newly acquired images, and place Markings on the features it finds. Markings are the VisionPro Deep Learning-generated outputs which are used to graphically display the neural network model's interpretation, along with generating the statistical results. They are the graphical elements that the tools place over characters, features and/or areas of the image that the tool identified, based on the Labeling done prior to being trained. For the Blue Locate tool, the Marking contains a list of features and model matches.
You can toggle the display of labels and markings by either using the Alt + Left arrow and Alt + Right arrow keys, or from the right-click menu in the image.
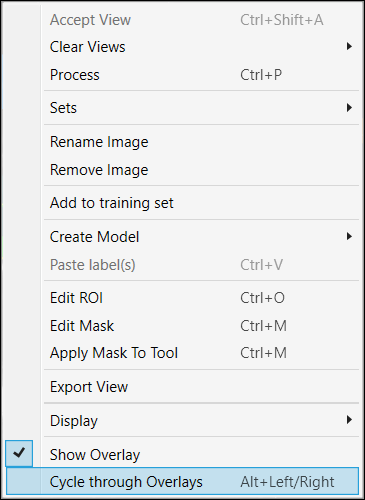
You can also show overlay with enabling the "Marking" at the Overlay Checkbox.

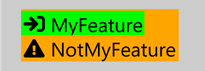
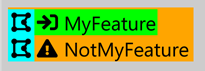
Mismatches
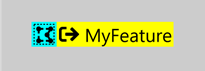
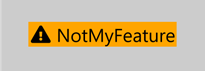
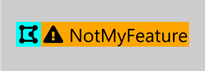
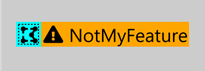
The Blue Locate and Blue Read tools indicate a mismatch with an orange marking. A mismatch refers to a feature that is found by the system in an image that you labeled, but there is either a mismatch between a corresponding label, or there are possibly more instances of a labeled feature. If encountering a mismatch, the first thing to do is to check the accuracy of the labeling on the Training Sample Image Set (among other things like the stability of your lighting and appearance of the feature in the image; see the Image Capture topic for more information).
During application development, a mismatch is indication that the training set is not generalized. For example, applications with very subtle differences between two features could have mismatches because Deep Learning does not have a full understanding of the features yet. In short, there is a difference between what Deep Learning has learned (from the training set) and what it sees in production (processing the test set). During this phase, you should create a distinct Training and Testing Image Sample Set. It is up to you to manage this, but any images in the training set should be trained (using a 100% fraction).
If you encounter mismatches in your testing set, this indicates that your tool has not been generalized properly. This is generally due to images that don’t properly capture the features, in other words, there are gaps in your image database. In this scenario, you will need to retrain your tool, making sure that the images/views that contain the mismatches make it into your training set and are properly labeled.
Markings and Results
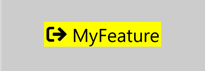
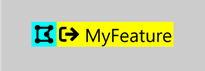
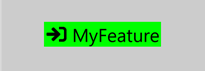
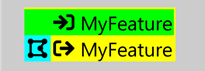
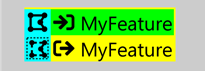
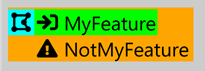
Once you have applied labels to the features in your images, and you have trained the tool, the tool will apply Markings to the areas of the image that it thinks match the feature. The difference between labels and markings is their appearance.
- The label graphics are for illustrative purposes only, and they do not affect or influence the training of the network model.
| Feature Not in a Model | Feature in a Model | Feature Assumed to be in a Model | |
|---|---|---|---|
|
Label |
|
|
|
|
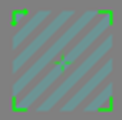
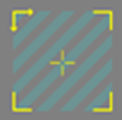
Marking |
|
|
|
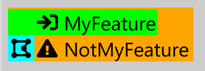
| Mismatched Marking |
|
|
|
| Neither in a model | Both in a model | Only the label is in a model | Only the marking is in a model | Only the marking is assumed to be in a model | Label is in a model and the marking is assumed to be in a model | |
|---|---|---|---|---|---|---|
|
Label covering a marking |
|
|
|
|
|
|
|
Label with a mismatched marking |
|
|
|
|
|
|
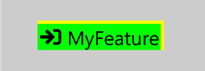
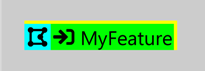


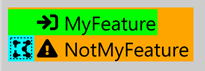
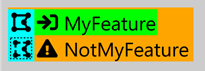
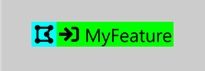
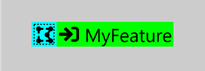
| Unselected | Selected | In a model | Assumed to be in a model | |
|---|---|---|---|---|
|
Label feature graphic |
|
|
|
|
|
Marking feature graphic |
|
|
|
|
|
Mismatched marking feature graphic |

|

|

|

|


Overlay Checkbox
The 2 tables above are shown back and forth or side by side, with the overlay graphics of labels and markings, whenever you press Alt + Left/Right (Keyboard Shortcuts When Working with an Image) or enable each checkbox (Labels and Markings) on Overlay Checkbox
