Selecting Image Source for the Image File Device
After the Image File device has been added, it will appear both in the Devices node of the Project Explorer, and also in the Devices node of the Task Toolbox. If this is the case, configure the image source for the device as follows:
-
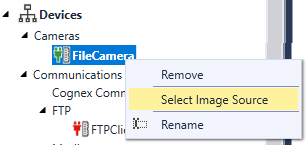
In the Project Explorer, search for the Image File device in the Devices > Cameras node. When found, either double-click it or right-click the device and click the Select Image Source option.
-
The Image Source Selection dialog appears. Use the available options as follows:
- Click the Choose File... button and browse for an applicable image file if you want to use a single specific image for camera simulation.
- Click the Choose Directory... button and browse for a directory if you want to select a folder of images to use for camera simulation.
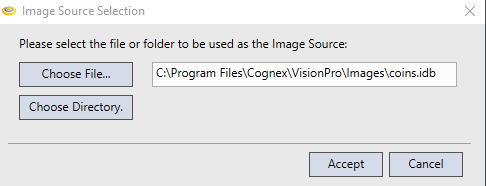
- Click Accept once you selected the image file or folder of images to use.