In-Sight® Device Pane
When initially launched, In-Sight Vision Suite automatically scans the network to discover and enumerate all of the detected In-Sight vision systems on the local subnet network. The devices are displayed in the In-Sight Device Pane, as seen below.

If the device does not appear in the list, you can manually add it. See the Configure Manual Devices topic for more information.
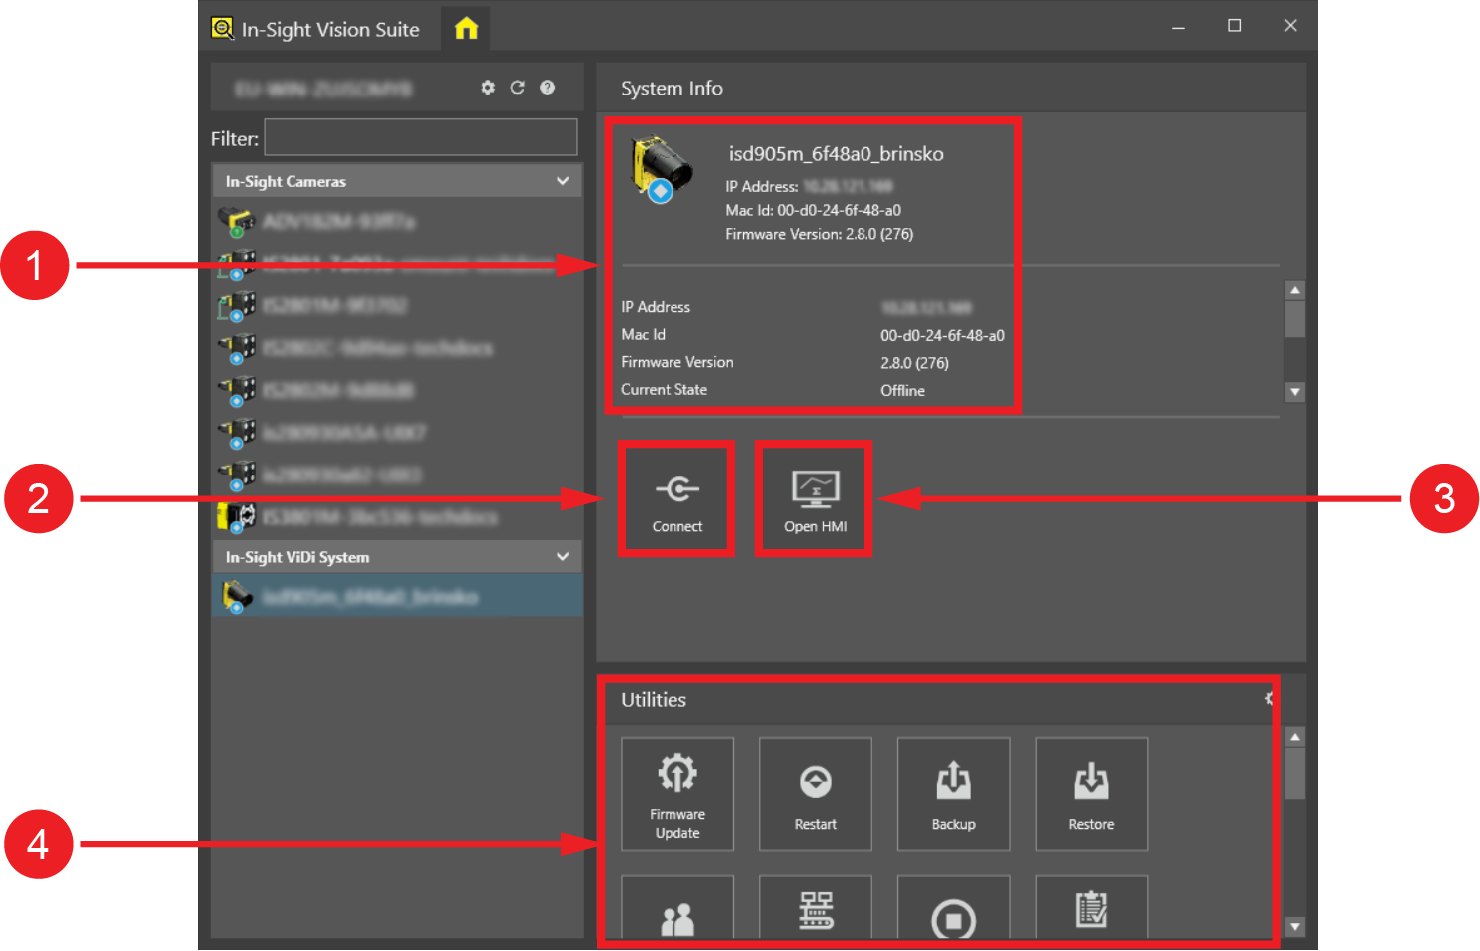
When a device is selected on the Device Pane, the following options become available:
|
|
||
| Item | Menu | Description |
|
1 |
System Info |
Shows information about the selected device. See the System Info topic for more information on the data displayed by this option. |
|
2 |
Connect | Connects to the selected device and launches the adapter to either program the device, or view the configured vision application running on it. See the Connect topic for more information. |
|
3 |
Open HMI |
Opens a Web Browser connection to the selected device. In-Sight Vision Suite supports displaying an HMI on an Internet Web Browser, using Google Chrome. See the Open HMI topic for more information. Note: For more information about configuring and setting up an HMI in the adapter, see the WebPages topics in the adapter help.
|
|
4 |
Utilities | Reveals the list of In-Sight® Utilities, allowing you to perform configuration, management or maintenance operations on the selected device(s). |
Right-clicking on a device in the Device Pane displays a context menu, offering the Create Report option:
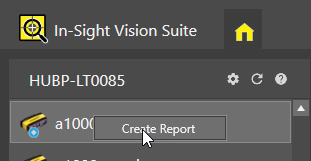
Use this option to quickly check the status data of the selected device, such as the name, IP Address, model, and current state of the device.
When you press the Refresh Devices button above the Device Pane, the following status message and buttons appear while the software is checking for devices on the network:
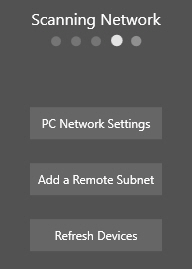
You can use these buttons to open the Configure Host PC Network Settings Dialog, the Network dialog to add a remote subnet, or refresh the device list.